Coffee Table - Joints, Finishing and Bits 'n' Pieces
Rob's blog continues
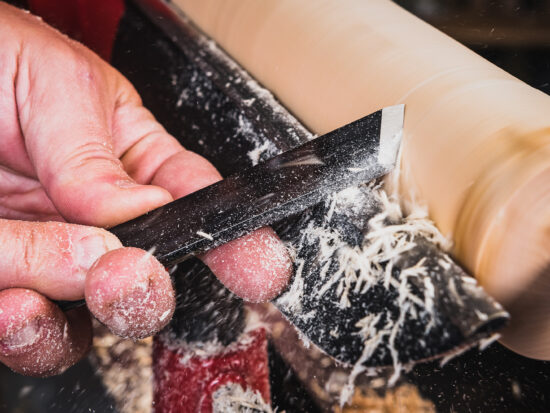
Having glued the centre rail assembly, the wedged stub tenons can now be shaped. They need to be left proud by 4mm, so I used a block plane to level them, using a little bit of ply to act as a guide for the plane. Each joint then needs to be shaped in turn with a very, very sharp chisel. I use long handled Japanese paring chisels (with a single honed bevel of 25°) to carefully round over each joint. When this is done for the first time, it’s a bit daunting, as you need to have absolute control over what the blade is up to. One slight loss of concentration could result in a slip and with a blunt chisel, the corner will gouge its merry way into the rail and it then becomes almost impossible to hide it or concoct a ‘fix’.
With the shaping done, the joints are finished by sanding. Easy enough to do by wrapping 240g and then 320g paper round a sharp cornered, square section small block of timber.
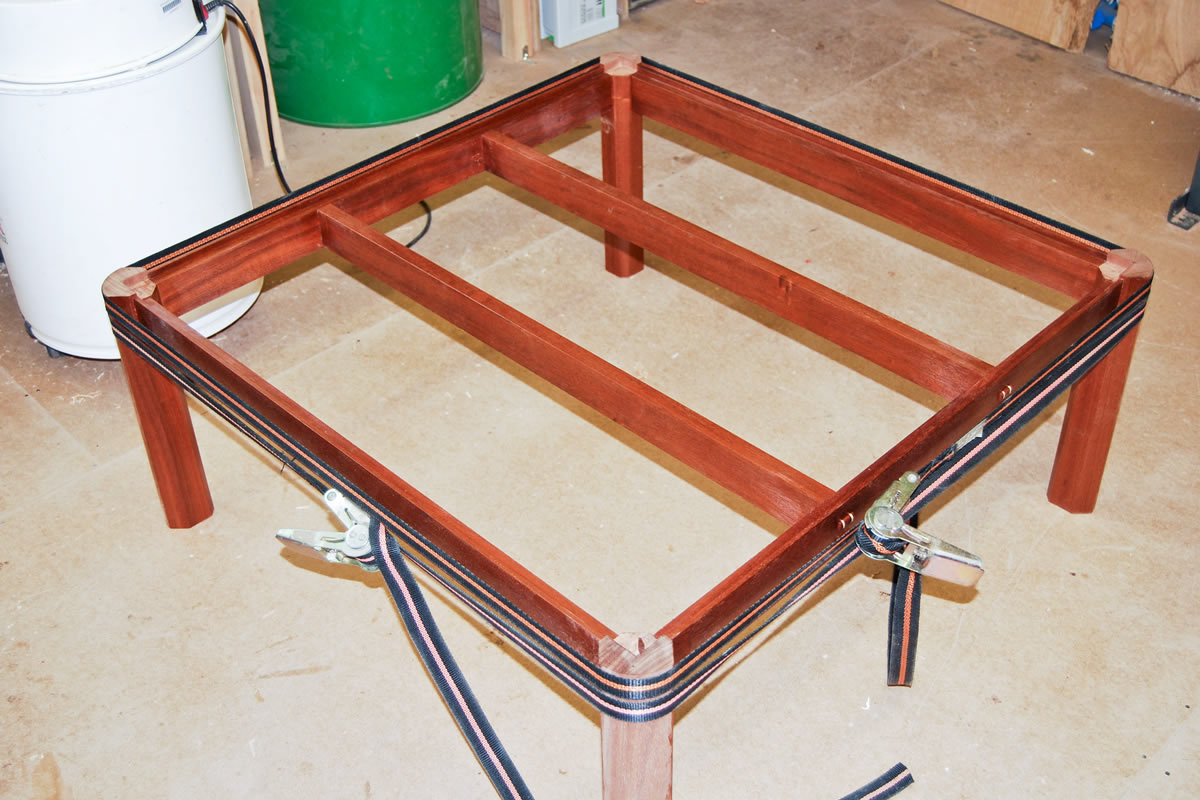
The rest of the rails and the legs (except the curved outsides) are then given a couple of coats of Fiddes Hard Wax Oil after which the areas round the dowel joints are thoroughly waxed. The last pair of rails and all the legs are now assembled and glued in place to form the completed table. I used a couple of ratchet band cramps to pull all the joints together.
Next comes the slightly tricky bit of levelling the inside of the legs. For this little job I cramped back into place the original routing jig and used this as a platform for a small router plane to finally trim off the last 0.5mm or so.
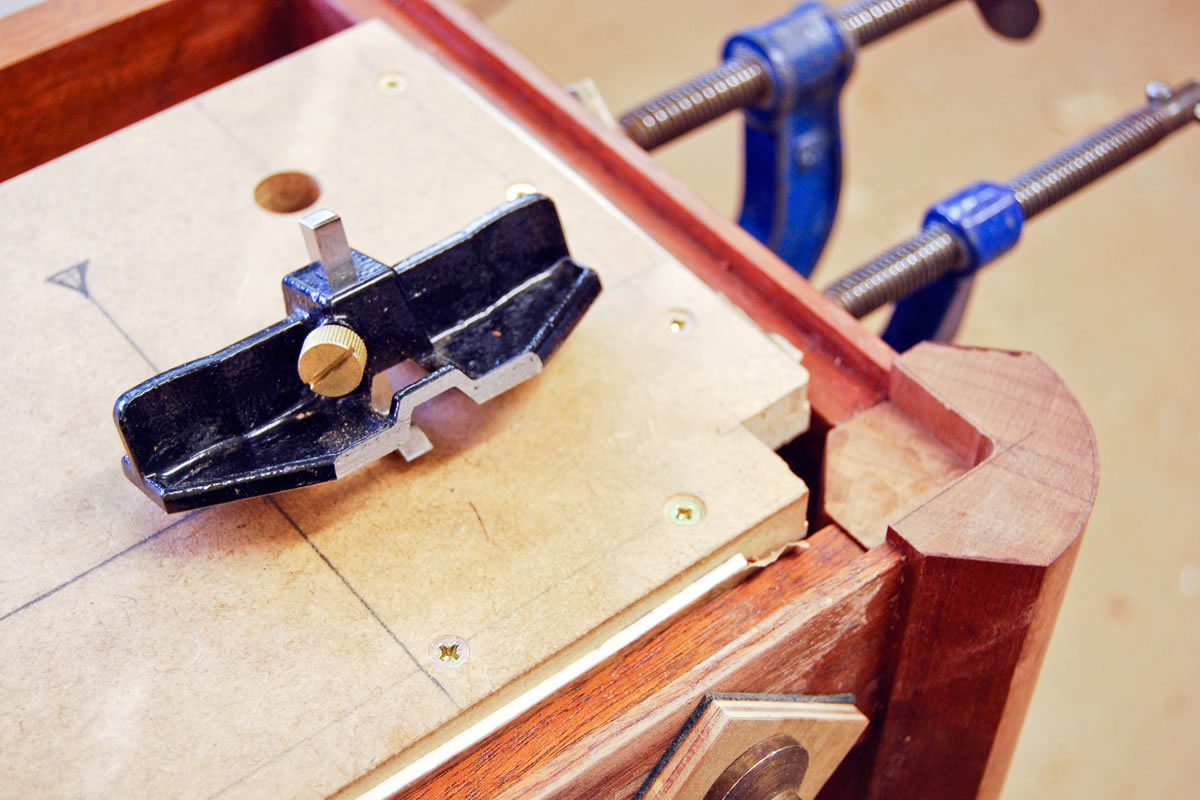
The vertical sides of the rebate were eased into the leg and corner with more slim shavings from Japanese paring chisels and a little bull nosed rebate plane. I use a Clifton, but we sell one very similar that would do equally well. With all the planing and chiselling done, the internal section of the rebate at the corner can be sanded using the square sectioned block of wood again.

The original design called for the legs to be 4mm higher than the sides and if you scrutinise the pic, you’ll see that this is indeed the case. It makes it a lot more difficult to make, but the difference in levels gives it a little ‘je ne sais quoi’. To add further refinement and a little extra devilment, the tops of the legs are marked out and chamfered with paring chisels.
The very last thing to do is to detail sand the outside curve of the legs and then apply a couple of coats of Fiddes to each corner.
De-nib the whole table with some worn 320g paper and then apply a goodly coat of wax polish using a grey Webrax pad. Buff to a soft lustre with a clean polishing cloth.
Done!