
Coffee Table - The art of gluing and the Holy Grail
Gluing a project together is unquestionably one of the most stressful parts of an otherwise wholly enjoyable experience. It can take days of worry and sleepless nights to work out the correct procedure for bringing it all together - get any of it wrong and you’re in jeopardy (or similar) up to your hat band!
Should you do the whole thing in one hit, two or even three? Glue brush or application stick, cleaning rag, water? What cramps and how many? Cramping blocks?
The biggest issue, surprisingly, is the weather, which has a direct impact on the type of glue used. There’s no doubt that the modern PVA adhesives are great to use and are the ‘go to’ choice for a vast number of woodworkers. They can be applied easily, straight from the bottle, in exactly the correct amount and the better ones, such as Titebond II and III are fully water resistant. It’s not recommended that they be used for continuous immersion in water (as in boat building), but they’re fine for outdoor projects where a good soaking from the rain and damp conditions won’t make any difference.
All glues have an ‘open time’, which is the period of use before they start to set and the higher the ambient temperature, the shorter that time is. Which means that on a stinking hot July day, any PVA glue will have an ‘open time’ of less than ten minutes which also means that if your assembly is going to take 30 minutes, you’re into ‘hat band’ country!
Some time ago, faced with this problem of the short ‘open time’ in warm weather, I resorted to using urea-formaldehyde glue, the infamous Cascamite of old which I first used in the 1970s. It’s totally water resistant with an ‘open time’ of over an hour in hot weather and will fully set in about five hours, although in a very cold workshop, the job needs to be left in cramps for 48 hours! The disadvantage of Cascamite is that it sets glass hard and is ruinous on edge tools if you need to clean any off the work - planing concrete is probably easier.
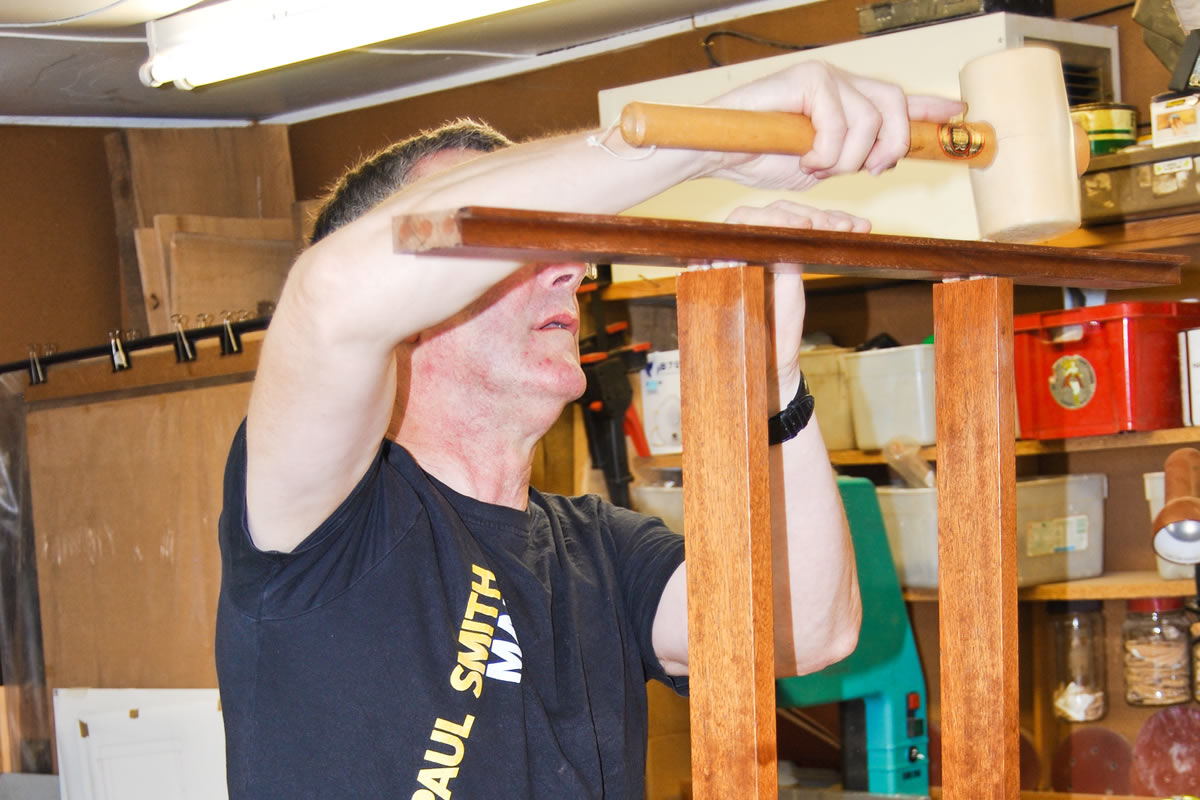
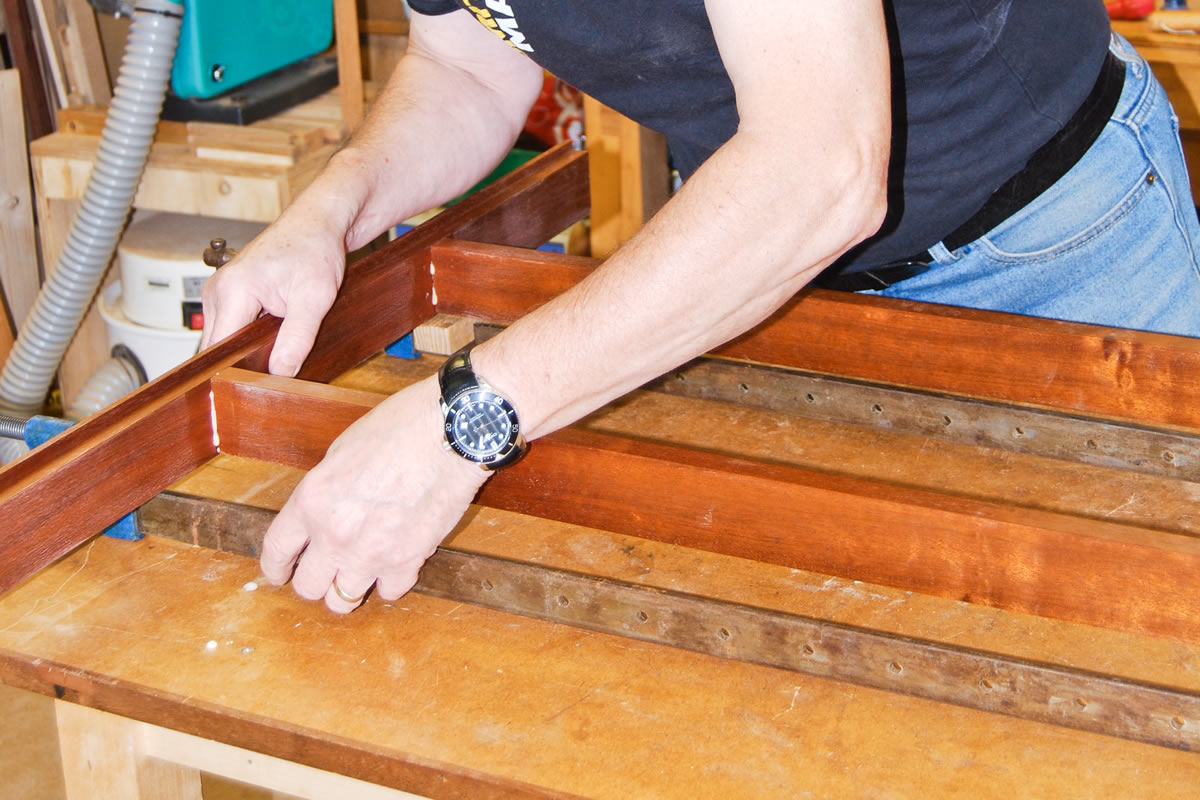
Having sorted out everything needed, I decided that the table was best glued in two ‘hits’: the inner frame and then the legs with the two connecting rails. Glue was mixed to the right consistency (it should just drip of the end of the brush) and applied to both parts of the joint with a small paintbrush and the frame knocked together with a white rubber mallet.

Sash cramps with soft blocks under the heads are then positioned either side of the stub tenons to pull them together, after which the holly wedges can be glued and tapped home. It’s crucial that every single last smear of Cascamite is removed from the joint. I use a cut down glue brush (rather like a stencil brush), scrubbing it away with just a dab of water and a clean rag to dry it off afterwards.
The cramps are then removed (the joint’s not going anywhere now) and the remaining legs and rails fitted dry (no glue) to ensure that everything is ‘hunky doodly’.

The area round the joints is waxed after polishing and this acts as a ‘resist’ so the glue won’t stick to it. Simply peel off the Cascamite after about an hour when it’s set to a rubbery consistency.
The final bit in this long drawn out saga is to give the tenons a final squeeze with a few G cramps.
Gluing up can be a nightmare, but if the ‘little grey cells’ are all lined up it usually works out successfully. The glue is the real problem as both sorts, PVA and urea-formaldehyde, are both excellent products, but each has its own disadvantages.
Should a glue manufacturer formulate a PVA with a two hour ‘open time’, not only would they be sitting on a pile of gold sufficient to make Smaug turn green with envy, but they would, at a stroke, have found every woodworker’s Holy Grail.
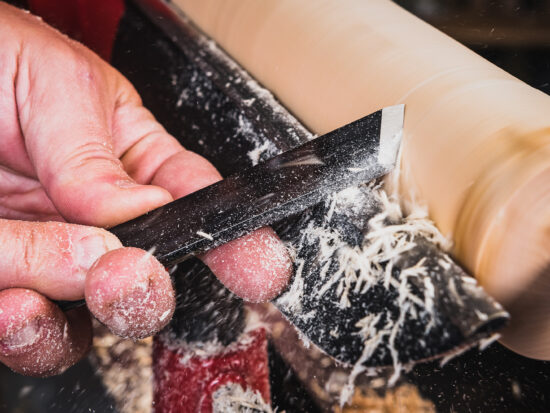


If i remember rightly cascamite (cascorez) is the same as aerolite 306, but with the acid in powder form around resin particles. Trying to use all kinds of glues in unheated workshops the ultimate choice was always cascamite - however for some jobs such as laminates for turning which needed to be ultimately separated, pva was/is the best solution.
Cutting concrete? never had any major problems cleaning up, we are supposed to be good at sharpening tools.
Recently ive been doing some boat building - so west system is the answer there - but i must admit to finding an instant loathing to the idea of a mastic gun. I hear that glue is the most reliable of all, it is even used as a finish by some turners. For parts of the boat ive used Gorilla - though ive had some failures with polyurethane glues - this one seems to be reasonably efficient - the upper structure of the boat is a mixture of plywood and mahogany.
Many thanks for your reply Bertram…very illuminating! I've not used Aerolite 306, but as you say, it's a uf glue in two separate parts and is the same sort of stuff as Cascamite, but being in two parts, the 'shelf life' is unlimited. Cascamite, even with the most careful storage conditions will go 'off' i.e. it won't mix properly in quite a short time, so it's always best to buy it in smaller quantities and use it quickly. If by any chance you do ever need to plane any off once it's set, it'll take the edge of a plane blade in fairly short order. I agree also about using PVA in turning (not that I'm a great turnist) where a blank needs to be separated.
The West system is one that I've used a few years ago and is probably the best of all the glues on the market. The downside is that it's hideously expensive and the minimum amount of glue that can be dispensed is still quite a lot…and the use of the pump action dispensers is mandatory to get the right mix. That said, the joint is absolutely 'bullet proof' and if the correct fillers are used, there's also an excellent degree of gap filling.
Cutting a long story sideways, as woodworkers we all have our preferred and favourite glues ( a bit like honing methods) and as long as the glue you use gives you the result you need, then that's all we ask of it.
Apologies also, if I was straying into an 'egg sucking' area...
Cascamite is as you said quite rightly usually with a short shelf life - if you consider that aerolite uses water mixed with the resin - same with cascamite - i have some cascorez now approaching 10 years old - im pretty sure its still usable - its in a very airtight and water proof tub in my kitchen - wooden house - used cascamite baught from a standard builders merchants in a metal tin - unusable in just a few weeks if not from the shop - i think the key is damp here.
Craftsmen should talk about anything to do with their trade without "fear" as any good craftsman will only talk from experience, not hear say - that way you know its true and cannot be argued with. Unfortunately we suffer from invented "traditions" which are often from hearsay and do nothing but hinder the dissemination and utility of our craft. (oops)
Looking up info on glues.. came up with aerolite for the gate project. Seems to have worked well. Very pleased with how it "performed" at different consistencies. Good enough for Mosquito bombers .. but time will tell in the elements!
neil
Measuring out small quantities of epoxy? The pump sets, while giving the perfect mix ratio, will invariable leave a quantity left in the pot when the job's done with a monetary value sufficient to purchase a half of your favourite tipple. A very good method from the model making community is to draw from the resin and hardener containers using small syringes, decanting into your chosen mixing pot which has been placed on some digital scales.
If, like me, you think that's ok, there's some in the kitchen, may I be so bold as to advise caution. Firstly, they're almost certainly nothing like accurate enough (they may read individual grams but I've become convinced that the person responsible for calibrating these things has no idea what a gram looks or feels like). Secondly and probably more importantly, if you get caught with the nice shiny kitchen scales in the workshop, well, let's just say there's a direct correlation between cost of said item and the likelihood of losing essential anatomical appendages...
I'd advise looking on the jewellery supply websites (they use them for weighing precious metals etc) and/or online auction sites or 'marketplace' hosting sites. Makes to look for include 'Tanita' (highly accurate with price tag to match), 'Myco', 'On Balance', 'My Weigh' etc etc. There are many others but those listed generally seem to be the more accurate. Some will be able to weigh 1/100 gram but for mixing small quantities of epoxy 1/10 gram is plenty accurate enough.
This may sound a little long winded for a bit of glue but if one considers both the time and money invested in the production of current project then the extra few minutes involved pales into insignificance.
The reply is late in coming, but the best and cheapest place to buy epoxy in small quantities is a certain high street retailer where ALL the goods cost a round pound.