How to make a Housing Joint
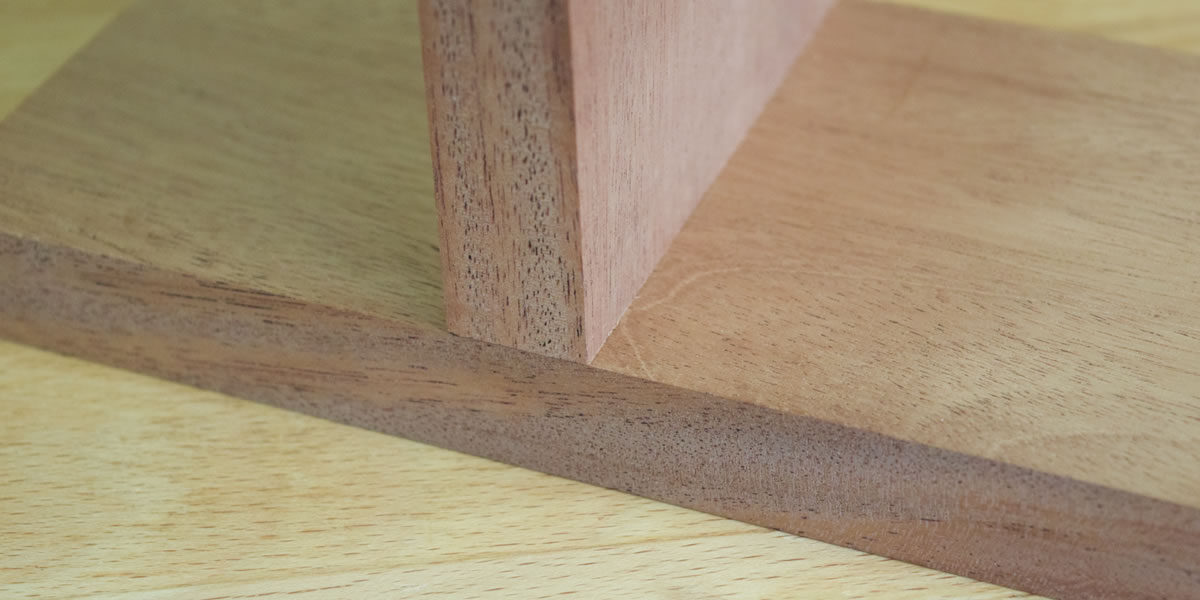
An ideal joint for shelves and bookcases, a housing joint adds structural strength to your framework. The joint is formed by cutting a trench across the grain of the entire width of the wood, allowing another piece of wood to be inserted perfectly across it. This joint is well suited to machine production on the router table, ensuring accuracy which is key to the joint’s strength.
Top Tip!
Books are surprisingly heavy, so use the ‘Sagulator’ to work out materials and shelf loading deflection.
Tools needed
- Router ¼" Bosch Green or DeWALT ½"
- Router cutter
- Router table
- Feather board
- Chisels
- Saw
- Pencil
- Square
- Ruler
Step 1
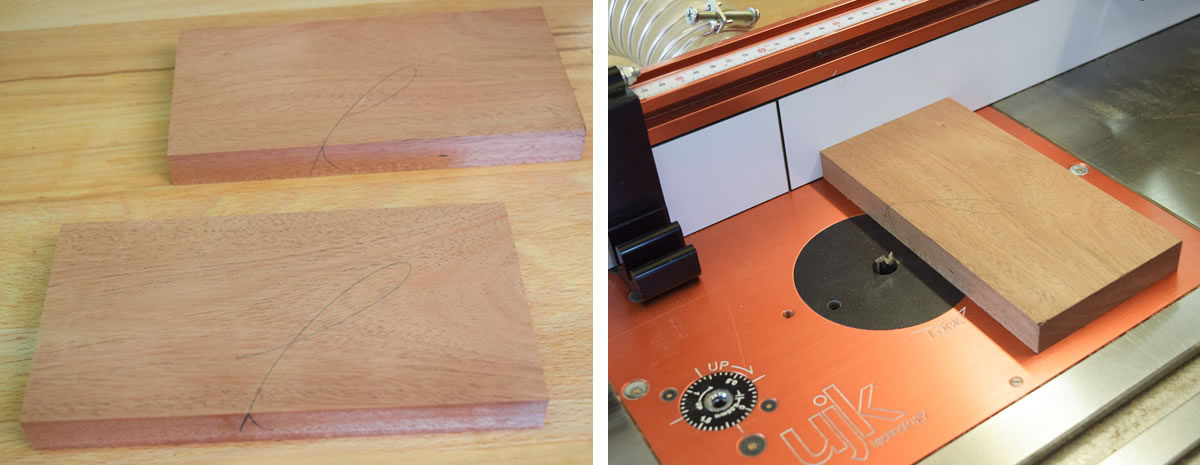
Prepare timber to correct size, ends machined true and square.
Step 2
Insert cutter in table. Cutter size approx ⅔ (12mm) of shelf thickness. Using the fence stop, set the distance of travel to 10mm less than the width of the shelf. Depth of cut approx 5mm.
Step 3
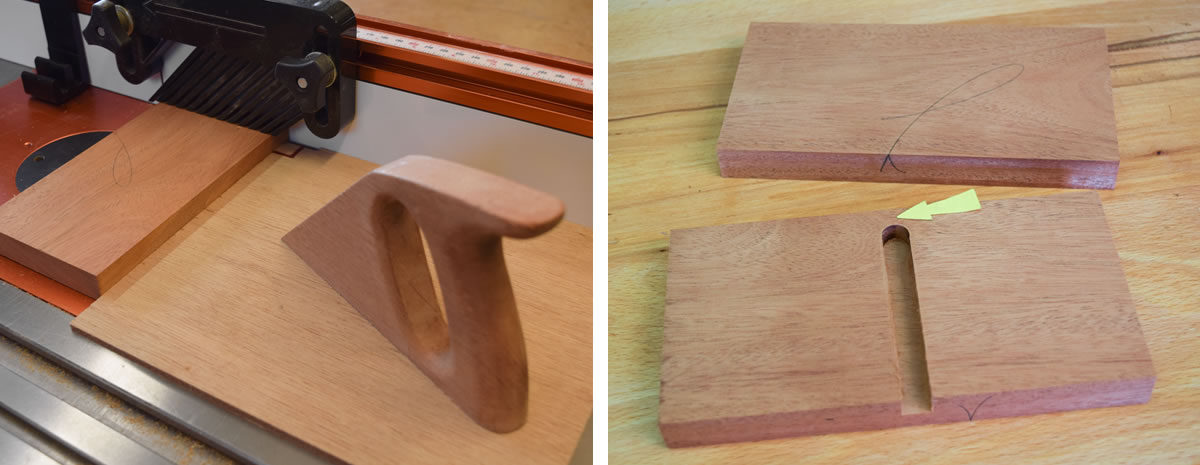
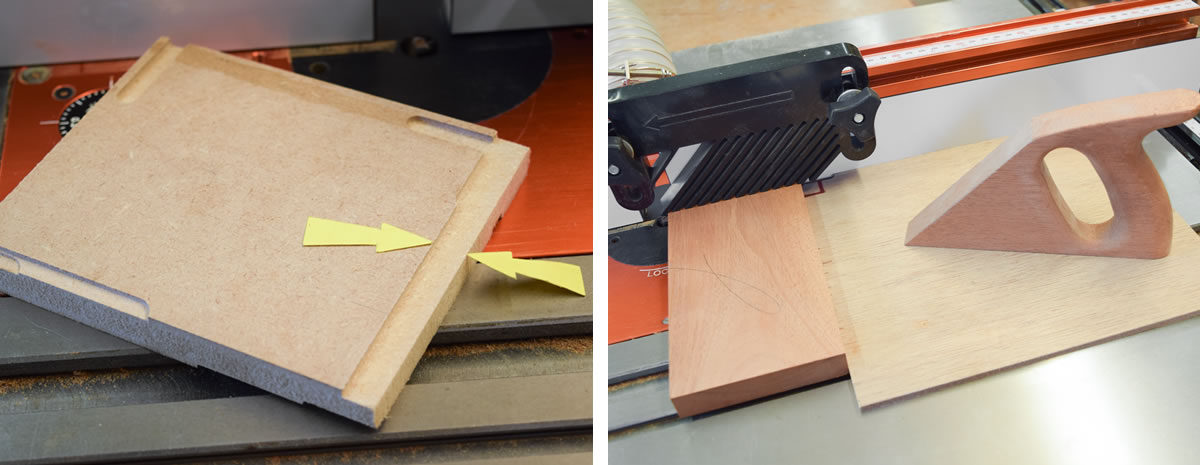
Use feather board and sacrificial push board, which has a square corner shown by the square in the corner near the fence.
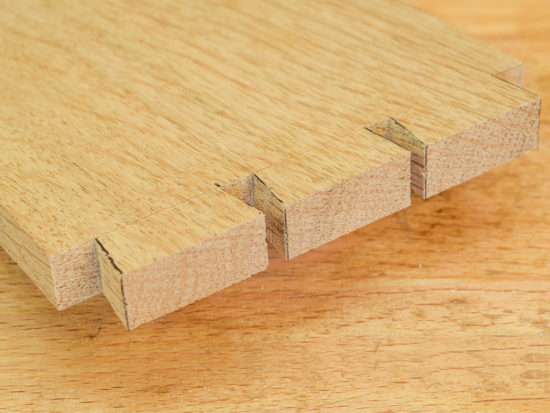
Step 4
After two passes, the housing depth of cut is approx half the shelf thickness and it stops 10mm short of the edge (arrowed).
Step 5
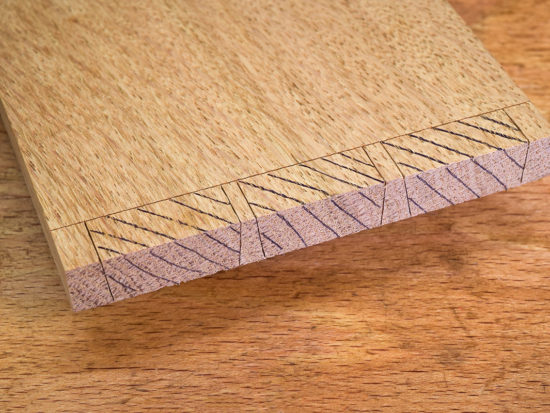
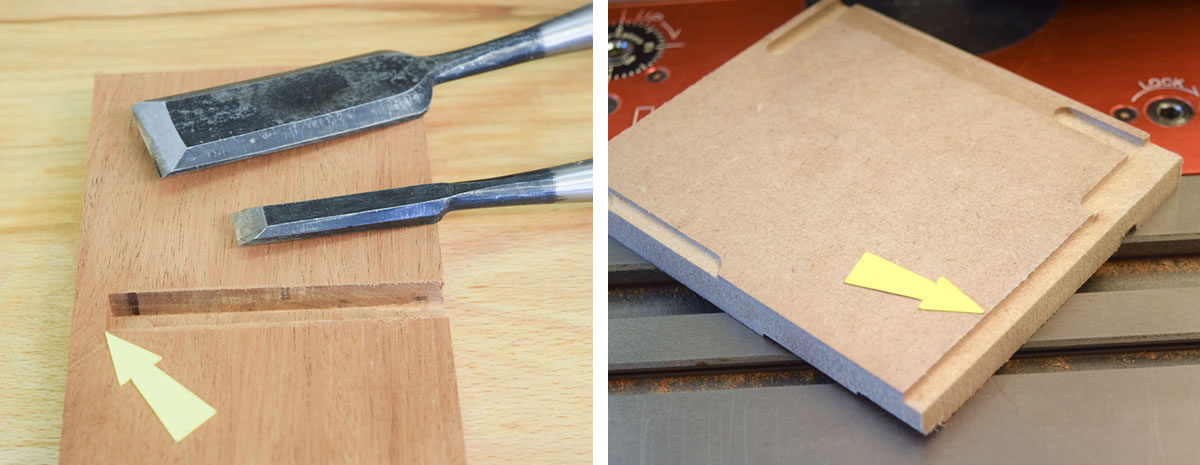
Use chisels to square out the end of the housing.
Step 6
With the same cutter, use scrap mdf to set the initial shoulder depth for the shelf.
Step 7
Adjust fence to obtain exact shoulder depth = depth of the housing.
Step 8
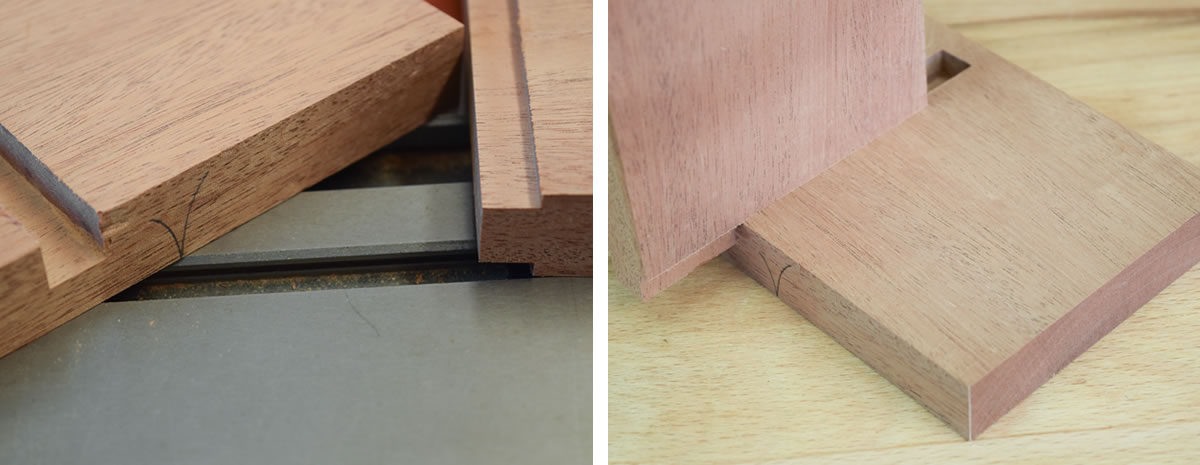
Reduce cutter height and machine shelf from both sides.
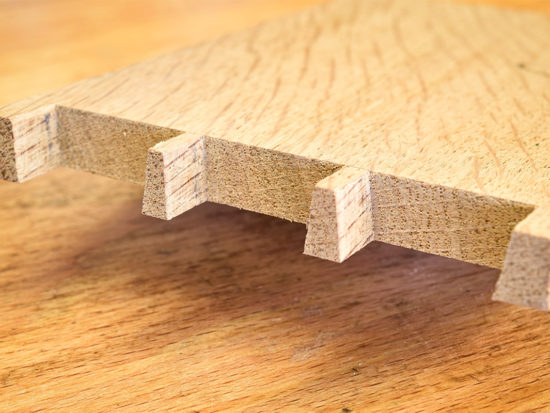
Step 9
After the first pass, the tongue will be wider than the housing.
Step 10
Gradually raise the cutter by tiny increments (‘sneaking up’ on the fit) and repeat until the tongue is a smooth fit into the housing.
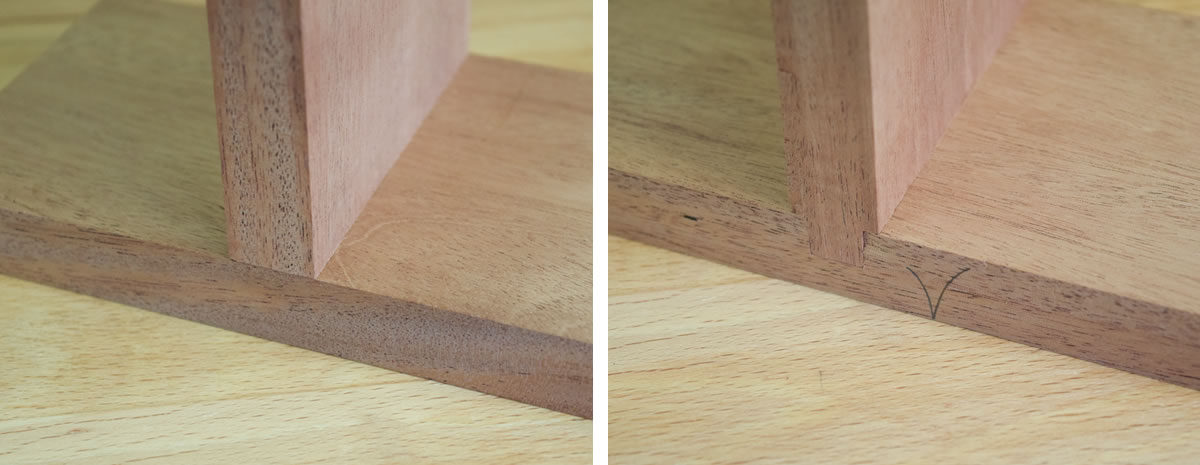
Step 11
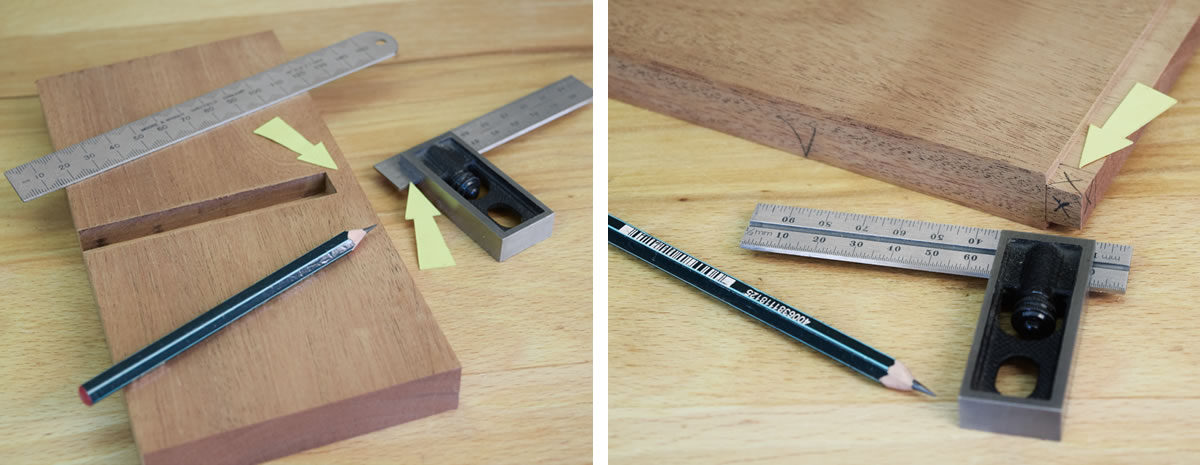
Transfer the distance at the end of the housing (arrowed) onto a sliding try square (arrowed).
Step 12
Mark the end of the tongue (arrowed) and mark waste with a ‘X’ .
Step 13
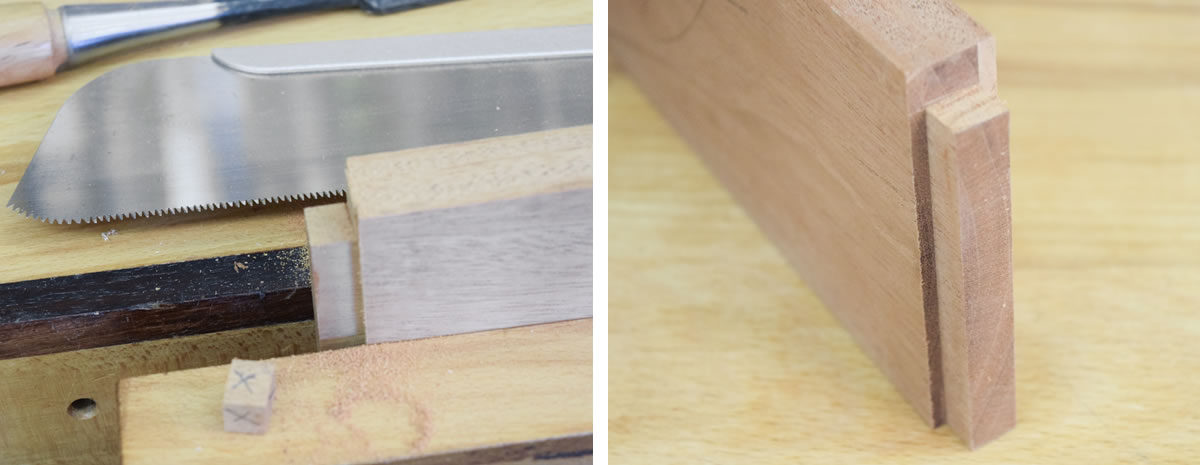
Saw off waste and chisel to the line.
Step 14
Completed tongue.
Step 15
Completed joint, front and rear.