How To Power Carve A Speaker With Arbortech
What you'll need
Power carve a speaker sound amplifier out of plywood for your phone or tablet using Arbortech’s innovative power carving tools.
Follow our simple How To guide to create a straightforward and cheap project with really effective results.
Power Carve Project
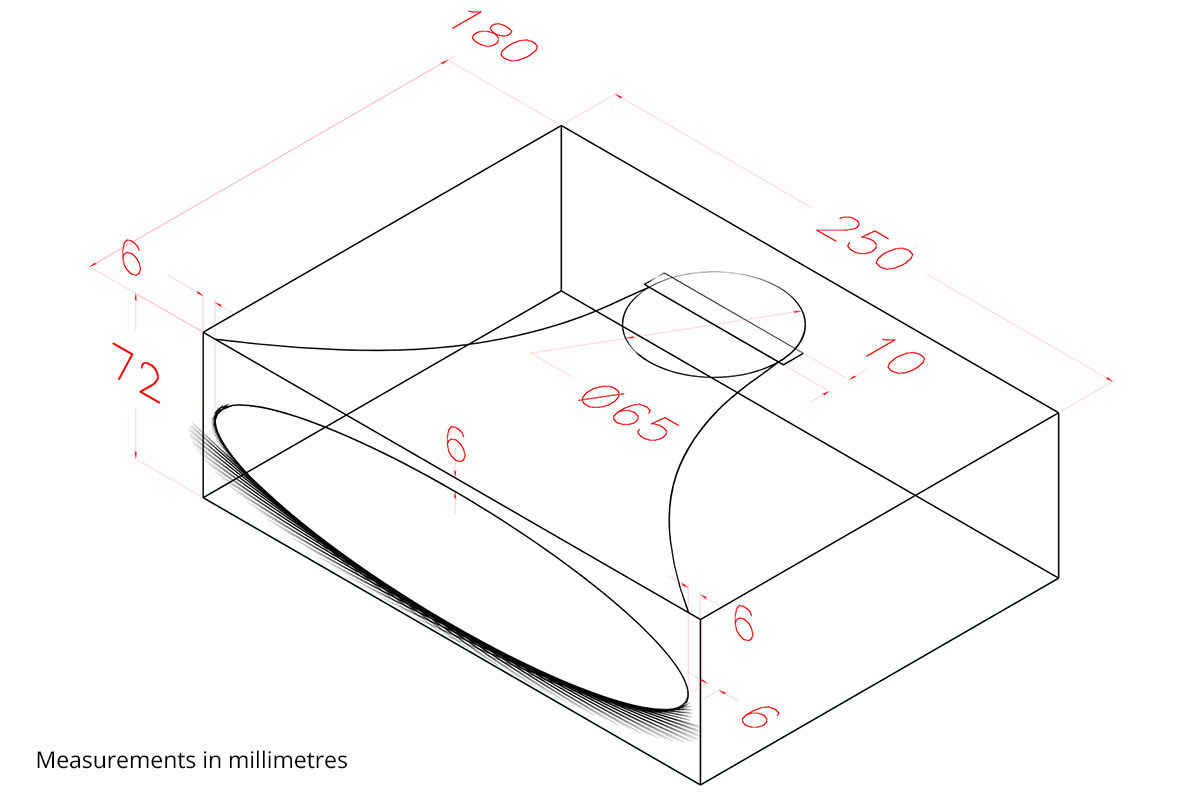
We used the below dimensions (see plan), but this project is suited to various sizes and depends on your phone or tablet.
These plans are supplied for limited non-commercial production only. Persons or organisations interested in the commercial application of this, or any other K. Inkster designs should contact the author C/- Arbortech Pty Ltd. Copyright K & K Inkster 2016 all rights reserved.
Step 1
Start by cutting six squares of plywood to the same size. Then, put three aside and in one of the three remaining layers, drill and chisel out a slot big enough to hold your mobile or tablet. This will make the top layer. Next, drill a hole through the other two pieces of plywood stacked on top of each other. Where you place the hole will depend on where the speakers are on your phone.
Step 2
Next, line up the holes below the phone slot and glue and clamp this stack of three pieces together to make the top section. Then, glue and clamp the second stack of wood together (remaining 3 layers) and give everything plenty of time to dry.
Step 3
Once dry, use a template and outline where the speaker port will be on both the top and bottom sections.
Step 4
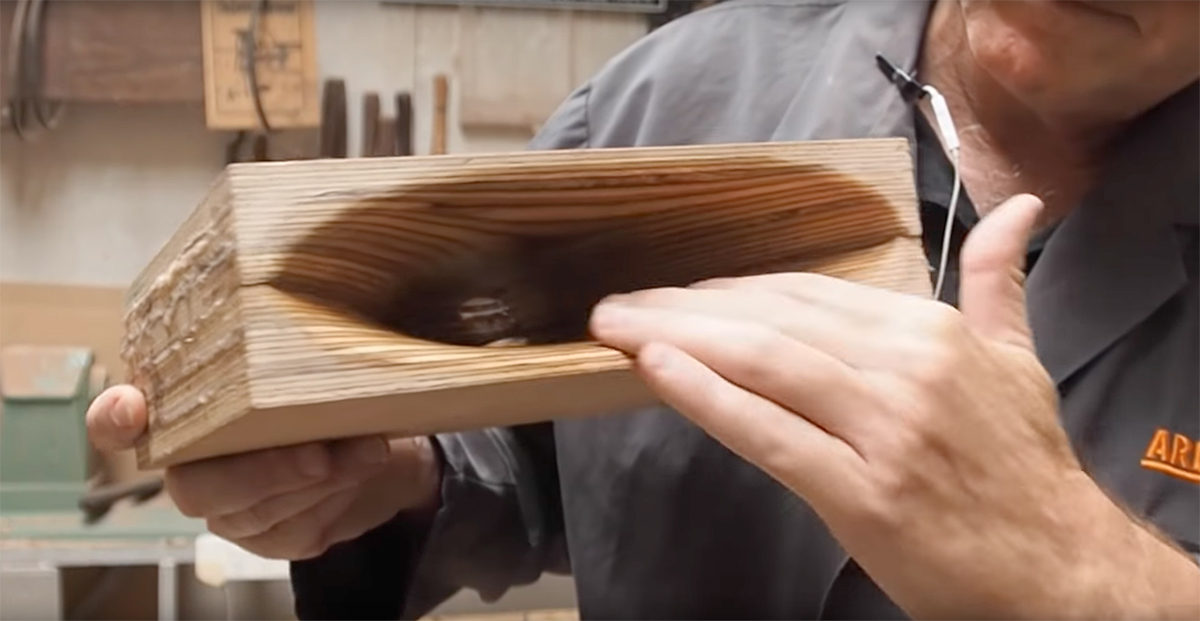
Then, using the TURBOPlane, sculpt it out following the template guides.
Top Tip: Follow the plywood contours as you progress into it to achieve a uniform shape.
Step 5
Next, bring the two sides together and check for alignment, adjusting when necessary. Once you’re happy with the rough shape, switch to the Mini-TURBO coupled with high grit sanding discs to further work on the fine shaping. To get an even smoother finish, you should switch to the contour sander with lower grit sanding discs. It’s orbital sanding action will create the perfect finish on these round free-formed shapes.
Top Tip: As it’s difficult to perfectly match the top and bottom, slightly round the inside edges so that there’s not a defined edge as they come together.
Step 6
Then, oil the inside shape using Finishing Oil, and then glue and clamp the bottom and top together. Once dry, use the TURBOPlane and the Contour Random Sander to round all of the outside edges, showing the natural grain of the plywood. Finally, apply a coat of finishing oil and allow to dry.
Read more about the Arbortech Power Carving Unit in our blog.
Post Updates:
Updated links