How To Turn An Eggoscope
Brief:
Eggoscopes, or egg shaped kaleidoscopes are a great gift all year round! An unusual, yet easy to make design that’s guaranteed to keep children (and adults) entertained.
Tools needed:
- Woodturning lathe
- Woodturning tools
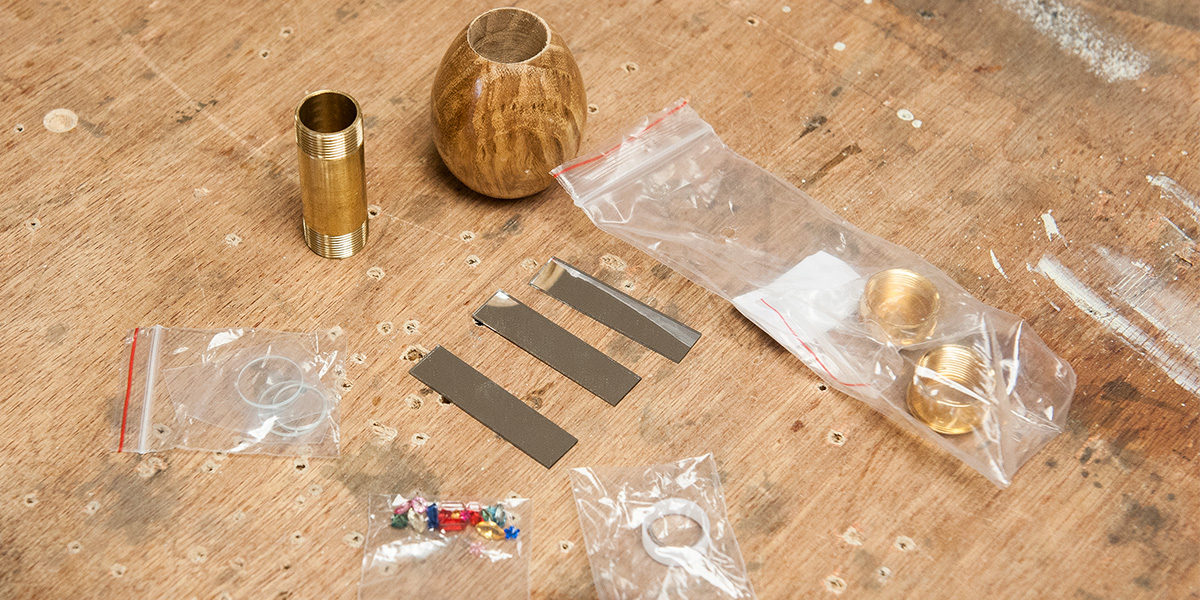
- Eggoscope kit
- Project blank of your choice
- Friction polish for wood blank
- Burnishing Cream for Acrylic or Polyester blank
- Forstner bit
- Friction polish
- Sanding sheets
- Ruler
- Safety cloth
About this project
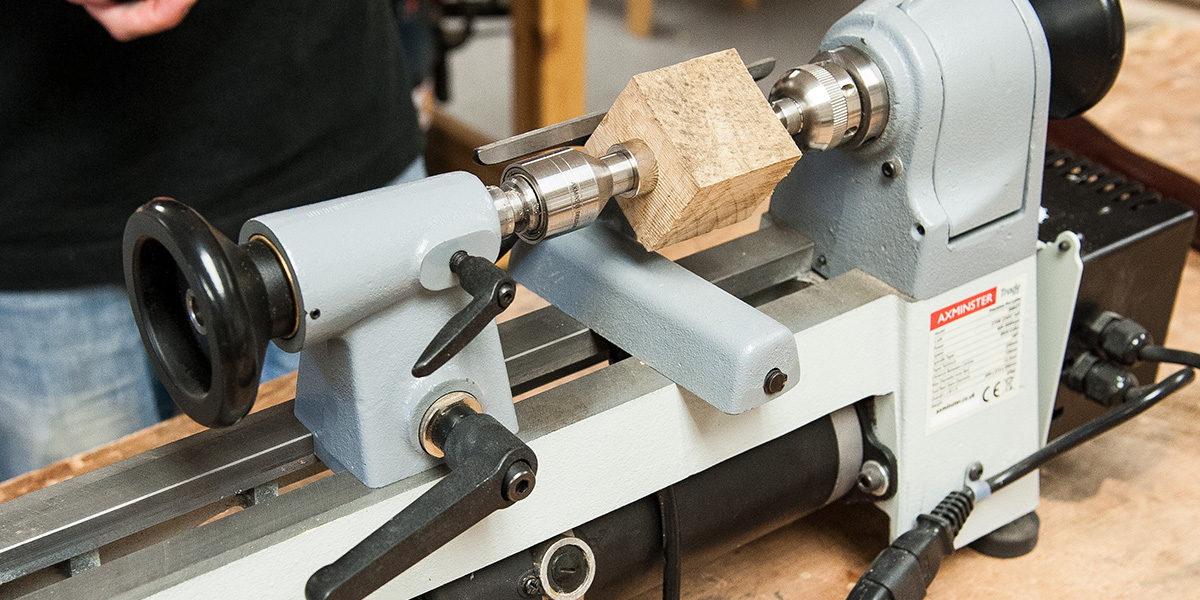
We have used the Axminster Precision Pro Lathe to turn the Eggoscope, a lathe that is perfectly suited to pen and project work especially when turning bulk projects; however you can use any of Axminster Hobby or Axminster Trade lathes to turn this kit.
Preparing the blank
Step 1.
Cut your project blank to a cube 2” x 2” x 2-1/4" (50.8mm X 50.8mm X 57.15mm). Measurements must be exact for the mechanisms to fit correctly.
Step 2.
Find the centre of the square, then using the forstner bit, drill a 13/16” hole all the way through.
Step 3.
Mount the bushings provided with the kit along with the blank on to the mandrel.
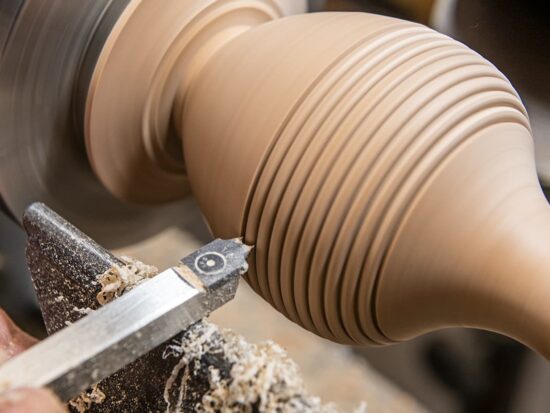
Turning the egg shape
Top Tip: The maximum outside diameter of the egg after turning should be between 1-3/4" and 1-7/8".
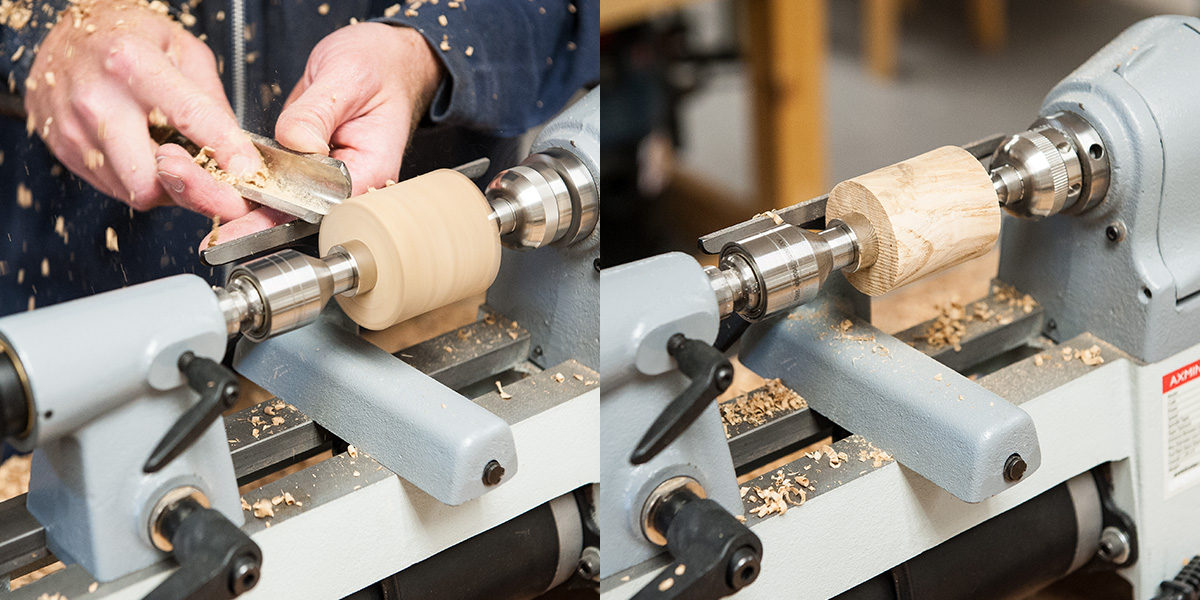
Step 4.
Using a roughing gouge, with your tool rest just below centre, begin roughing down the blank to a cylinder shape.
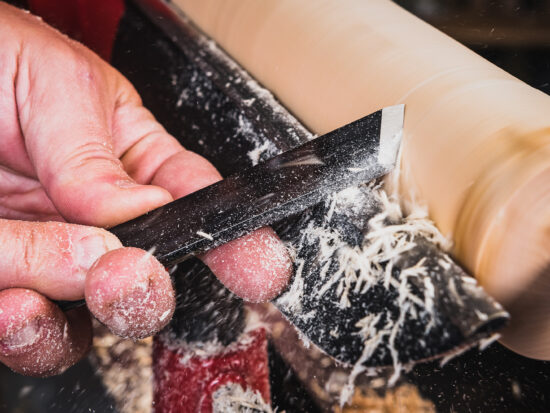
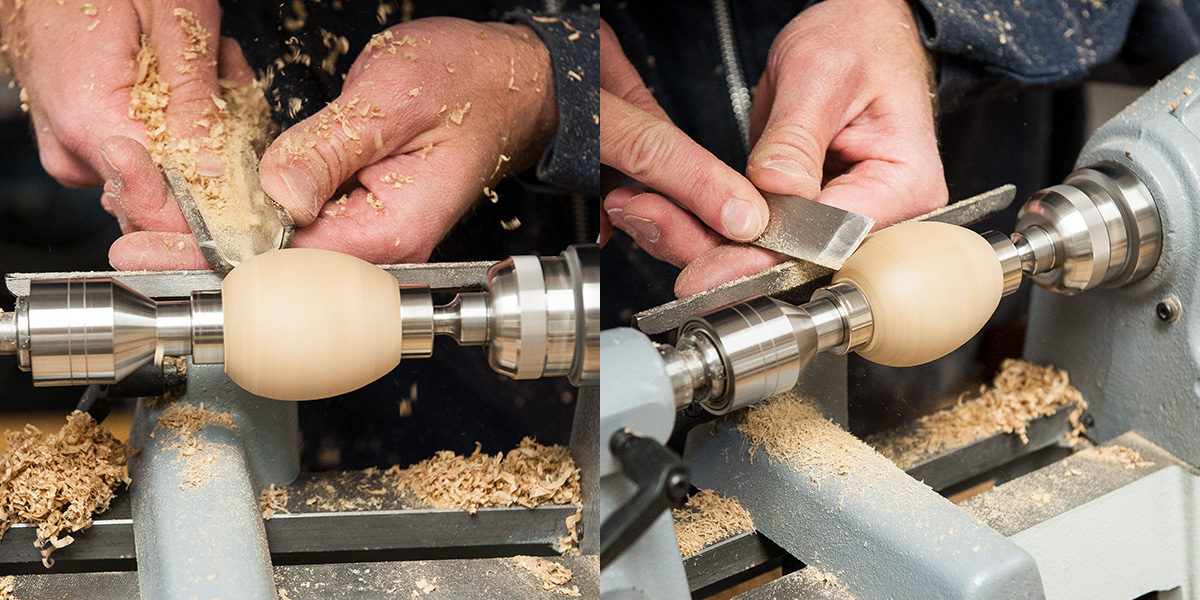
Step 5.
Raise up the tool rest to just above centre. Using a skew chisel plane out the cylinder further, until you have your egg shape.
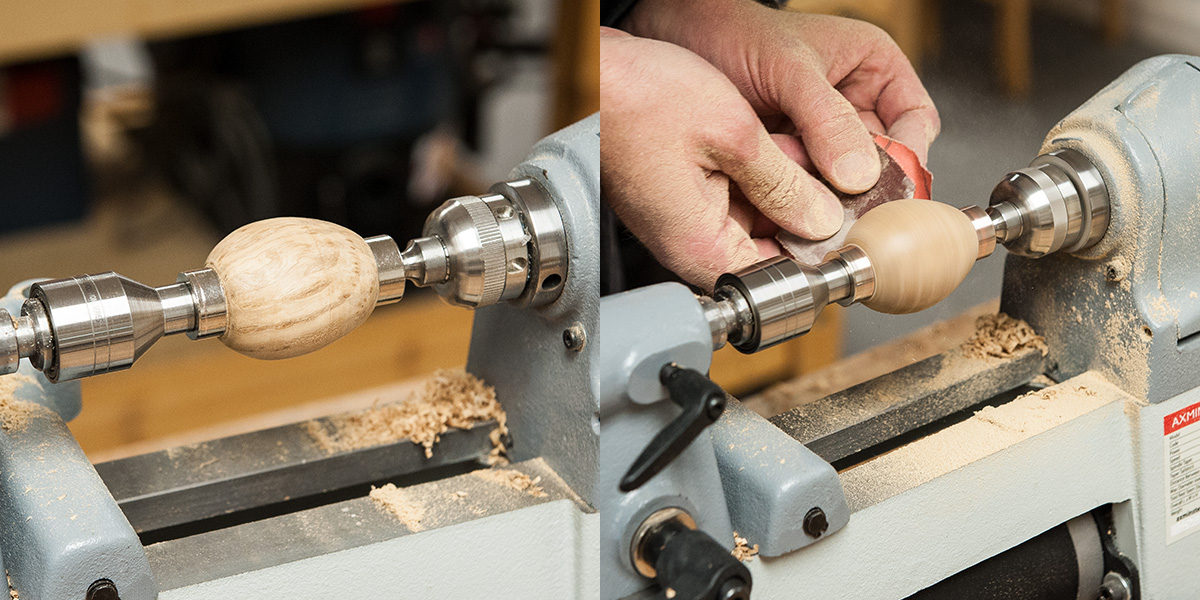
Step 6.
Remove the tool rest and sand the egg using grades 100-150-240-320-400 and 600. Leaving no scratches or imperfections.
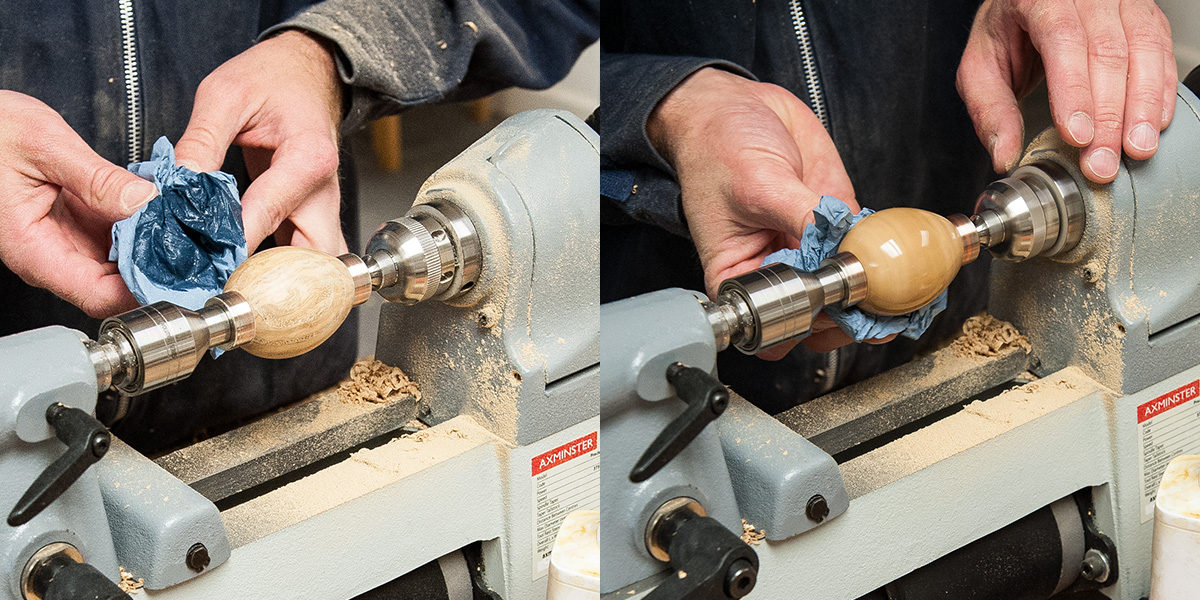
Step 7.
Add some Friction Polish to a rag*, start the lathe and hold the rag against the egg, making sure all of the egg is covered in polish.
*For safety, always use a rag that will tear to reduce the risk of it wrapping around the project.
Assembly
Step 8.
Installing the lens in the viewing cap. Take the viewing cap with the eye-hole facing down and drop in the lens convex side down/flat side up into the recess inside of the cap. Then place the lens retaining spring on top of the lens, using something small and blunt (end of a pencil works fine!) push the spring down into the recess to secure the lens in place.
Step 9.
Take the end cap and face it thread end up. Peel off the protective cover from the dust cover and place it to sit in the bottom of the end cap.
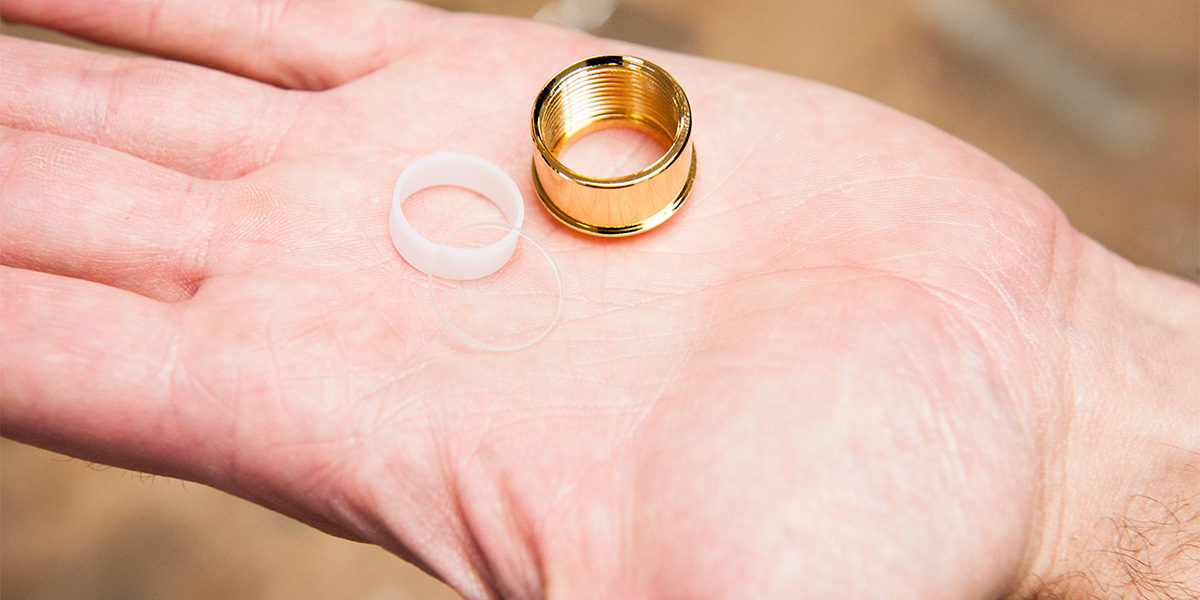
Step 10.
Insert the spacing sleeve into the end cap, pressing firmly to ensure it sits completely on to the dust cover. Insert selected gems.
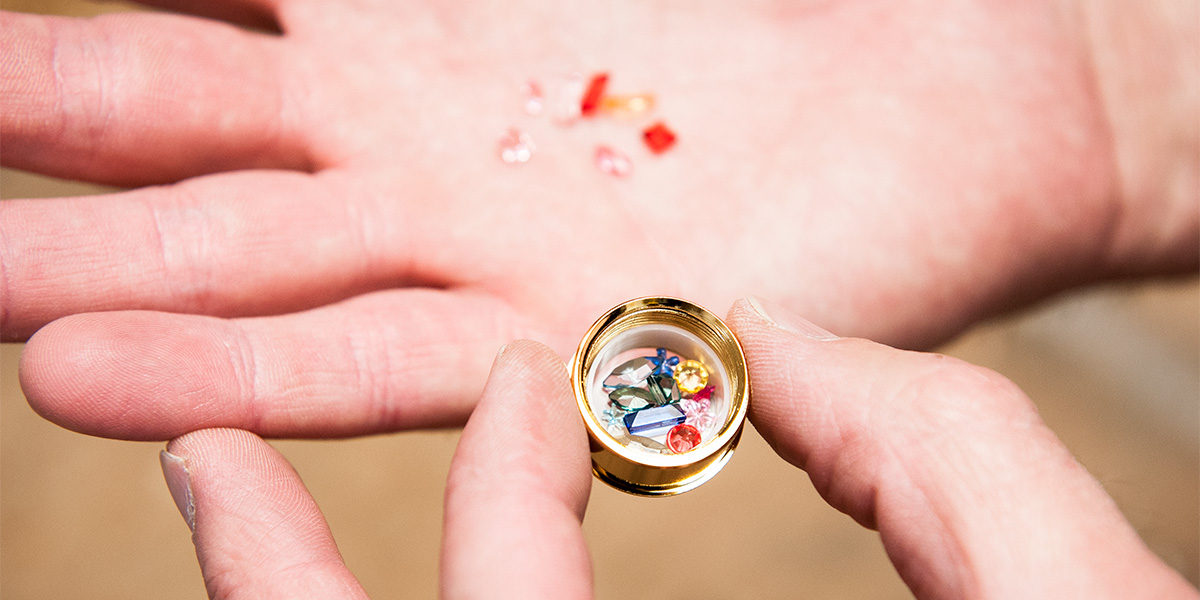
Top Tip: You do not need to use all of the gems provided; fill the cap with gems until they fill half the space, they can then turn freely.
Step 11.
Remove the protective cover from the second dust cover, place it on top of the spacing sleeve to enclose the gems inside.
Step 12.
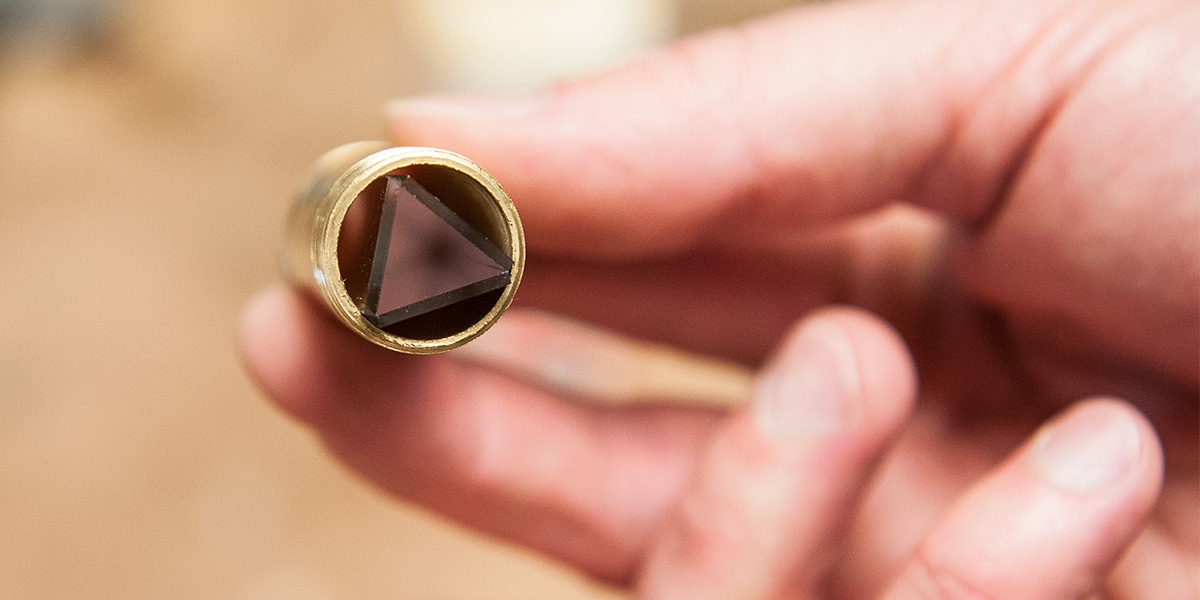
Assemble the mirrors; first by removing the protective film for one side on each. Then place each mirror inside the brass tube to form a triangle, this should be a tight fit, if not wrap tape around them so they do not move around.
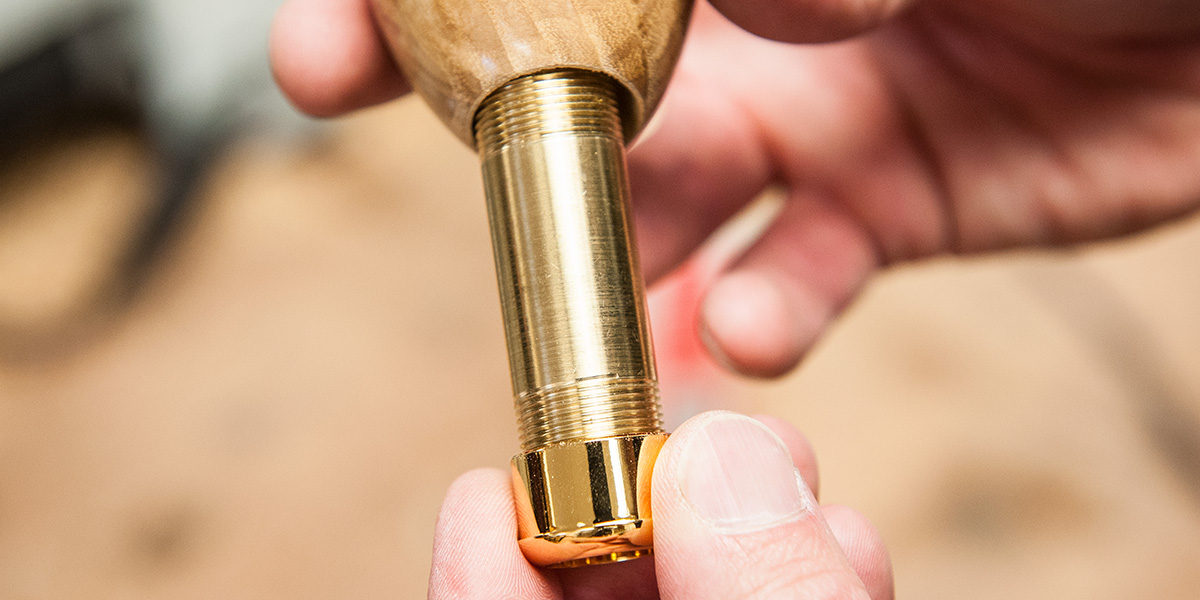
Step 13.
Thread the brass tube (with mirrors inside) into the end cap, and insert through the egg blank. Screw tightly the viewing cap on to the other end of the tube, with the eyehole down so the lens doesn’t fall out.
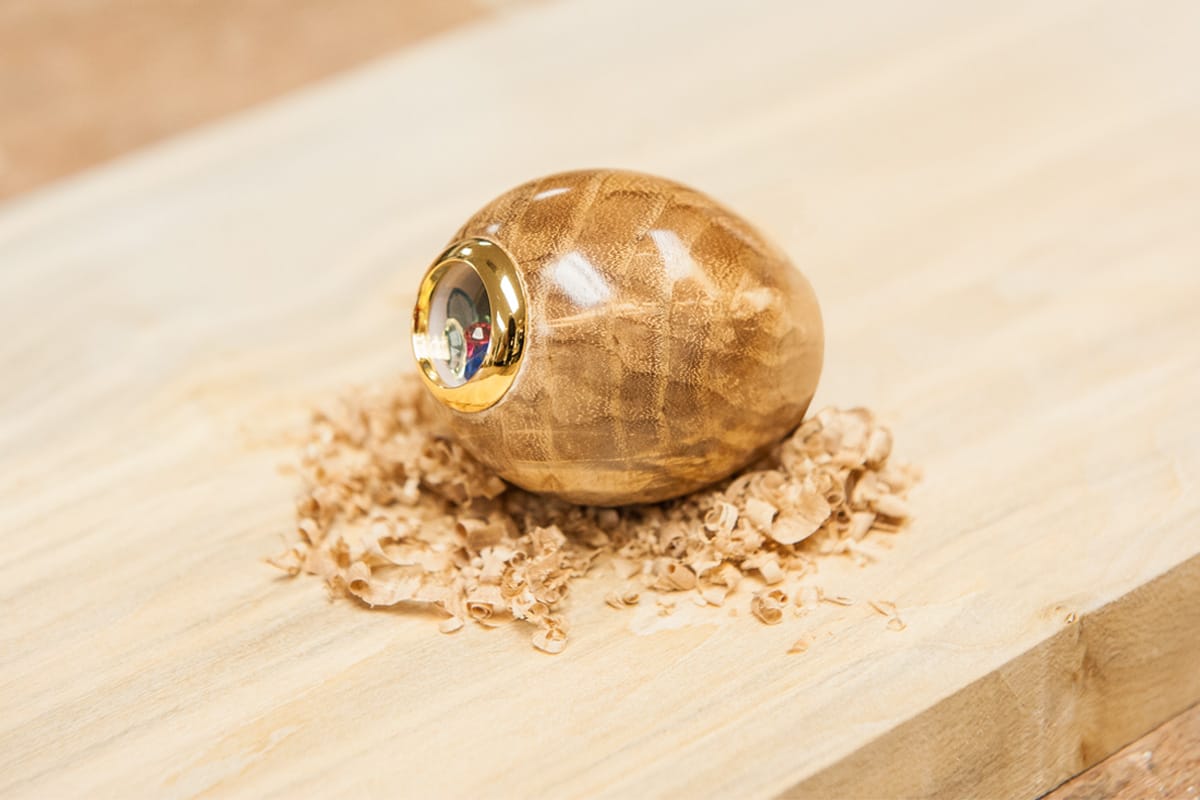
Give as a gift or enjoy yourself!