How To Make A Fidget Spinner
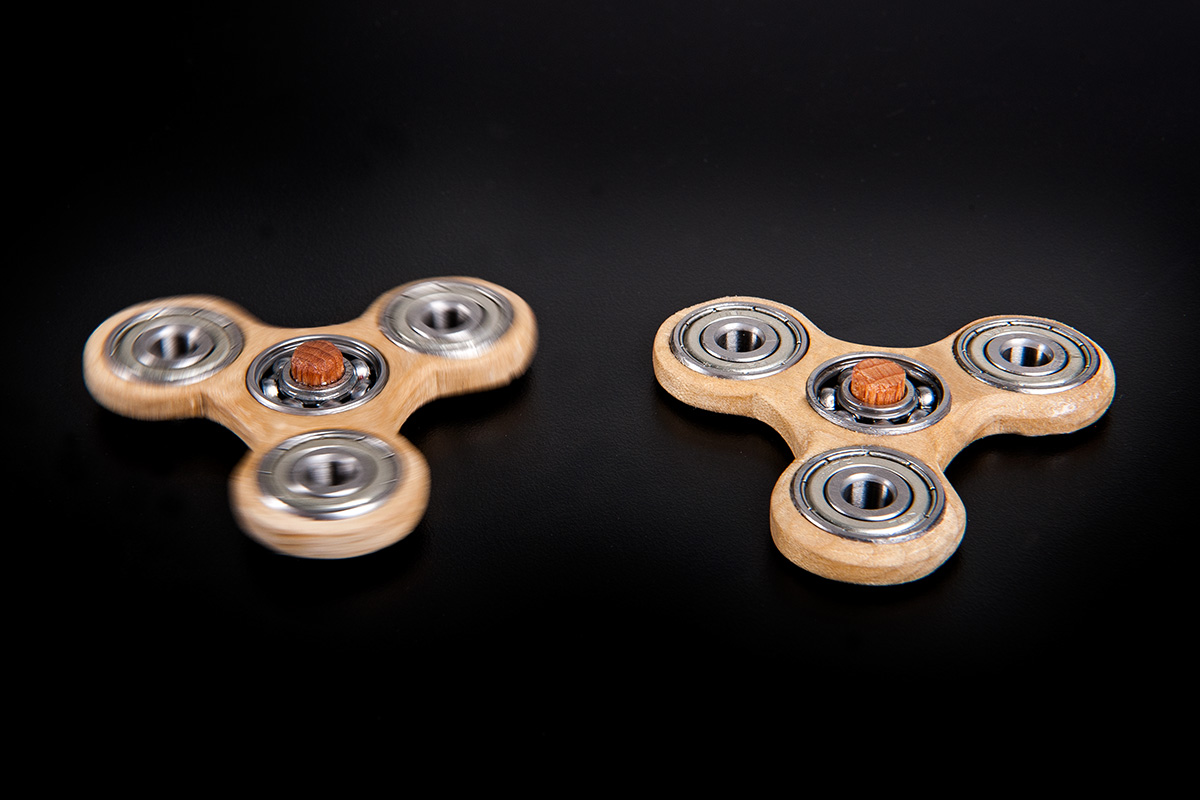
Has the fidget spinner craze hit your house yet? We’ve put together a How To to show you how you can make your very own unique spinner. Join the craze and learn how to make the coolest toy in town!
What you'll need
Preparation to make your fidget spinner
Scroll saw pattern
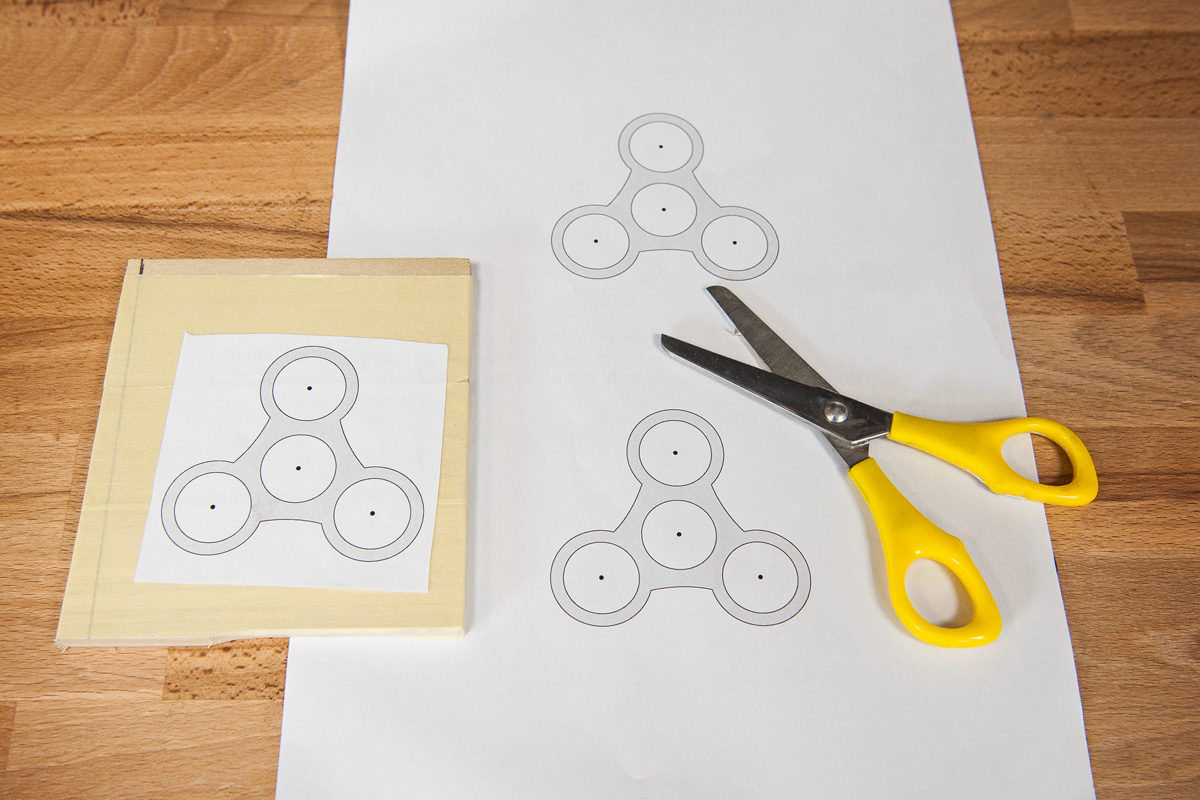
Choose a scroll saw pattern for your fidget spinner. Either the pattern we have provided (downloadable link below) or a pattern of your choice. Download, print off (on standard A4 paper) and roughly cut your pattern out. If using your own pattern, please adjust the steps accordingly.
Bearings
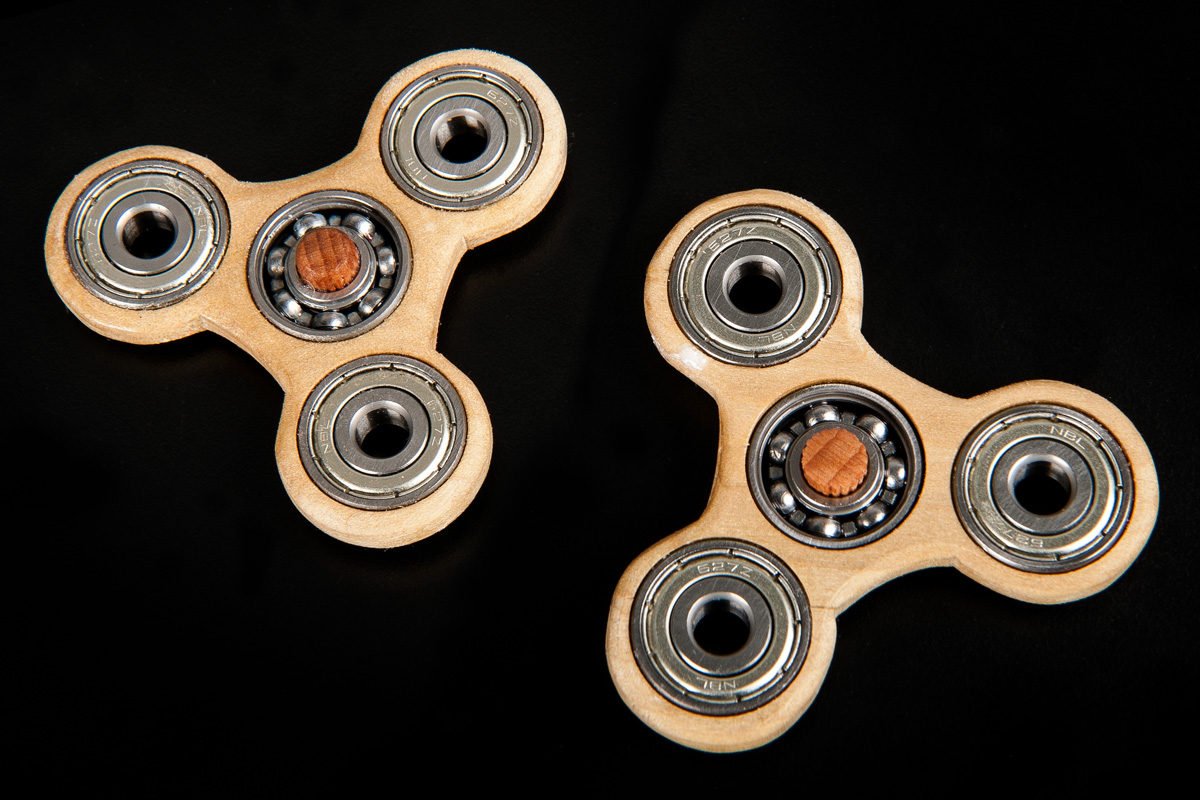
Soak your bearings in a degreaser to remove any old grease and dirt. We have used four bearings; the centre bearing is a 22mm x 8mm with a rubber seal, this is to allow for the rubber seal to be taken out to remove excess dirt and allow for faster spinning. For the three outer bearings, we have used 22mm x 8mm with a metal seal. This provides weight to the fidget spinner and again allows for better spinning.
Choosing your timber
Select an appropriate timber for your fidget spinner. We've used tulip to minimise any snapping. Cut the timber to a comfortable size to fit your scroll saw pattern and to the same depth as your bearing.
How to make your fidget spinner
Step 1
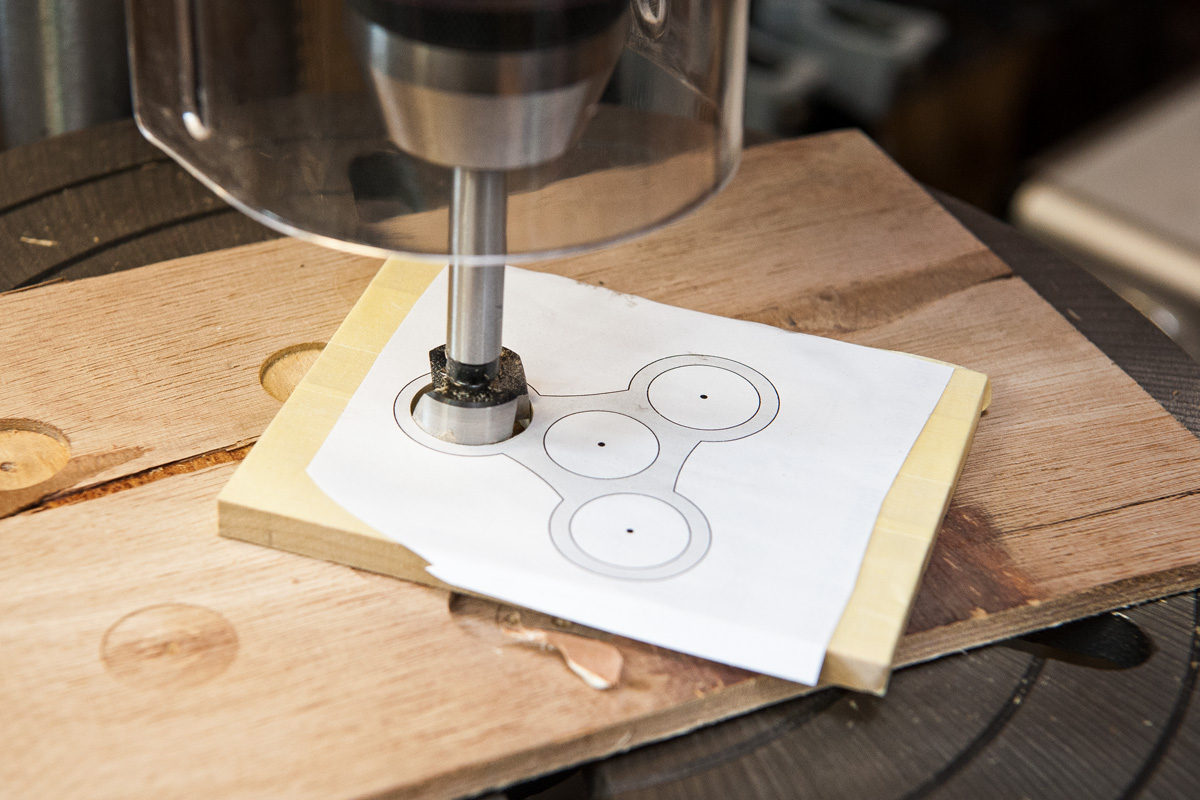
Stick your pattern to your timber to use as a stencil. To ensure no residue is left afterwards, we recommend using masking tape. Mask your timber first and then use a glue stick to stick your pattern on to the top of the tape.
Step 2
Drill your holes to fit the bearings into. We have used a pillar drill with a 22mm Forstner bit to do this. Note: on our pattern we have marked the centre of each bearing hole for accuracy when drilling.
Step 3
Using a scroll saw, cut your timber to the shape of your pattern to form the shape of your fidget spinner.

Step 4
Round the edges of the spinner using a router with the router table to achieve a smooth finish.
Optional
Use a Router elevator to help elevate the cutter.


Step 5
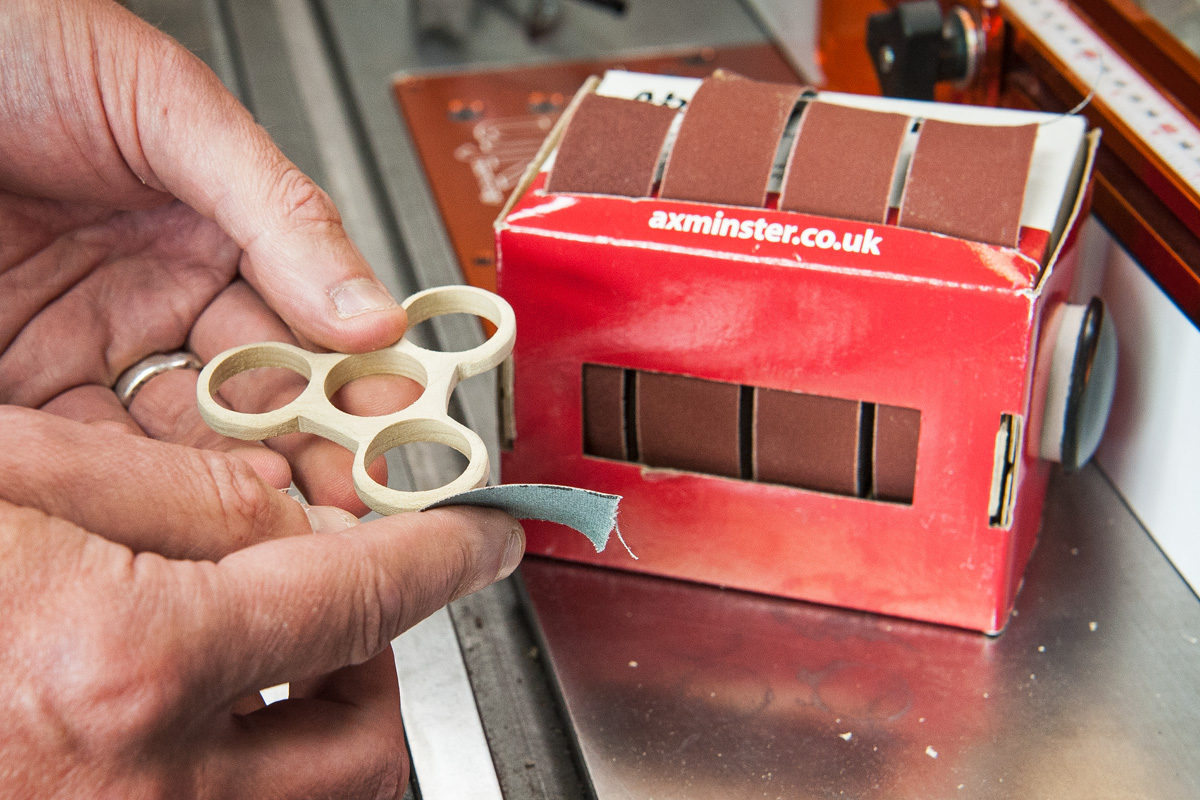
To remove any rough edges on your timber left from the router cut, use an abrasive strip to smooth and give a nice clean finish.
Step 6
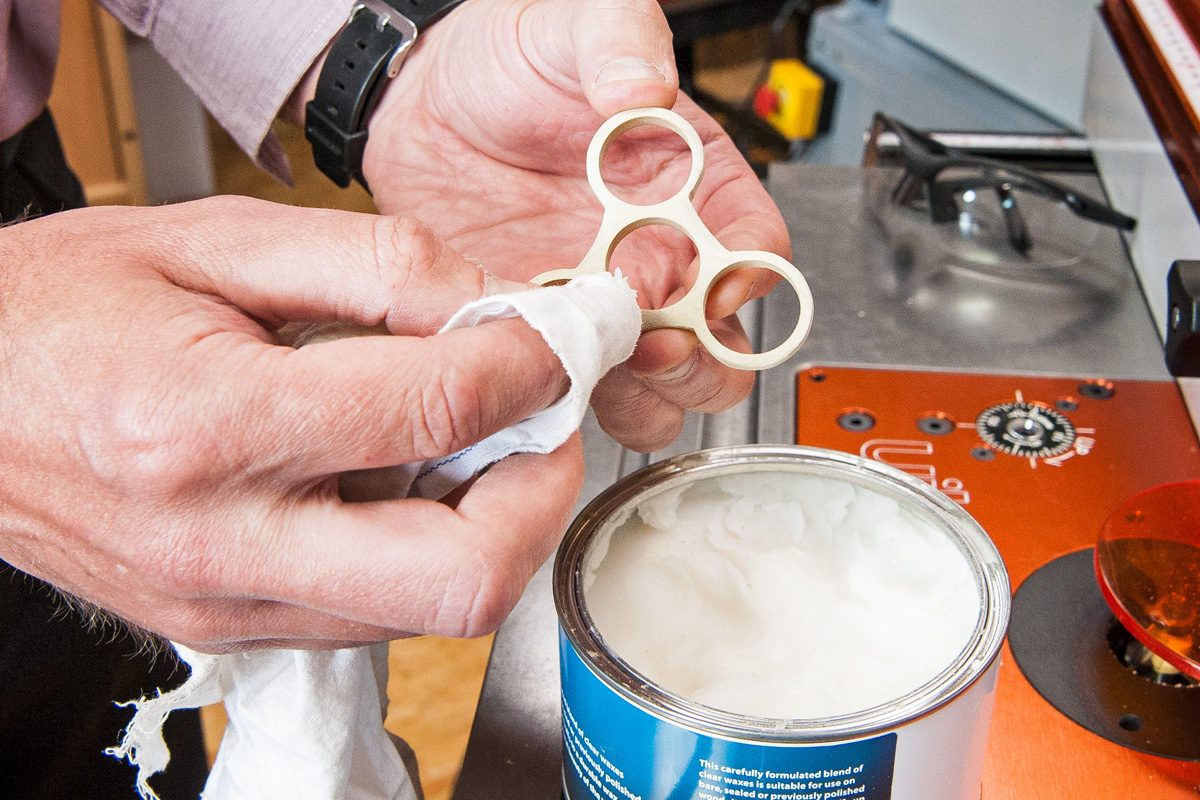
Using a cloth, apply the finishing wax to your spinner.
Optional
You can apply a colour stain to the spinner to create a decorative finish.
Step 7
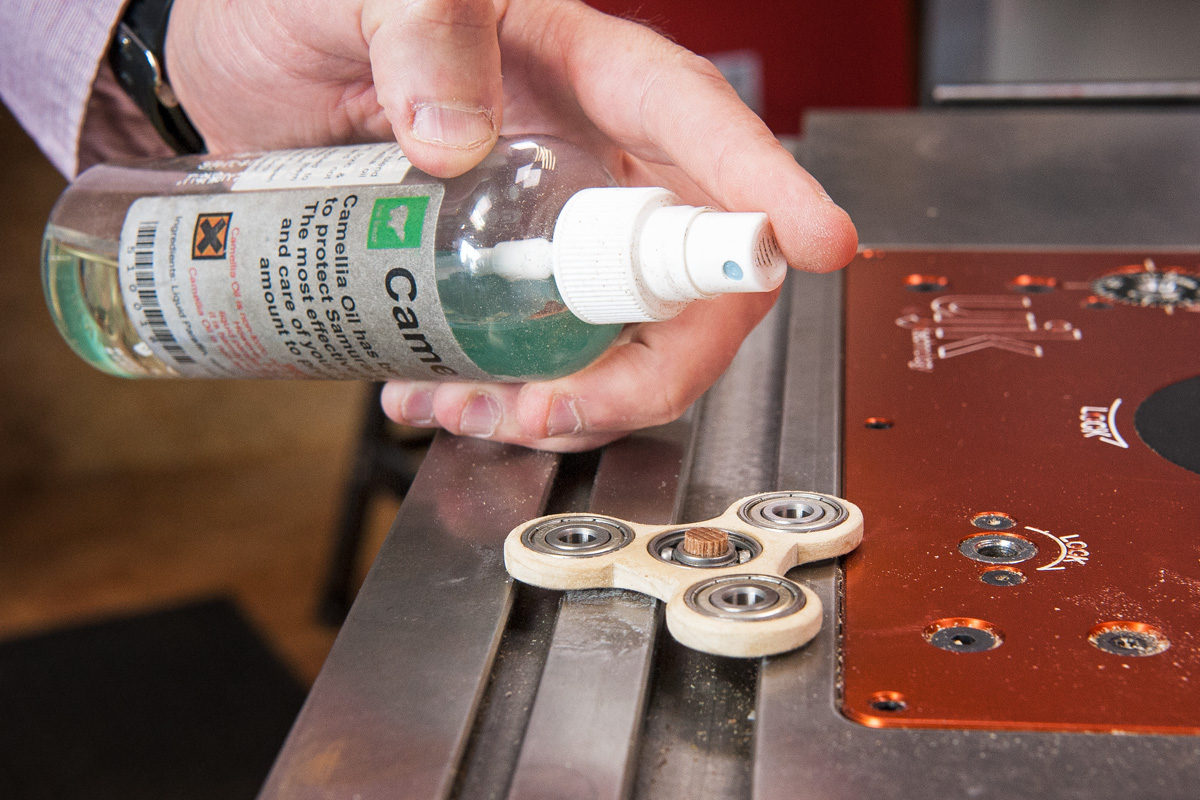
To insert your bearings, use Titebond Instant Bond. Spread the glue evenly around your bearing and insert each bearing into each hole and allow to dry.


Step 8 - The secret ingredient for super fast spinning!
Camellia Oil can be used to lubricate your spinner and make your gadget spin even faster. The light oil will also act as a protector against rust and corrosion.
Optional
If you would like to finish yours with a centre cap for the holding piece, you can purchase these from many online stores.
Health & Safety
Please be aware that the bearings can fall out over time and may need to be re-glued back in.These may be a choking hazard so small children should not be left unattended with the spinner. The finishing wax we have recommended is not food safe; if using with a young child we recommend using a food safe finishing product.