How To Make A Greenhouse Grow Box
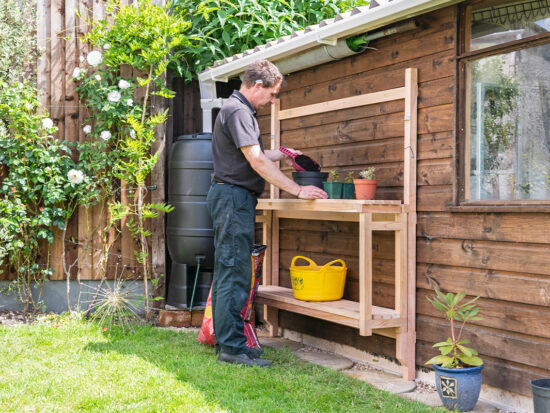
A greenhouse grow box is easy to make using a few simple hand tools, a portable workbench, drill driver and a saw. A workshop isn’t necessarily needed either, as these boxes can be made quickly on the garden patio.
If you’re actively composting organic waste in your garden, then replace shop bought grow bags and make wooden planters, designed to stay permanently in the greenhouse and fill with your own compost; the compost can be recycled again at the end of the season.
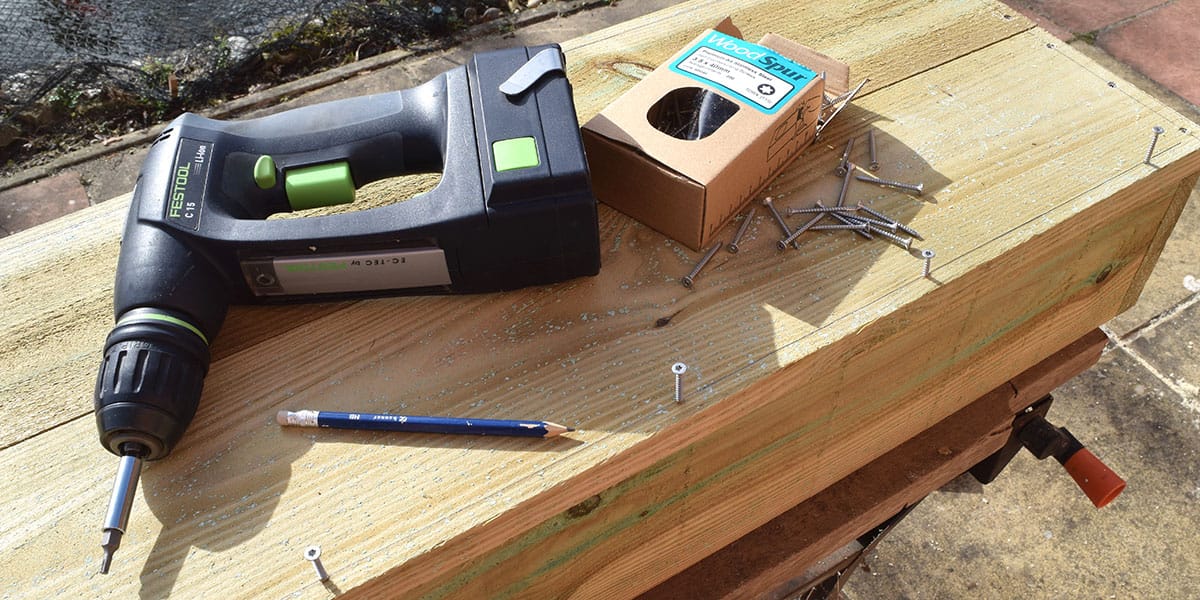
What you'll need
Making your greenhouse grow box
Step 1
This guide used 150mm wide tanalised gravel board for the length of the grow box, which was cut down to 125mm. The excess timber can then be used as the feet. Clamp the board to the workbench securely with two clamps. Then. set the circular saw to the correct depth of cut (the teeth should just clear the underside) and saw to the correct width of 125mm.

Top Tip!
A circular saw is much easier to use than a handsaw for any of the cuts if the boards are wet.


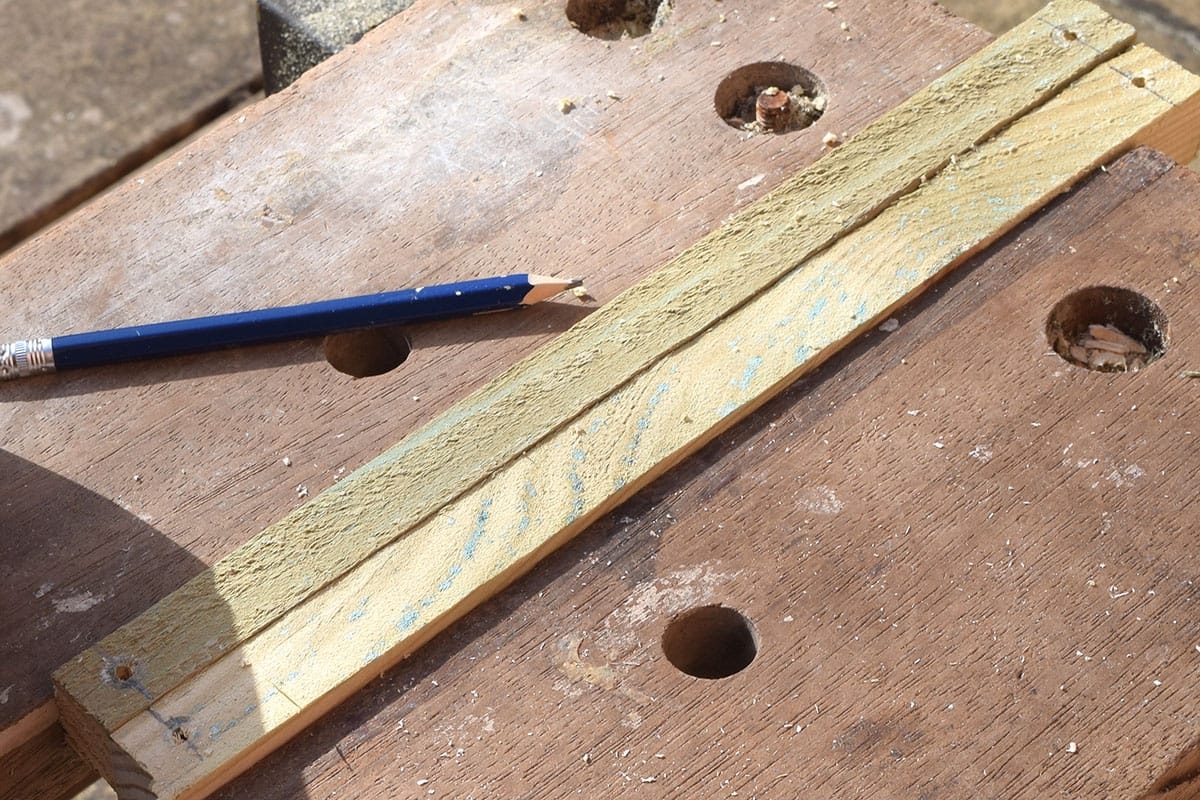
Step 2
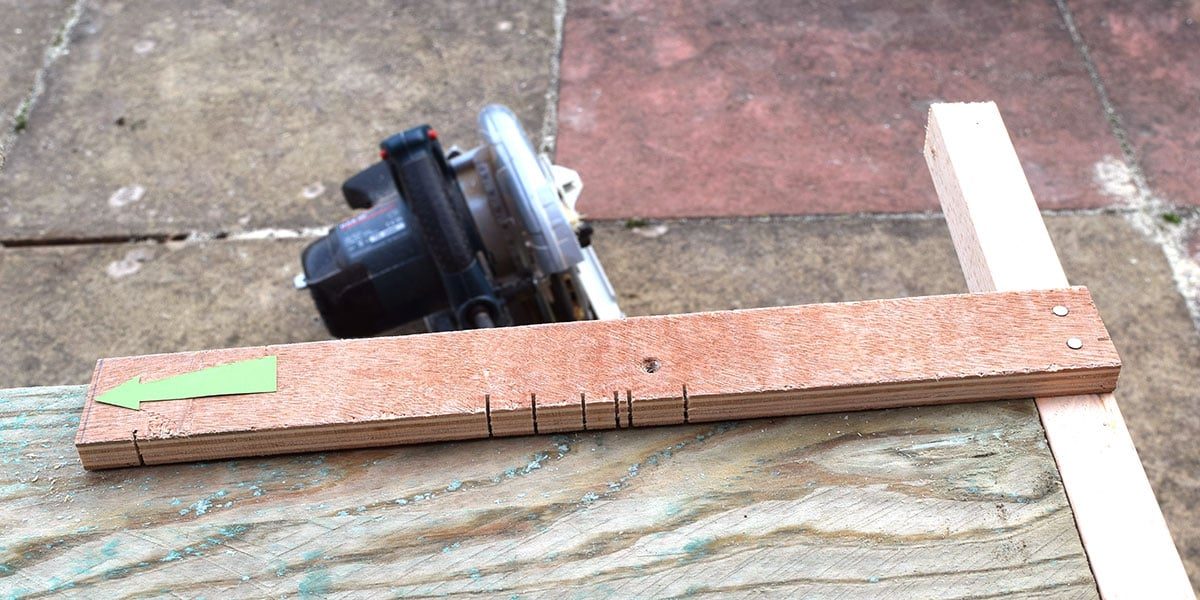
Using scrap offcuts, make a 'T' template to allow for the saw blade kerf which is the exact length of the short sides (300mm), add 2mm (arrowed).
Step 3
Butt the crosscut 'T' against the end of the scrap T template, saw off short sides in turn. Every piece will be square and exactly 300mm long.


Step 4
The long sides were cut at the timber yard to 1.5m. Place a pair on the portable workbench, ensuring they're clamped with ends level. Measure 750mm and split the line with the circular saw, ensuring the depth of cut is correct. Alternatively, if the timber is dry, use a handsaw to cut the boards in half.


Step 5
Cut baseboards overlong (approx 830 x 150mm) - two are needed for each grow box.
Step 6
Use waste offcuts to make the grow box feet. Mark a line across several of them, ensuring that no knots are included and saw off square.
Step 7
Use the 300mm 'T' template to measure the length of the feet. Saw off as many as required.
Step 8
Drill 4.5mm pilot holes to prevent the ends from splitting when the screws are driven; mark a pencil line across each of the short ends.
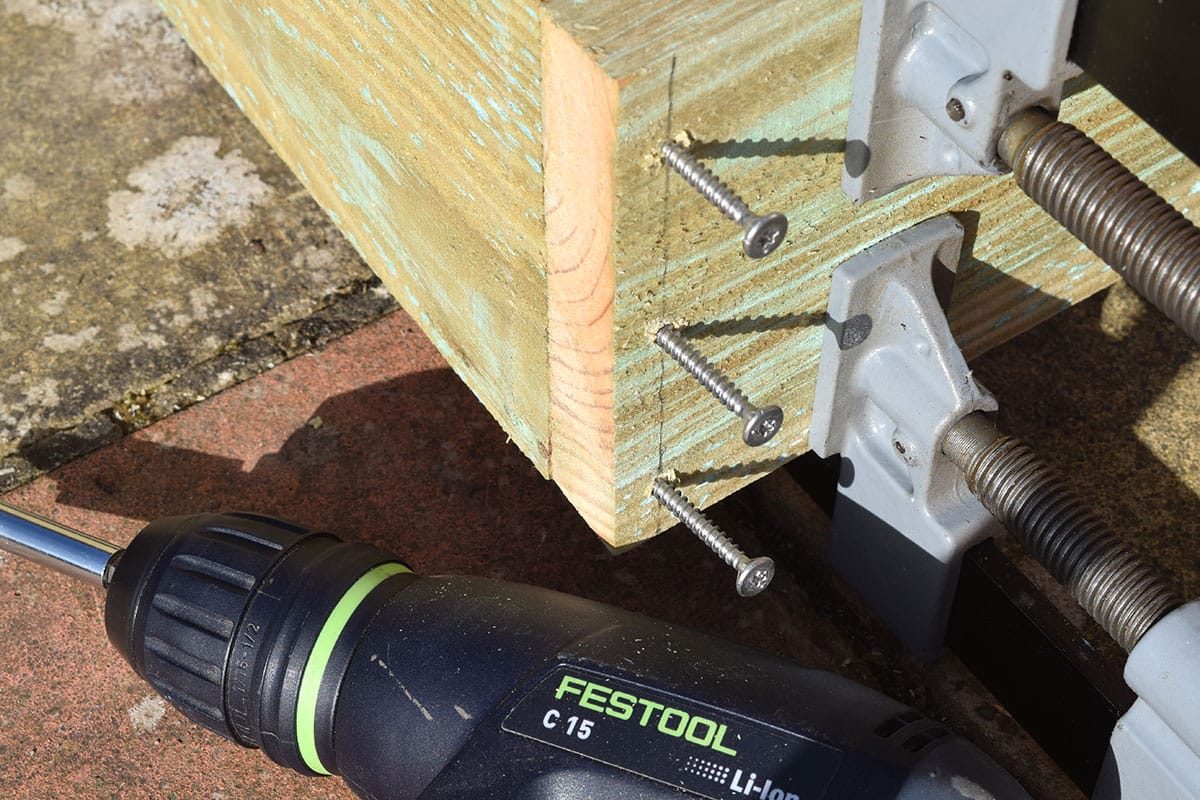
Step 9
Use sash clamps to hold the short ends in place. Use 4.5mm stainless steel screws to make each corner joint.
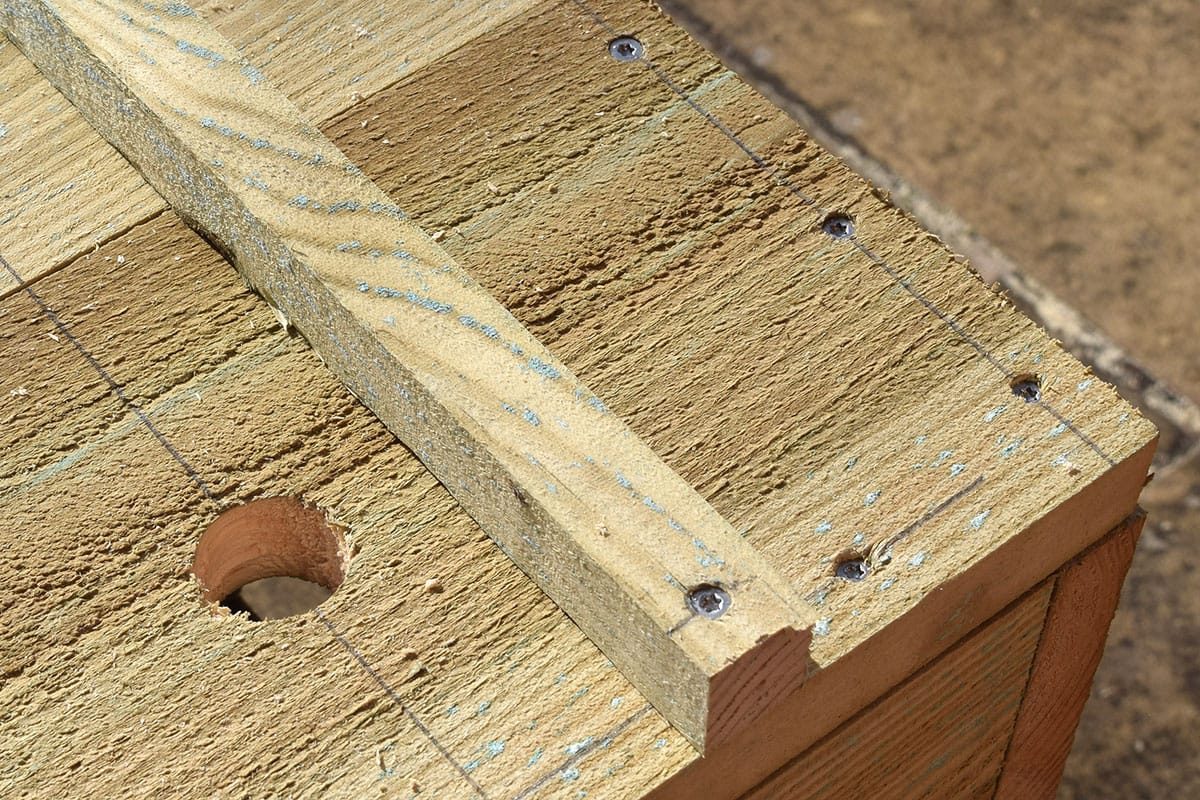
Step 10
Place each baseboard level with the end of the grow box. At the opposite end, mark the underside with a pencil, saw both to length.


Step 11
Mark a centre line across the ends of each of the baseboards, drill 3.5mm pilot holes.

Step 12
Screw the baseboard ends in place with 3.5mm stainless steel screws, followed by the sides of each baseboard.
Step 13
Mark out the positions of six drainage holes in the baseboards and drill the drainage holes with a 25mm flat bit, drilling part way through until the screw point emerges on the inside of the grow box. Turn the box over and complete the drainage holes.


Step 14
Clamp a pair of feet in the portable workbench, drill 3.5mm pilot holes at each end.
Step 15
Screw the feet in place with 3.5mm stainless steel screws.
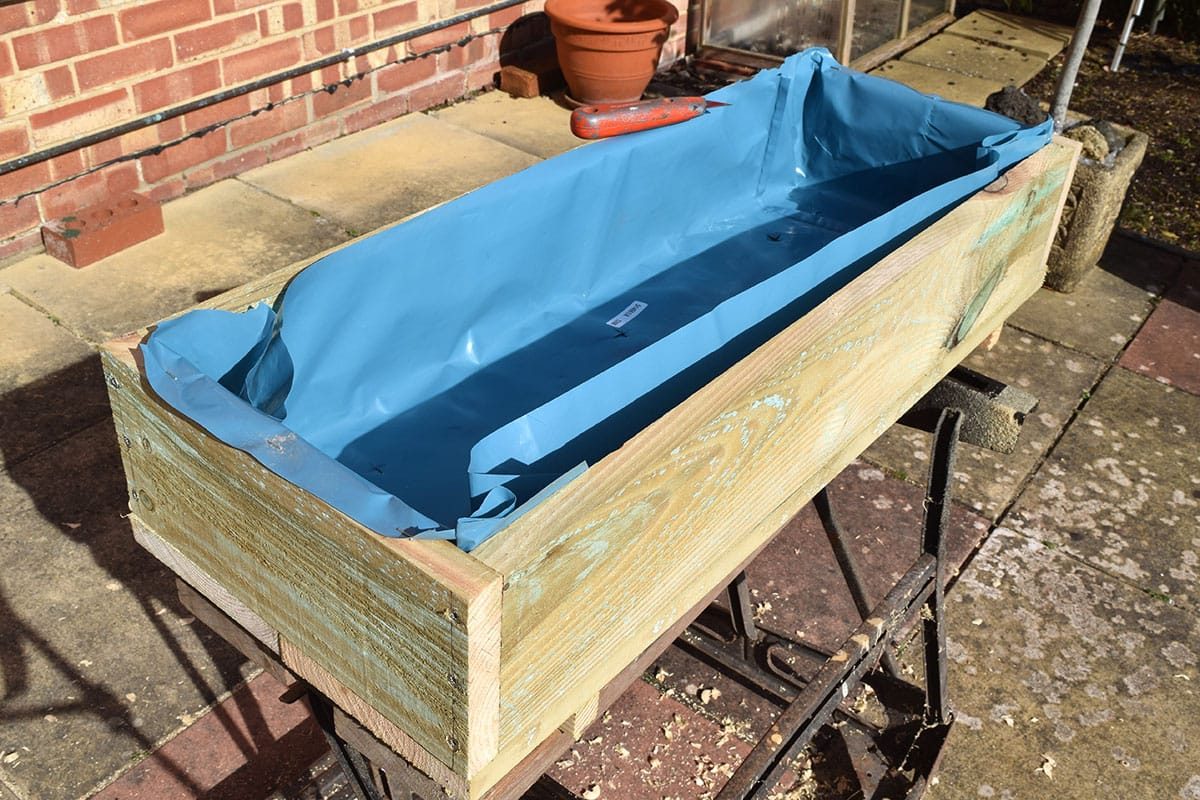
Step 16
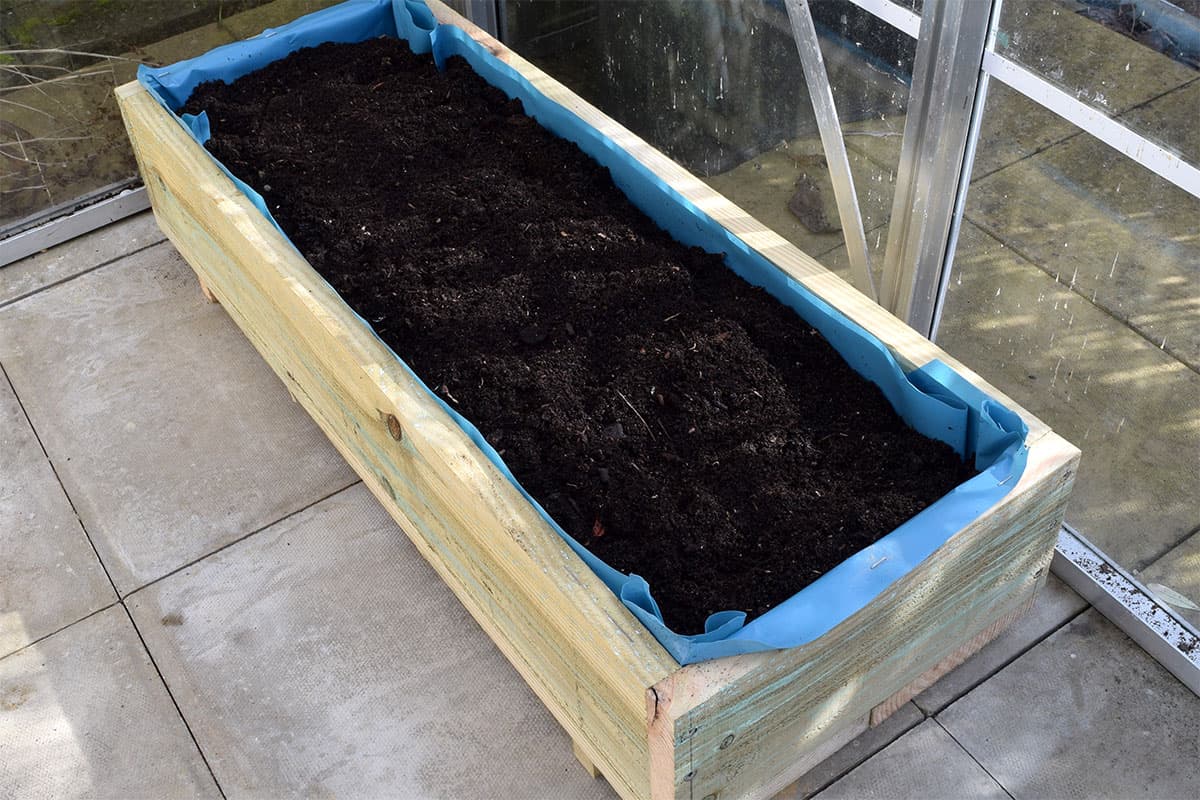
The Royal Horticultural Society recommend lining the grow box with polyethene sheeting to prevent chemicals from the tanalised timber filtering into the compost. Lay the polythene loosely into the box, ensuring that it’s folded snugly into the corners. Tack in place with a stapler across the ends.
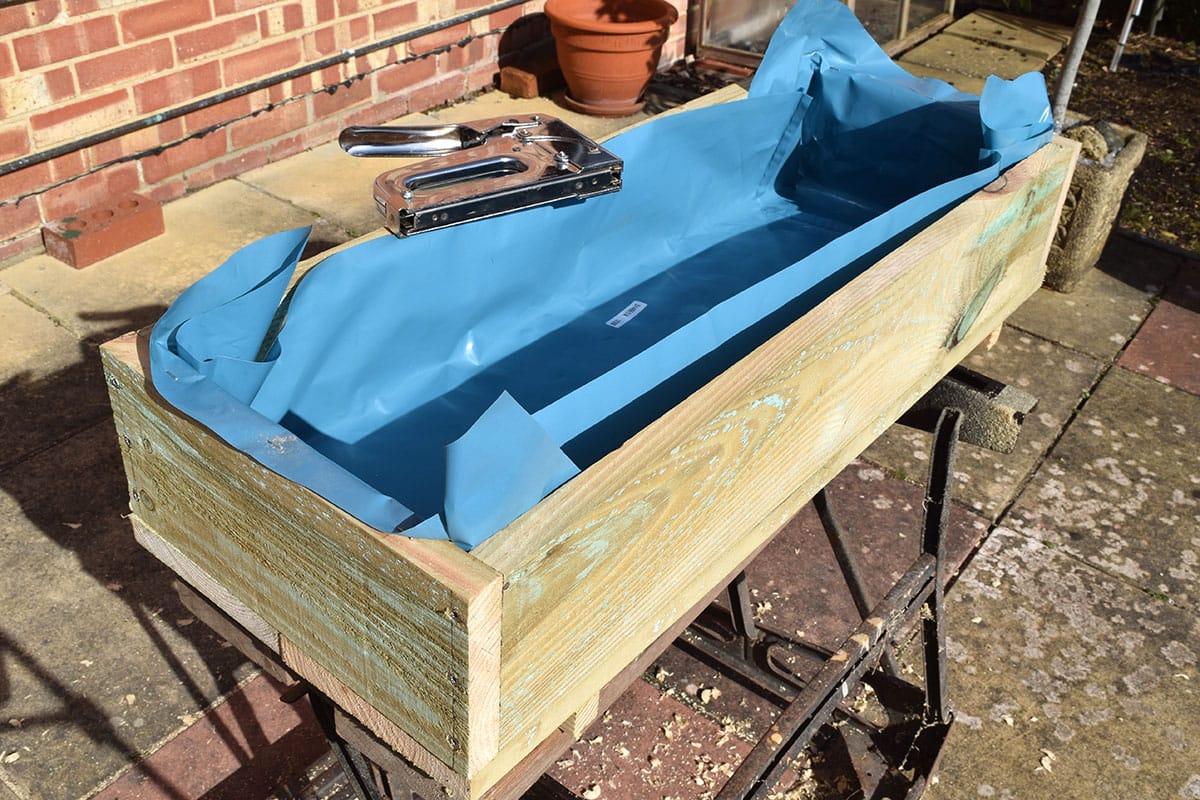
Step 17
Trim away the excess material with a Stanley knife and pierce the polyethene sheeting over the six drainage holes.
Step 18
Your grow box is complete, transfer to the greenhouse and fill with compost to just below the rim of the box.
Also as another option, this size of greenhouse grow box will also accommodate a pair of grow pots.