Making a Telecaster - Week Two: Preparing The Neck
In the second week of our guitar making project we started to construct the neck using flamed sycamore with a Brazilian rosewood fret board and a 457mm truss rod. The truss rod is an adjustable steel rod which runs down the centre of the neck and counteracts the forward curvature created by string tension.
What we used:
- Trade Series CT1502 Planer Thicknesser
- Flamed Sycamore
- Brazillian Rosewood
- 457mm Truss Rod
- Fret wire
- Titebond Original Wood Glue
- Axminster Hobby Series HBS310N Bandsaw
- UJK Technology Metric Threaded Guidebush
- Festool OF1400 EBQ-Plus Router (1/2"), Rail & Rail Adaptor
- Leigh Adaptor for Threaded Guide Bush
- Axcaliber Twin Flute Small Diameter Straight Cutter - 1/2"
- UJK Technology router table
- F-clamps
- Lie-Nielsen No. 1 Smoothing Plane
- Engineers Square
- Japanese Kiridashi Marking Knife
- Japanese Small Dozuki Tenon Saw
- Hobby Series AHDP16B Bench Pillar Drill
- 6mm FISCH Brad Point Twist Drill
- Thor Plastic Faced Hammer
Step One:
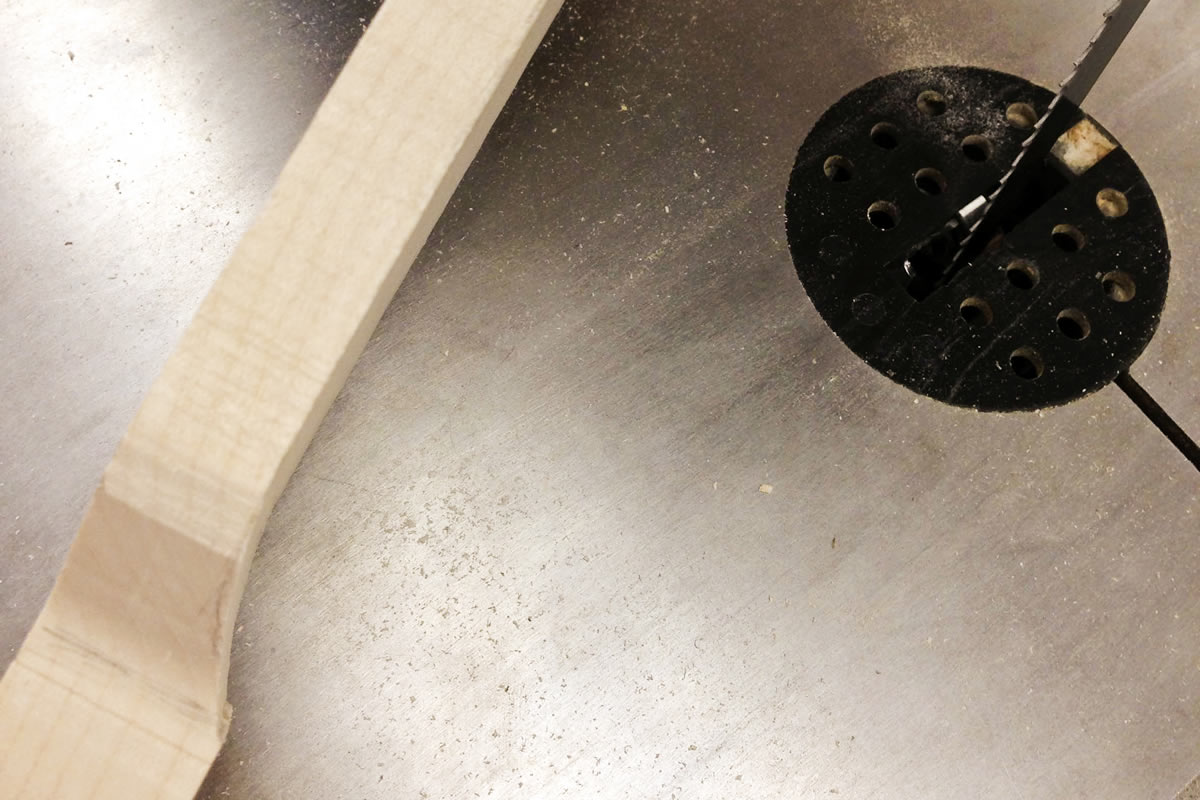
At the start, we made sure the piece of timber was long enough and wide enough to accommodate our template. We thicknessed the sycamore to 19mm and the rosewood to 8mm. We then attached the template to the guitar and, using the Axminster HBS310N bandsaw, removed the majority of stock waste until the timber only protruded 1-2mm from the template.


Step Two:
A router table is by far the easiest way to shape the neck as the small footprint of the template makes it pretty difficult to keep the base of the router balanced. We then made a template for routing the truss rod slot.
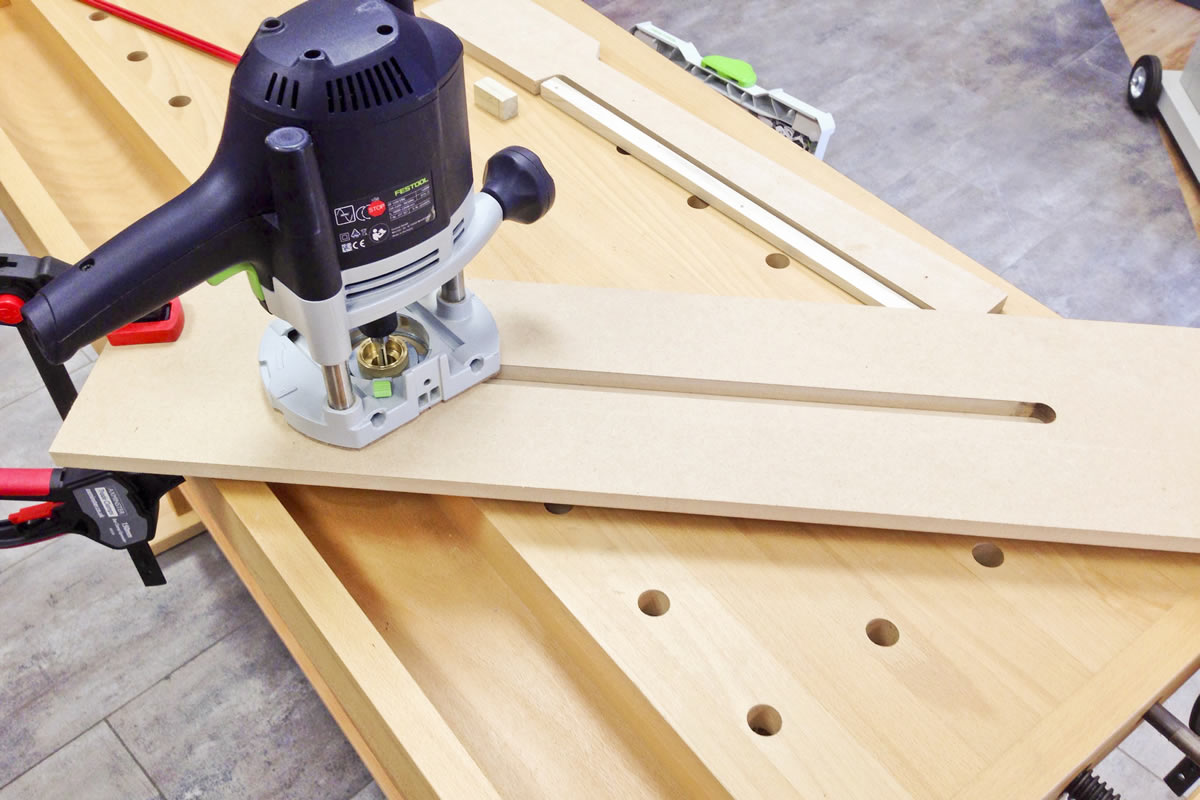
Step Three:
For creating the slot in the neck, we used the 20mm guide bush from the UJK set with the Festool OF1400, Leigh jig adaptor and the Axcaliber 6.35mm ½” shank cutter. To allow for the extra diameter of the guide bush, the template slot would have to be longer than the slot for the truss rod. To work out how much we needed to add on to the length of the template slot, we took the diameter of the cutter - 6.35mm - away from the diameter of the guide bush - 20mm - which adds a further 13.65mm on to the 457mm truss rod length.
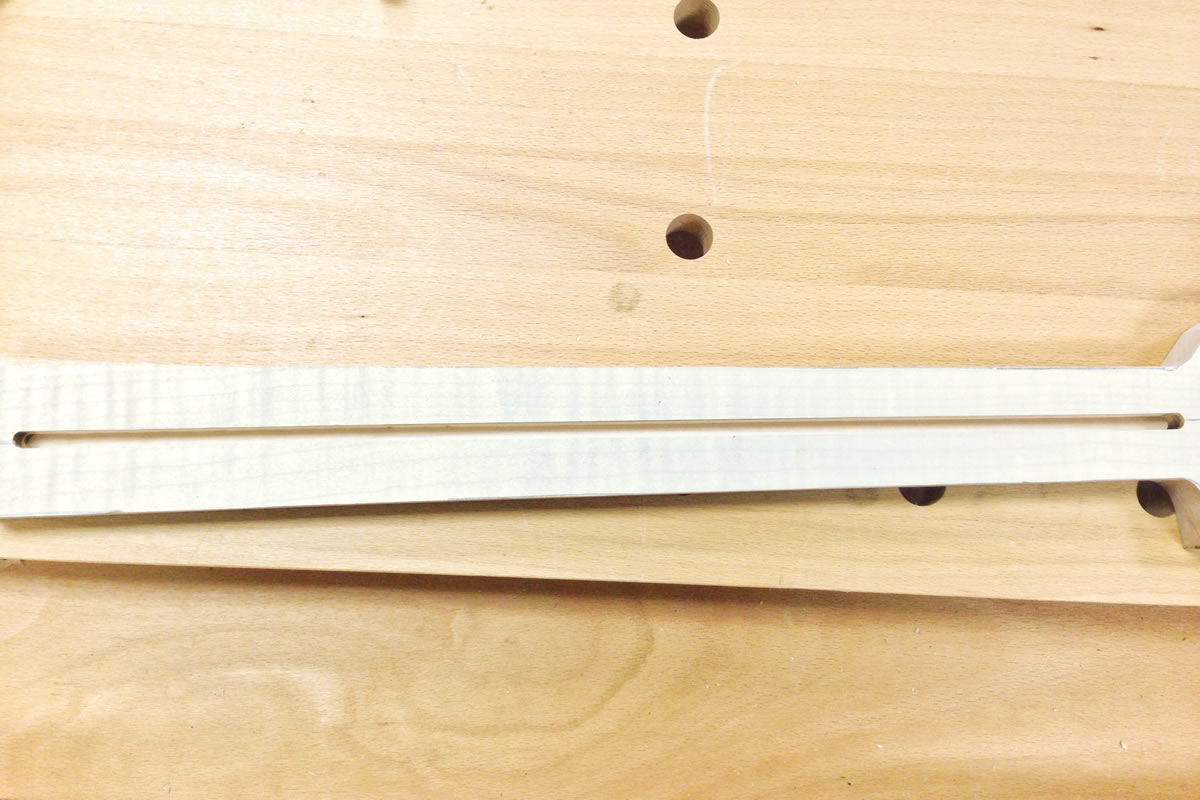
We created a straight 20mm slot 471mm long using two stops either end of the router using the OF1400 with its straight guide fence. When the template was made, we matched the centreline of the template with the centreline of the neck and made an 11.1mm deep slot.
Step Four:
Once the truss rod slot was cut, we used a bandsaw to create the curve on the face of the headstock at the top of the neck. This allowed us to fit the truss rod.
Step Five:
With the truss rod fitted, we covered the slot with a small layer of masking tape so that the glue would not inhibit the truss rod from working. Then we aligned and glued the fret board onto the neck using more Titebond Original, Axminster F clamps and, again, a clamping caul to ensure a perfect bond between the neck and the fret board.

Step Six:
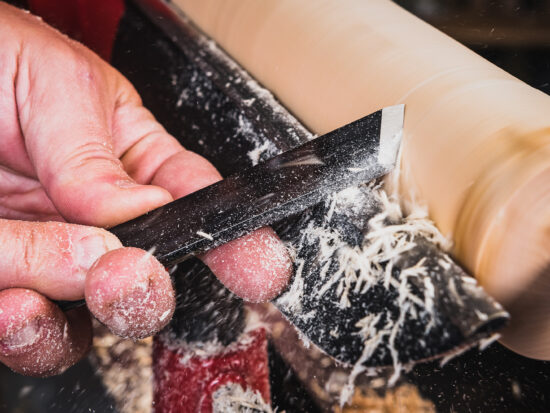
As soon as the glue had dried we used a combination of square edge scrapers and a Lie-Nielsen No. 1 smoothing plane to trim the fret board flush with the neck and to give a final dimension to the tapered neck.
Step Seven:
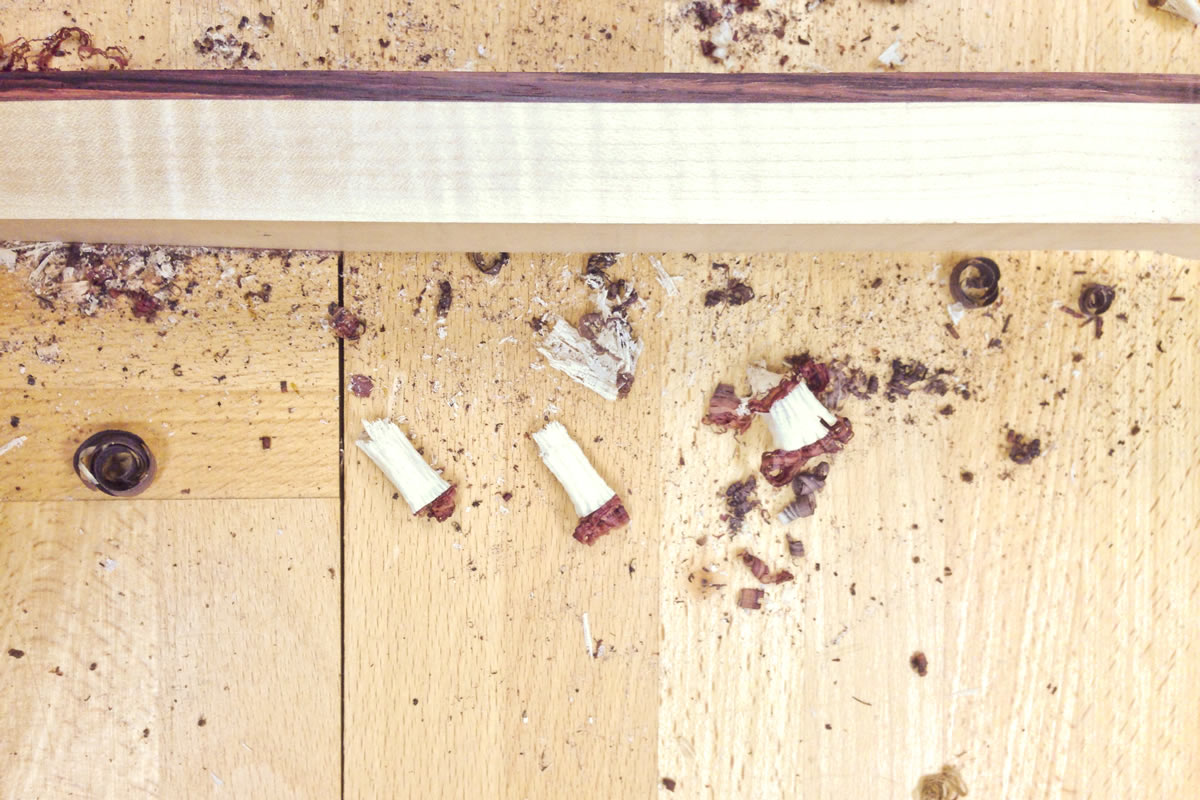
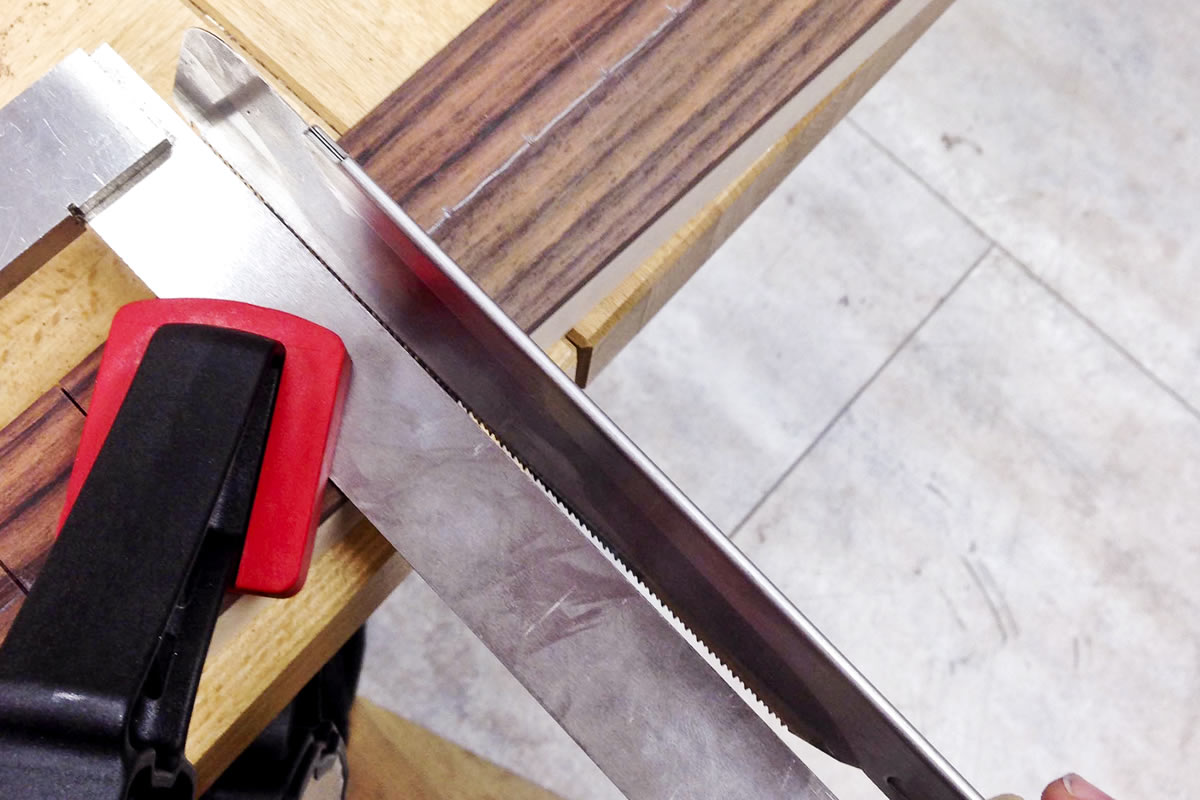
The next task was to mark out the fret slots. Measuring several times, we marked the centreline on the fret board and used an online fret calculator, 6" engineer's square and a Japanese 15mm Kiridashi marking knife to mark out the position of our frets, ensuring they were all perpendicular to the centreline.
Then using a square, clamped as a guide, we began cutting the slots with a Japanese small Dozuki tenon saw. The kerf size, along with the rigid spine and pull cut on the saw made it effortless.
Step Eight:
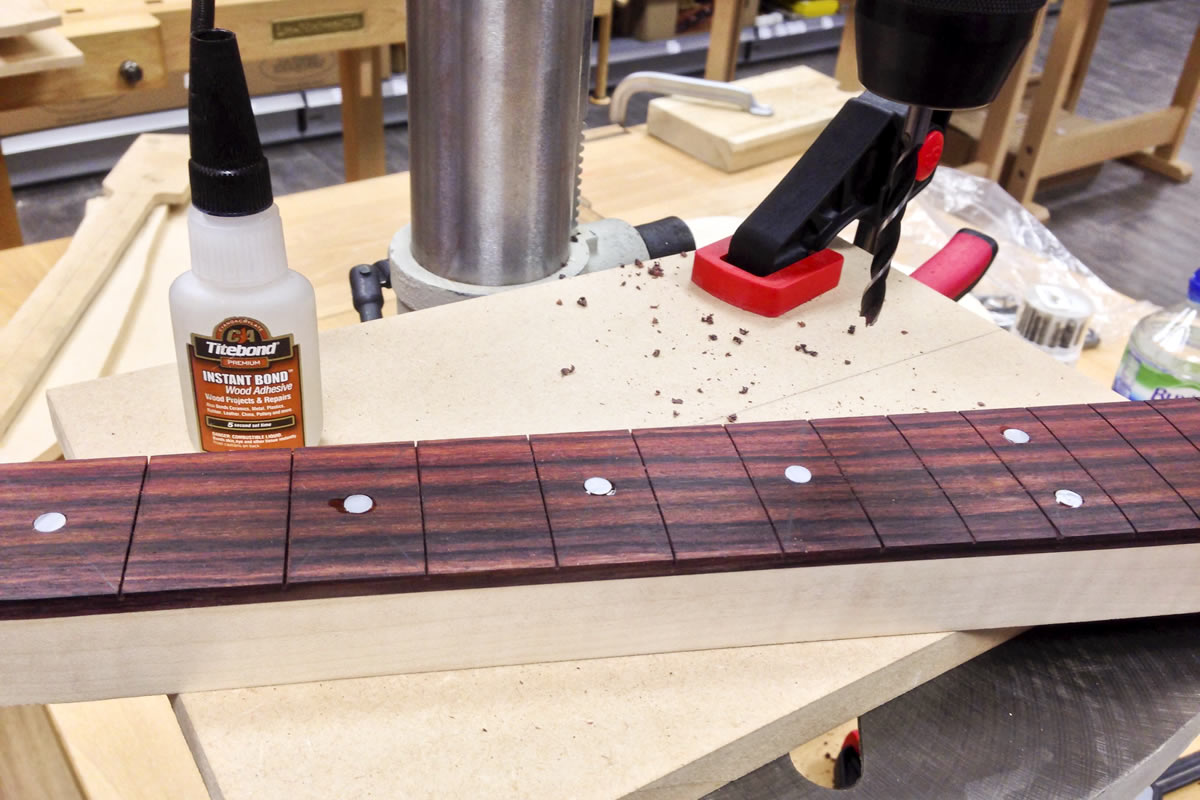
After we had cut the fret slots, we drilled the 6mm holes for the acrylic position markers on the fret board of the guitar using the Axminster Hobby Series AH1603DP pillar drill and a Fisch Quick Change 6mm brad point drill bit which gives an extremely clean hole. The markers were then glued in with Titebond Instant Glue.
Step Nine:
At this point we were able to radius the fret board with a 10” radius curved sanding block, starting with 80grit and working all the way up to 400grit. We stuck standard sheets of abrasive to a curved wooden block covered in masking tape making it easy to change between the grits.
Step Ten:
Once the fret board had been fully radiused we started installing the frets with a Thor plastic hammer to prevent any marking of the guitar.

Join us next week when we will be flattening, profiling and polishing the frets as well as profiling the back of the neck and headstock. We will also attempt to create the body cavities to fit the neck and hardware.