
The flatter point of saw sharpening
‘We find many good mechanics who frankly acknowledge that they never could file a saw satisfactorily; the probable reason is that they never studied the principle of the action or working of the tool.’ - Disston Handbook on Saws, 1907, page 153.
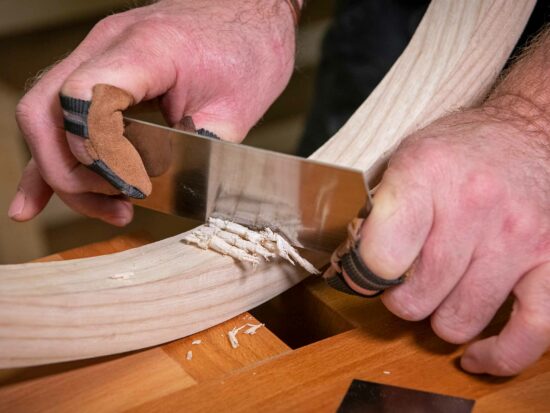
A saw of some description and the knowledge of how to use it is one of the basic requirements of any woodworker, but sooner or later, it’s going to have to be re-sharpened. In recent years, the rise of the disposable saw, with its induction-hardened teeth, has to some extent made this necessity redundant, but most craftsmen still use top quality saws of every description and these at some point, will require the attention of a ‘saw doctor’. Unless, of course, you learn to sharpen a saw yourself.
When Ian Styles asked me to do a blog or three on this topic, I approached it with a little trepidation as, although I can sharpen a saw reasonably well, it’s not something I’ve done for a while. I needed to get ‘the eye in’ and a bit of practice under the belt!
‘Practice’ is the key word. Do NOT, under any circumstances, (if you’re new to saw sharpening) try it out on a brand new, straight-out-the-wrapper, sparkly Lie-Nielsen dovetail saw or you’ll end up with something that’s only fit to hack firewood (if that) or else it will need to be re-sharpened professionally.
Instead, find a cheap tenon saw or crosscut saw from a car boot sale or second hand tool shop and use them for practice. Look for one with around 8-12 teeth per inch (tpi) as the larger the tpi (i.e. for a dovetail saw), the harder it becomes to see what you’re doing, in which case decent back lighting and a headband magnifier become almost mandatory.
The quote at the beginning is an apt place to start and is taken from this page on saw tooth geometry from the Blackburn website. For a fuller understanding of the process, I recommend that you read it, as it’s relatively easy to deduce from the article that saw sharpening, if done properly and correctly, is a complex business.
However, the sharpening process can be simplified into a series of stages and if each is done properly and in sequence, then it follows that the saw tooth geometry (as shown on the web page) will be correct for that particular saw and it should be perfectly sharpened.
There are obvious caveats within the last paragraph, all of which are determined, without exception, by the previous reference to the word ‘practice’!
The stages in sharpening a saw are as follows and apply to all western style saws:
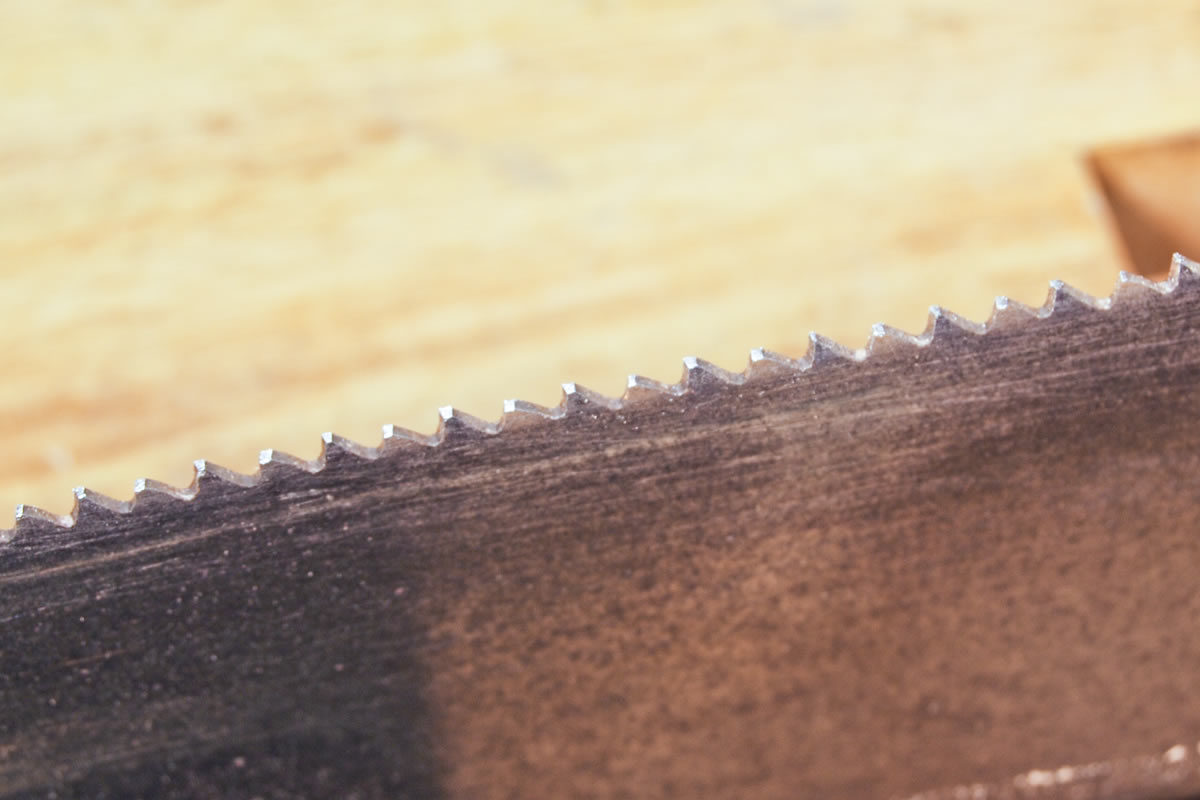
- ‘Topping out’, which refers to filing the top of the teeth completely level and flat. This is referred to on the webpage, (fig 2) as the ‘point line’.
- ‘Setting’, which means bending every alternate tooth to create clearance (or kerf) for the cut, which reduces friction and binding, (fig 23).
- ‘Sharpening’, using a special triangular saw file to sharpen each tooth ensuring that the rake (fig 10) and fleam (fig 12) are constant for each tooth.
Rake and fleam are the two most important aspects to consider and I’ll deal with them more fully in the next enthralling episode of the Blog!
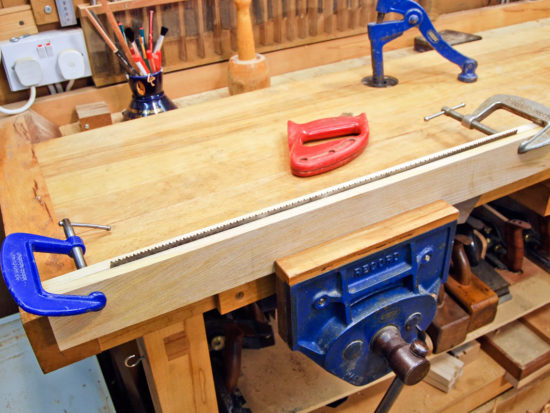
First, find a saw. I happen to have an old 8tpi Sandvik saw dating from the 1960s which belonged to my grandad, so from a sentimental viewpoint, it’s by far the most valuable tool in my workshop. For the purpose of this exercise, I removed the handle and placed it into my woodworking vice, ready for the first and easiest process, which is ‘topping out’.
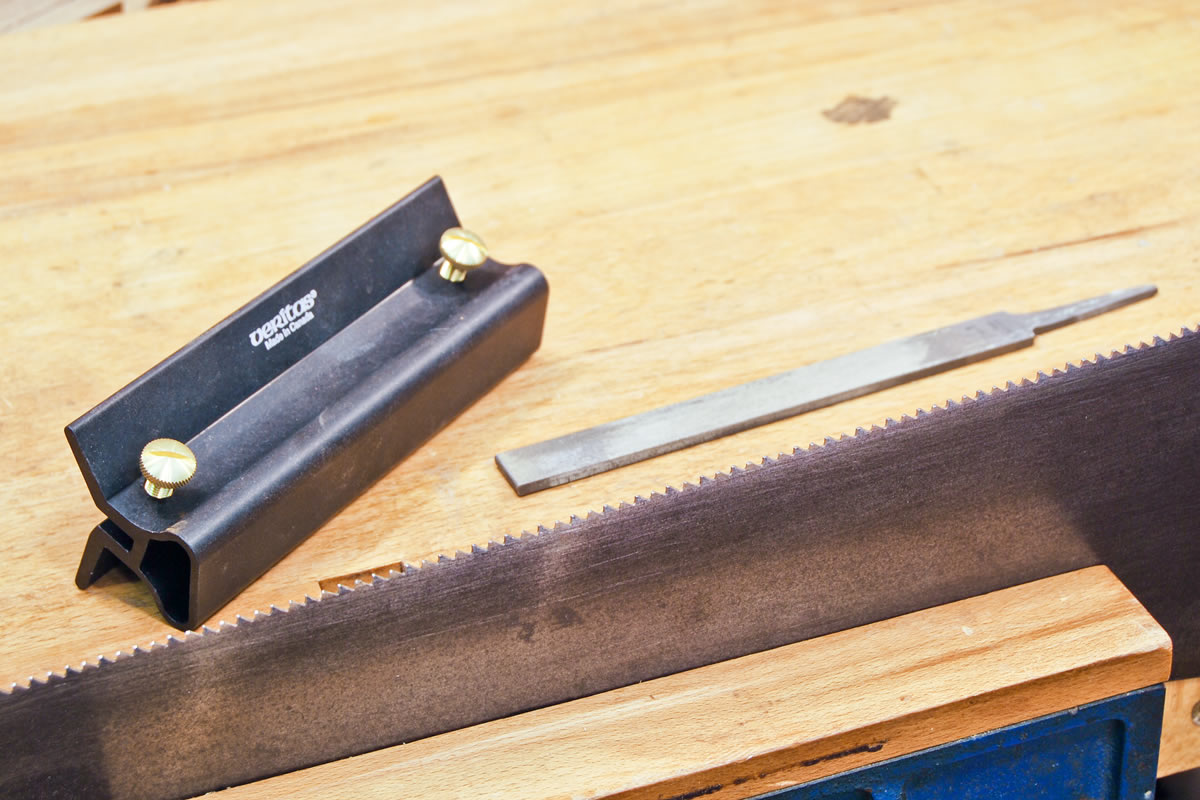
I used the Veritas Jointer & Edger, together with a 150mm file for this job as all it does is to level the tops, so that there’s a series of square ‘flats’ on the top of all the teeth.

This needs to be done so that any inequalities in the height of individual teeth can be ironed or filed out before the next process.
To be continued in the next exciting episode...stay tuned!
Nice to see this subject being tackled Rob. There are some good American sharpening accessories to aid correct angles. I wonder if Ian is prepared to support the subject by importing some for us to try out? Or post plans for home-made jigs. Then of course we need hammers for removing bumps and kinks. A whole new tooling-up world for hand tool enthusiasts. MH
You've pre-empted the next exciting instalment Mike…watch this space on Wednesday and yes, Axminster already stock a nifty little widget to aid the task.