Using Burr Veneer
In the last AxBlog of this current series I’m going to have a look at burr veneer and one way of successfully joining the stuff. Burrs are those unsightly bulges that you’ll often see growing on a tree trunk. They’re caused by an insect attack and do no damage to the tree, but when converted into veneer (especially the more precious timbers) they will do considerable and quite serious damage to your wallet!
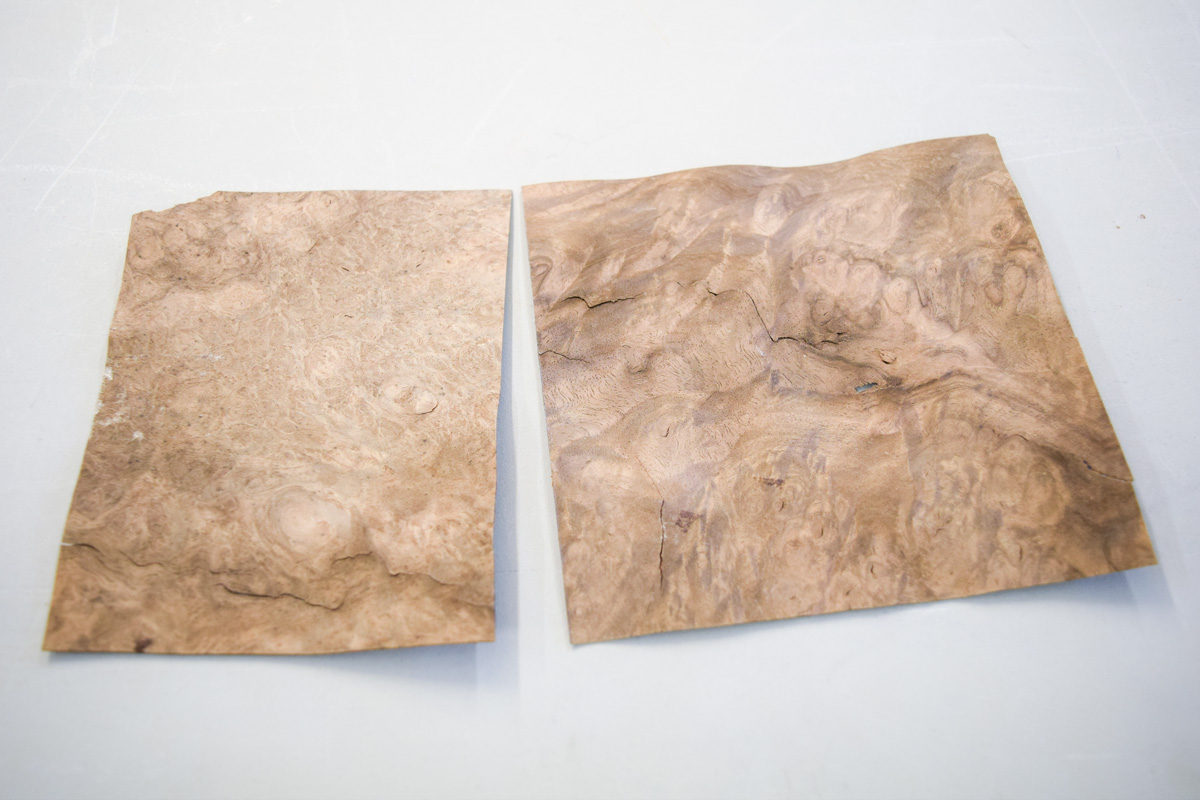
There are a couple of problems with burr veneer, the first being that once dry, they tend to buckle which makes them difficult to work with and the second is that they tend to be even more friable than the ordinary stuff.

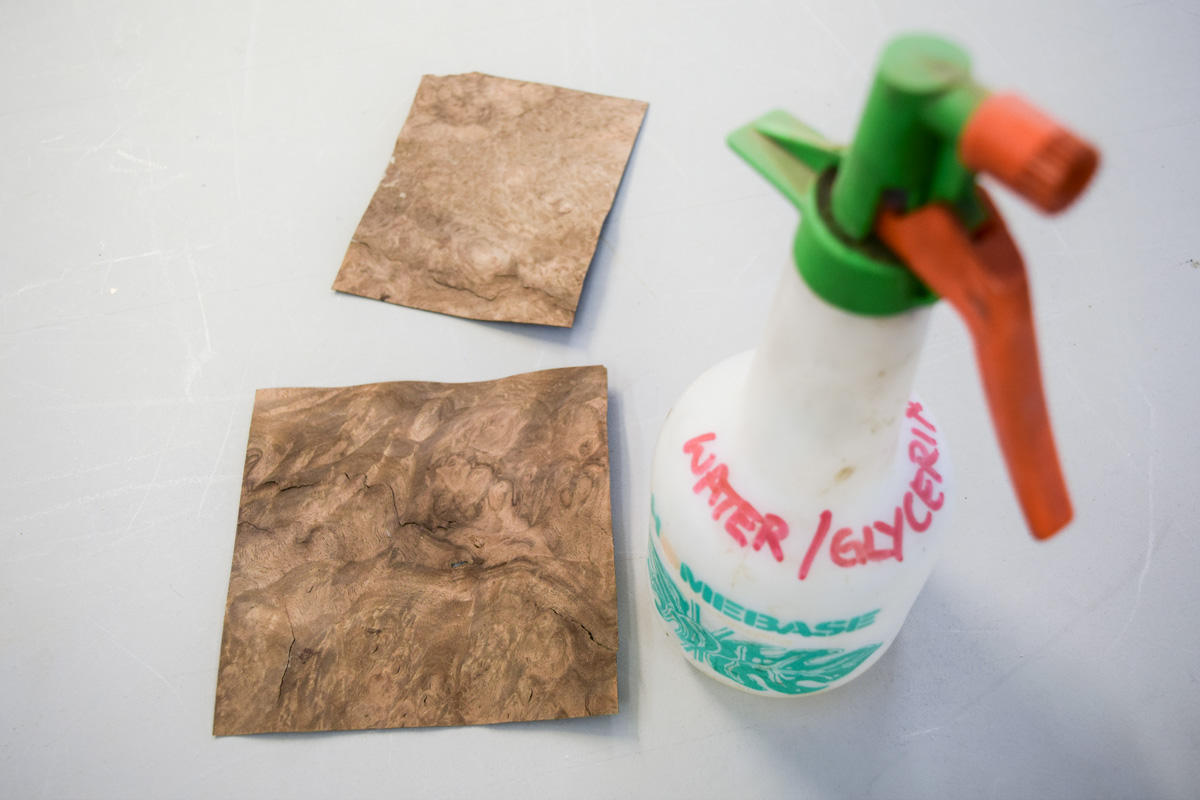
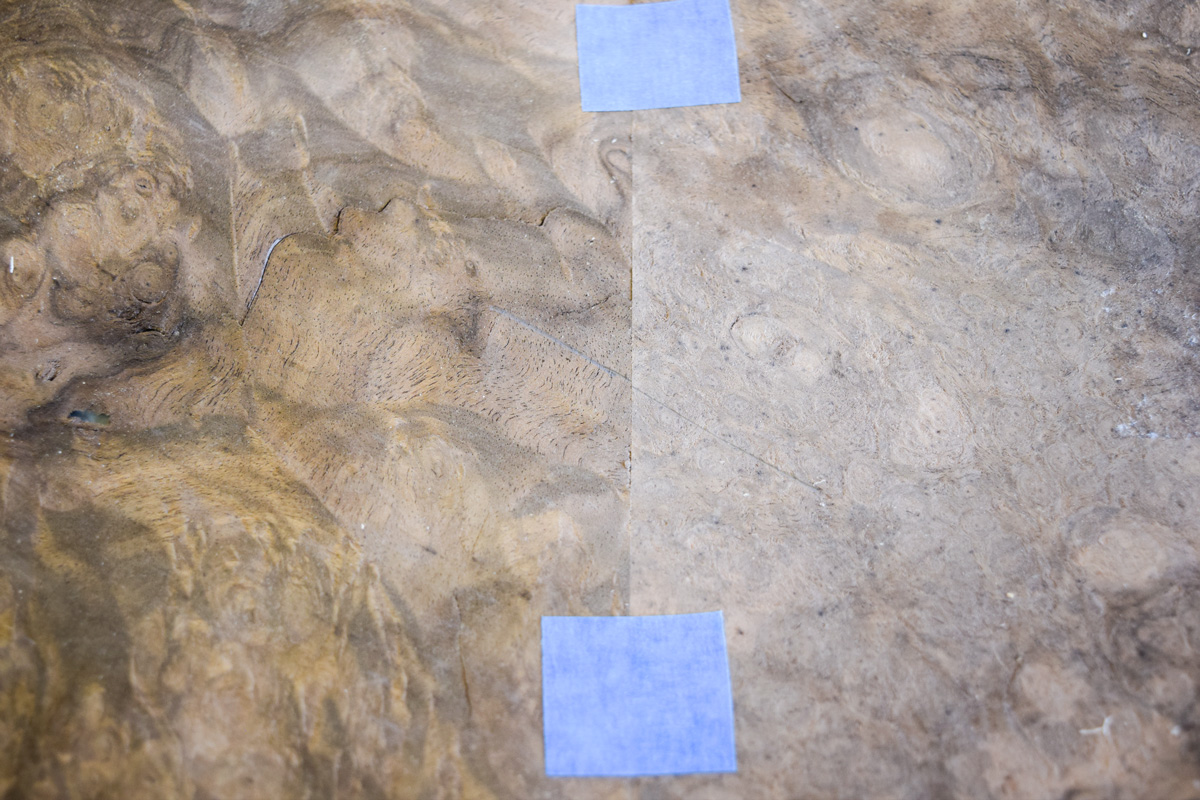
The image shows a couple of oddments of burr walnut veneer and it can be clearly seen, even in these small pieces, that they’re buckled and bowed. The generally accepted way to flatten them out is to spray both sides with a 10% solution of water and glycerine, using an ordinary garden sprayer.
The wet veneer is then placed between two thick sheets of absorbent paper (cartridge paper is ideal) and then it’s squished together between two bits of flat board.
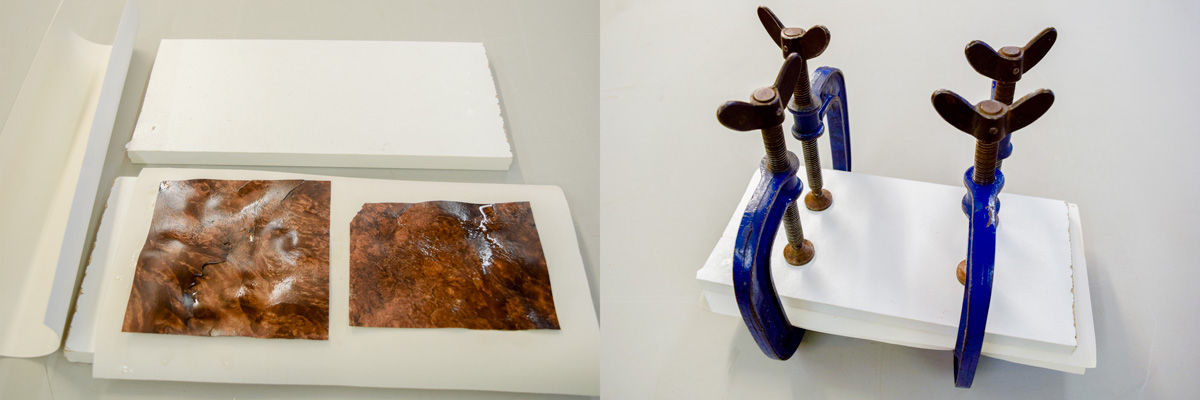
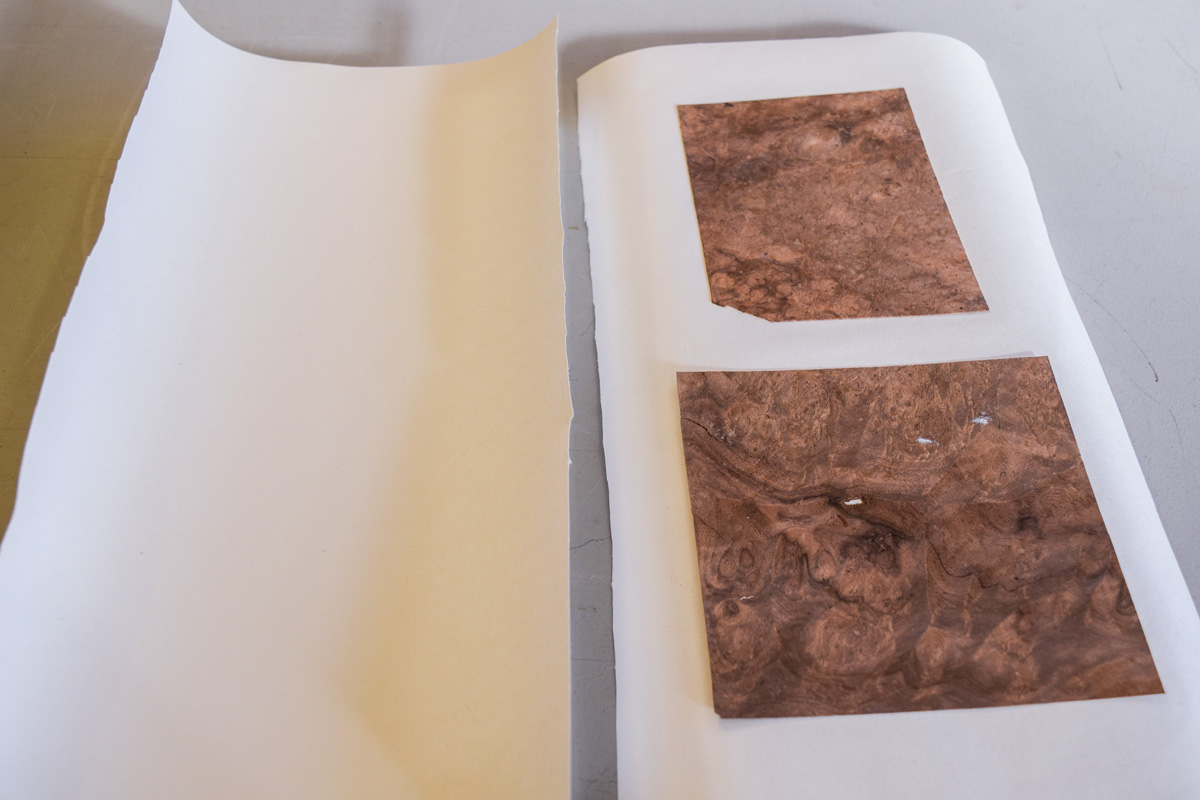
The process takes a few days and the paper will need to be changed a couple of times, but once the press is opened and everything is completely dry, the veneers will be flat and ready to be jointed.
Burr veneers can be jointed by using a plane and shooting board or the very careful use of a scalpel and straight edge, but the process can be a bit fraught as unwarranted bits are liable to break off in the most inopportune places.
Veritas have recently introduced their excellent Shooting Sander which is perhaps a safer way of producing an acceptable joint. The tool can be used on any standard shooting board and relies on strips of sandpaper to produce a mating fit, with the veneer being held firmly in place with a block of timber from the oddments box.
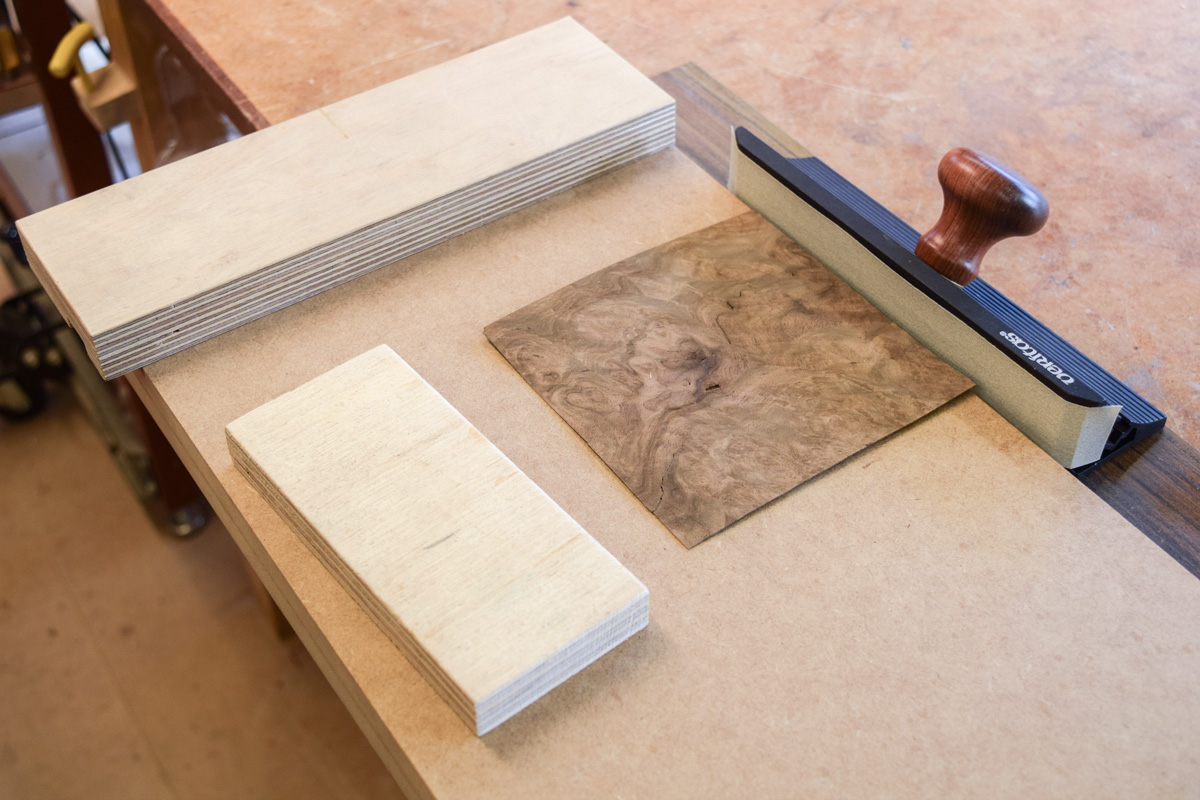
It can be seen in use on my new shooting board (details of which will follow shortly) and requires only a few strokes on each leaf to produce a decent joint.
Should there be any questions on this area of work, please leave your query below and I’ll be happy to answer it.