When saw sharpening meets needle point
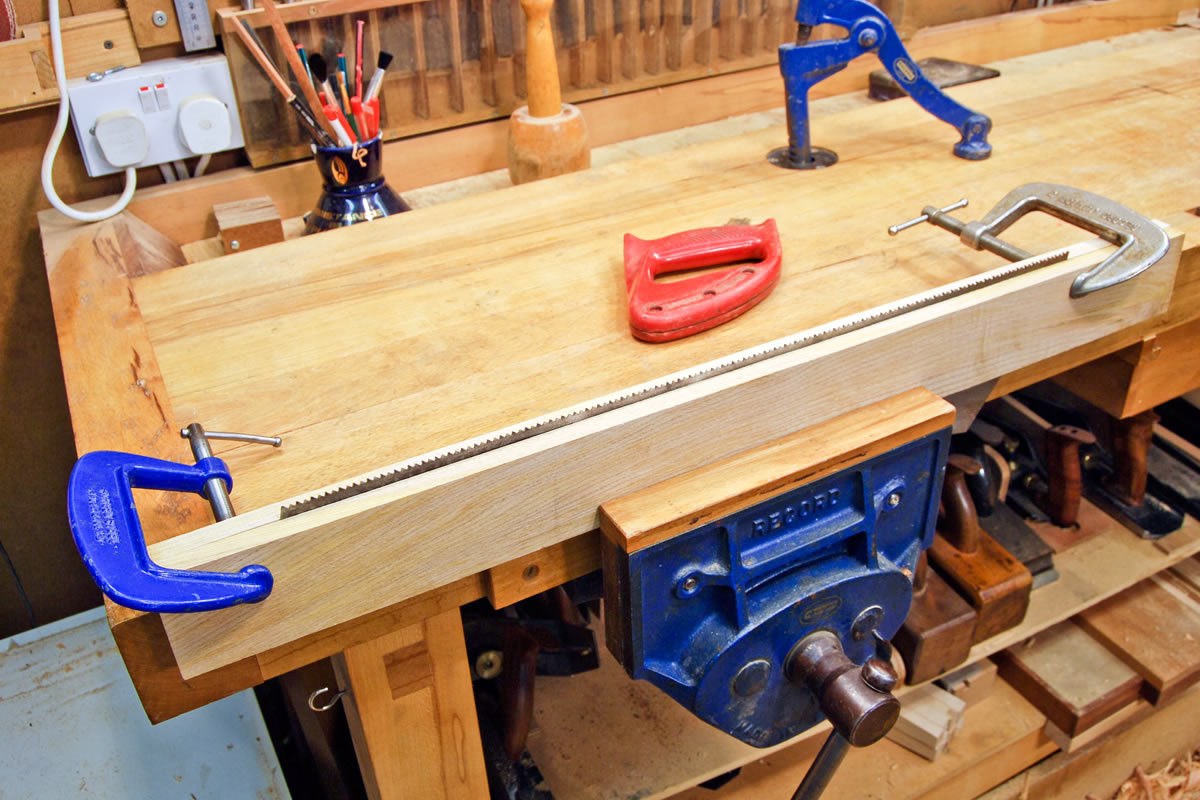
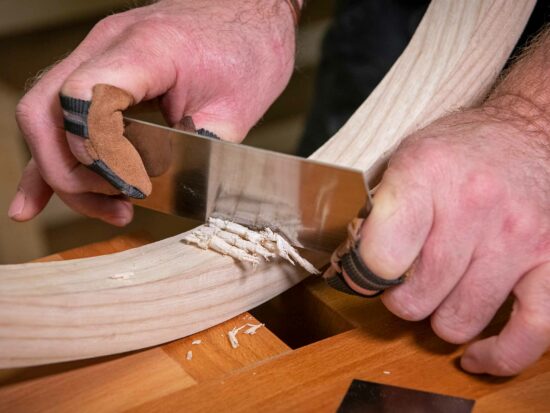
In the previous Blog entry, I mentioned that my old grandad’s saw had the handle removed and the blade was then held in my woodworking vice. In most cases, this isn’t necessary, as all that’s required is to have a couple of bits of wood either side of the blade (called ‘chops’) which are then held tightly against it with a couple of G clamps.

It’s also usual to cut away a couple of sections of the wood to accommodate the shape of the handle.
The next step in the process is to ‘set’ the teeth, whereby each alternate tooth is pushed over a fraction creating a saw kerf which is wider than the blade, helping to ease the passage of the saw through the wood as it cuts. In days of yore, a skilled saw doctor would rest the blade on a special anvil and then tap the teeth over with a little hammer. I’ve watched a master saw doctor do exactly this to extremely expensive Japanese saws and it’s not a process I’d recommend!
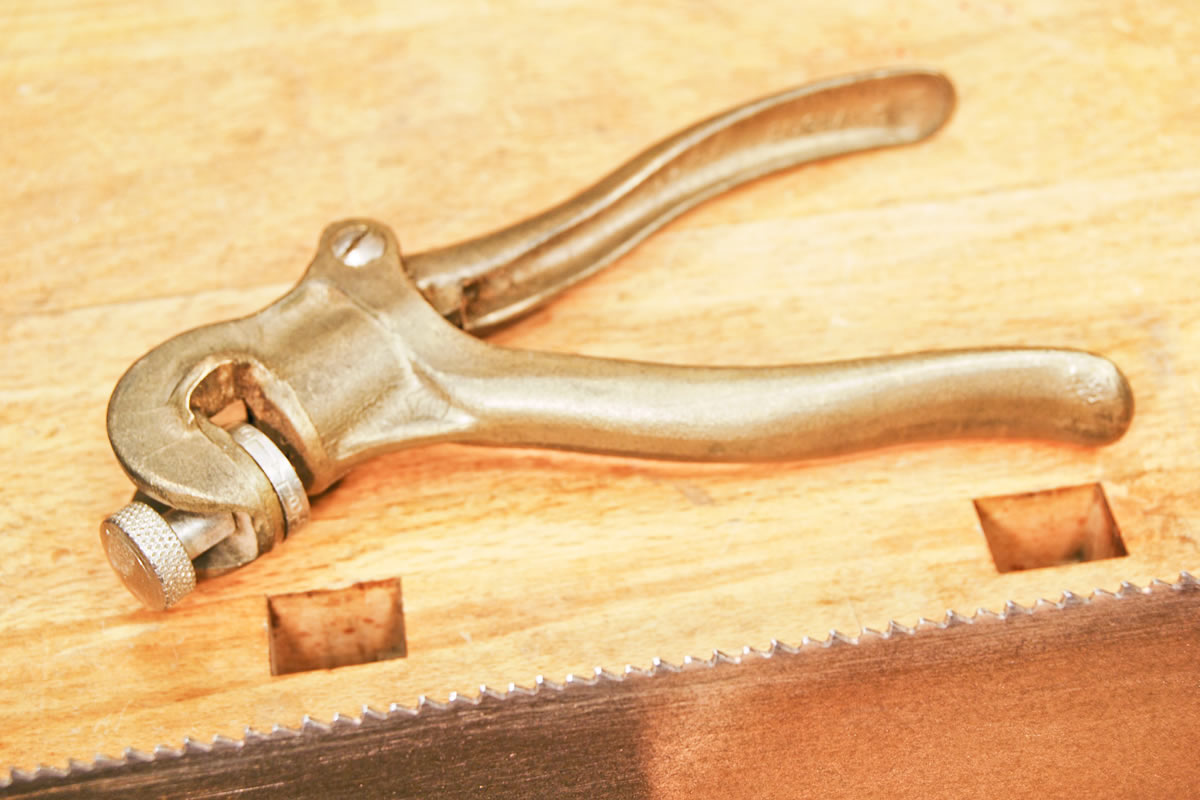
These days, this task is made much easier (for western saws) by using a saw set and to use it effectively, the blade needs to be raised around 30mm or so above the saw chops. Simply dial in the tpi and the striker will push each tooth the correct distance onto the anvil.
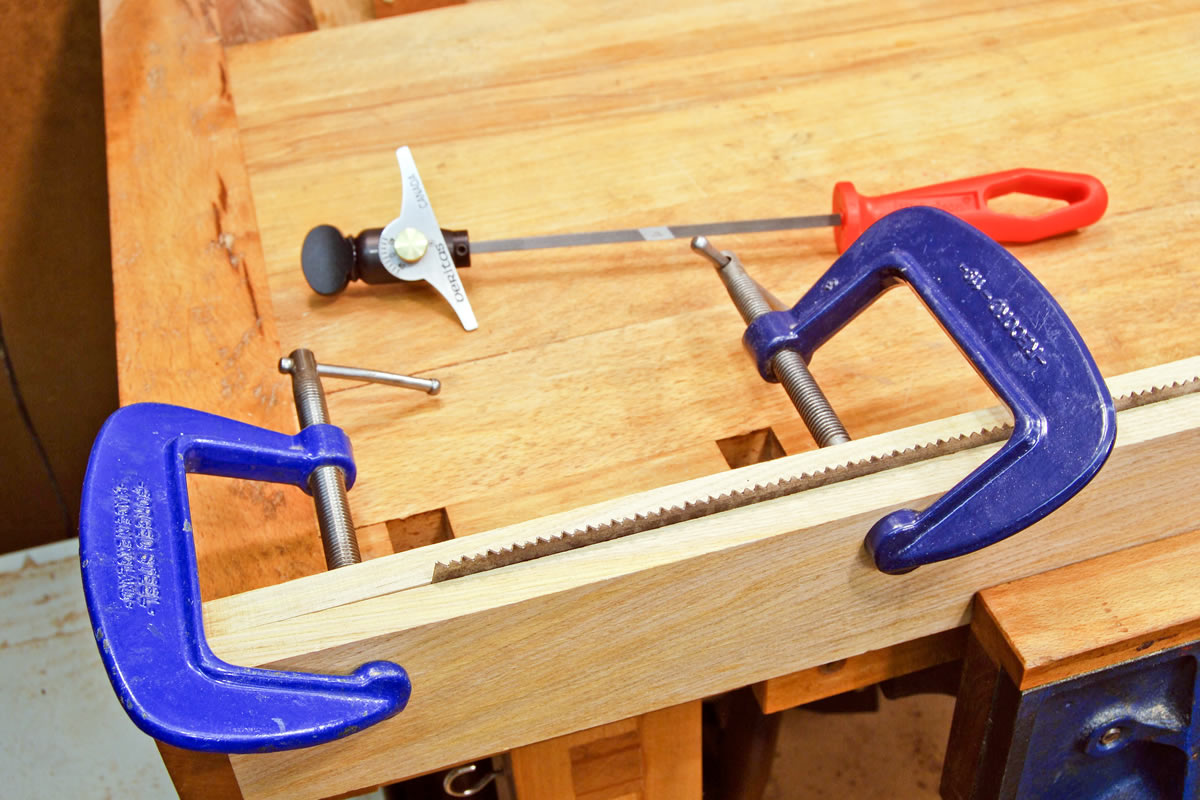
Having set the teeth, the blade needs to be returned to around a centimetre or so above the top of the saw chops.
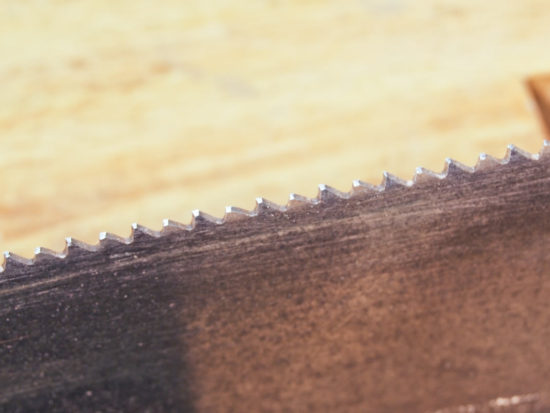
Each tooth now has to be sharpened identically, so that every individual tooth finishes at a needle sharp point and for that to happen, the teeth need to be filed with the correct rake and fleam.
Rake is “the angle that the front of the tooth makes with a line drawn perpendicular”* from the tooth point vertically downwards. The main role of tooth rake is to control the aggressiveness of the saw.
Fleam is “the angle that the front of the tooth makes with a line drawn perpendicular to the plane of the saw plate”*. The main effect of fleam is on the smoothness of the cut and generally, a saw will cut more cleanly as its fleam is increased.
Different saws require different rake and fleam angles, but for most day-to-day work with the type of saw I’m using, an angle of 15° for each is quite sufficient.
Sounds complicated? It is, but it’s relatively easy to file both of these angles at the same time by using a nifty little gadget from Veritas called a Saw File Holder. It’s not essential, but it does make the process of setting and maintaining the angles much easier.
Now let’s move on to the subject of files. Always use a proper three-square saw file as the apexes are rounded, which means that the bottom of each tooth gullet will also be round. An engineer’s three-square file has sharp corners and shouldn’t be used under any circumstances for saw sharpening work. A weakened saw tooth would be the result, as the bottom of the gullet will assume the same shape as the file...sharp!
With the Veritas widget set up to 15° for rake and fleam, it’s now just a process of filing the angles on each tooth that face away. You’ll see that you’re shaping the rake angle of one tooth and the back of the preceding one. If the indicator plate on the widget is kept horizontal and parallel to the saw, the rake and fleam angles will be correctly filed automatically.

Having completed the first pass all the way up the saw blade simply re-set the rake angle plate to 15° left of the centre line and file the teeth that face inwards.

The process is difficult to describe, but with practice and a steady hand, it’s easy enough. The teeth will now be a series of needle sharp points and the saw will cut effortlessly through the hardest timber.
I hope my old grandad doesn’t want his saw back now....
*Source: http://www.blackburntools.com/articles/saw-tooth-geometry/index.html