
Coffee Table - Righty Tighty or Loosey Lefty?
With the eight mortices cut and squared away, it’s now time to sort out the tenons on the two other rails. They’re going to be exposed and rounded which means that the first shoulder line from the end on each piece needs to be at least 4mm longer than the thickness of the outside rails…say 24mm. It’s often tempting to use a rule (which seems the logical choice) to measure a distance for the second shoulder line, but if it’s done like this, the rule will produce its own inaccuracies so it’s always more effective to measure from the actual job.

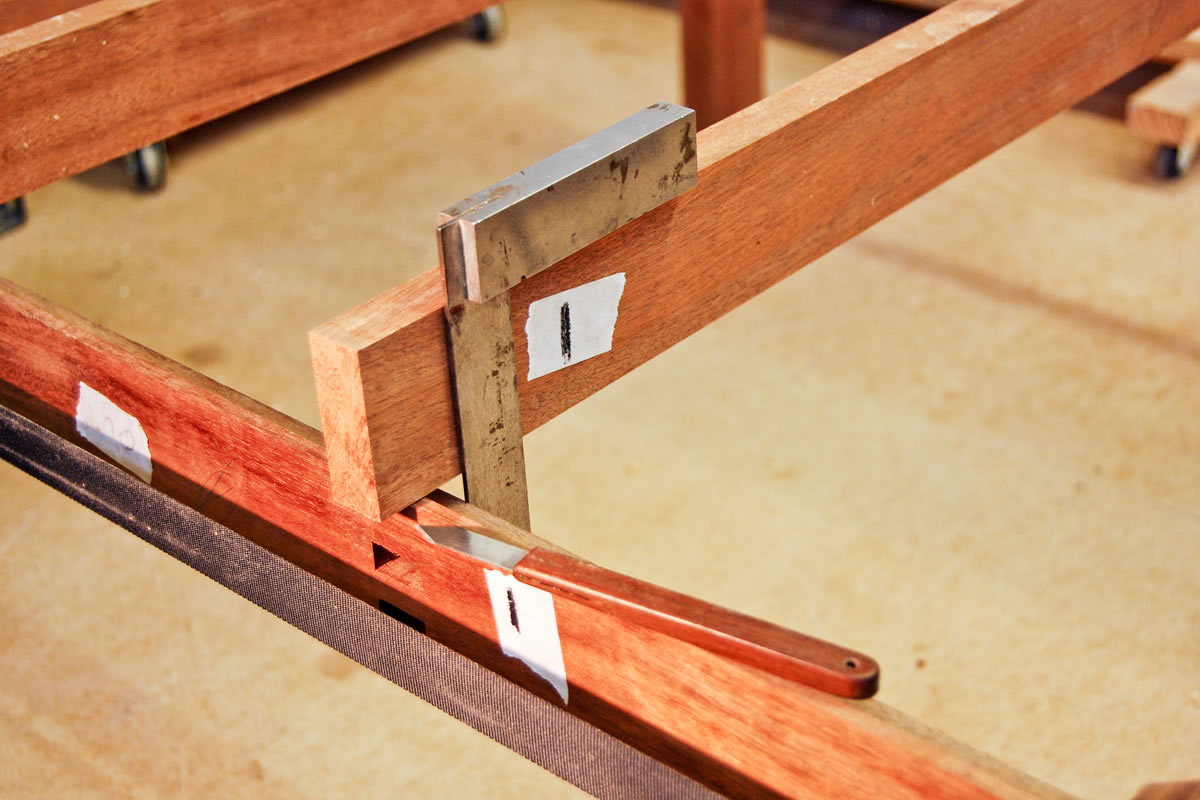
The framework was assembled and pulled up ‘righty tighty’ with a Bessey Band Cramp and the two rails placed across it.

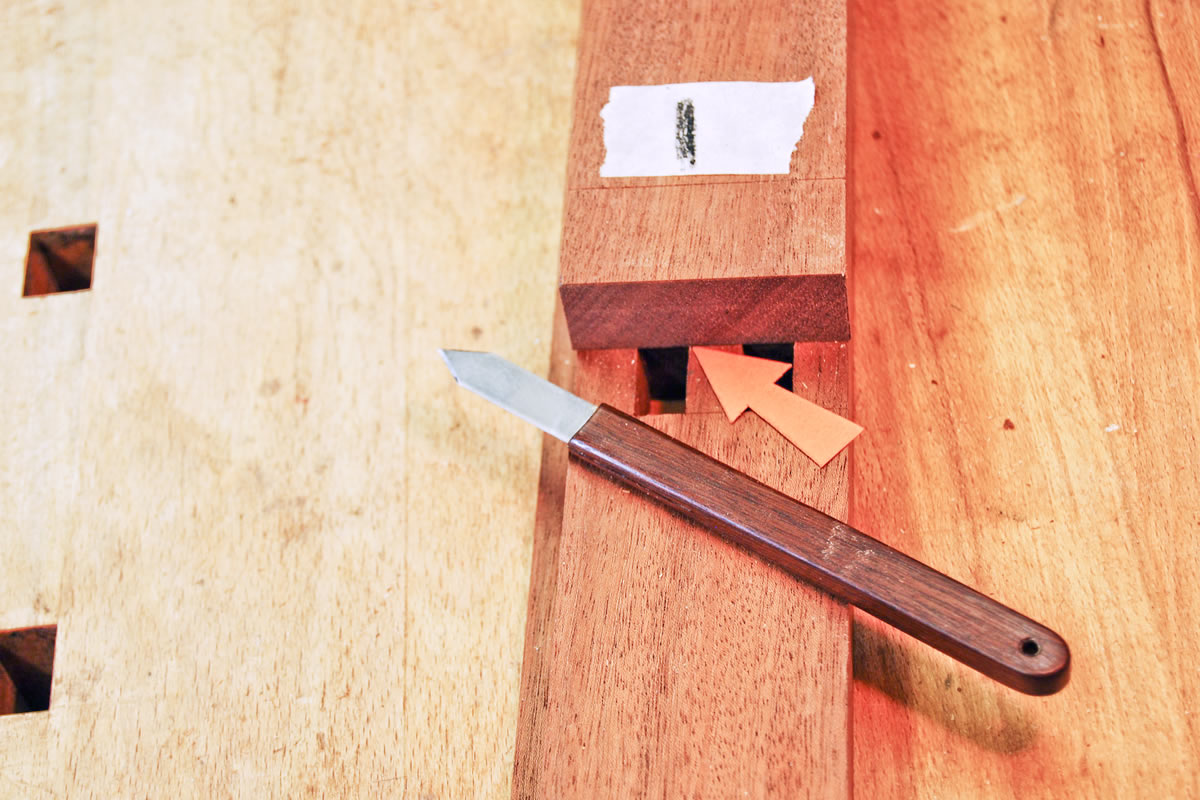
The first shoulder line (arrowed) was lined up with a square on the inside of framework, so that the second shoulder line could be struck with a ‘V’ point marking knife.
I made the one shown in the pic, but we sell a Japanese version which will do exactly the same job.
With the shoulder lines knifed all the way round and big numbers to show which joint is which, the actual tenons can now be marked off from the mortices with the ‘V’ point marking knife. From the knife marks, simply use a small square to transfer them across the end grain and down to the shoulder line and then mark in the waste, writ big, with a dark pencil.
On more than one occasion, especially when cutting dovetails, usually at the end of the day, I’ve forgotten to do this simple bit and you don’t need to be Stephen Hawking to work out that I cut the things on the wrong side of the line. This is another good reason to never, ever, ever cut dovetails at the end of the day.
Cutting the tenons is the work of moments, especially if you have a decent bandsaw with a nice sharp blade. I’ve done them plenty of times in the past by hand, but the bandsaw was made for this sort of job.
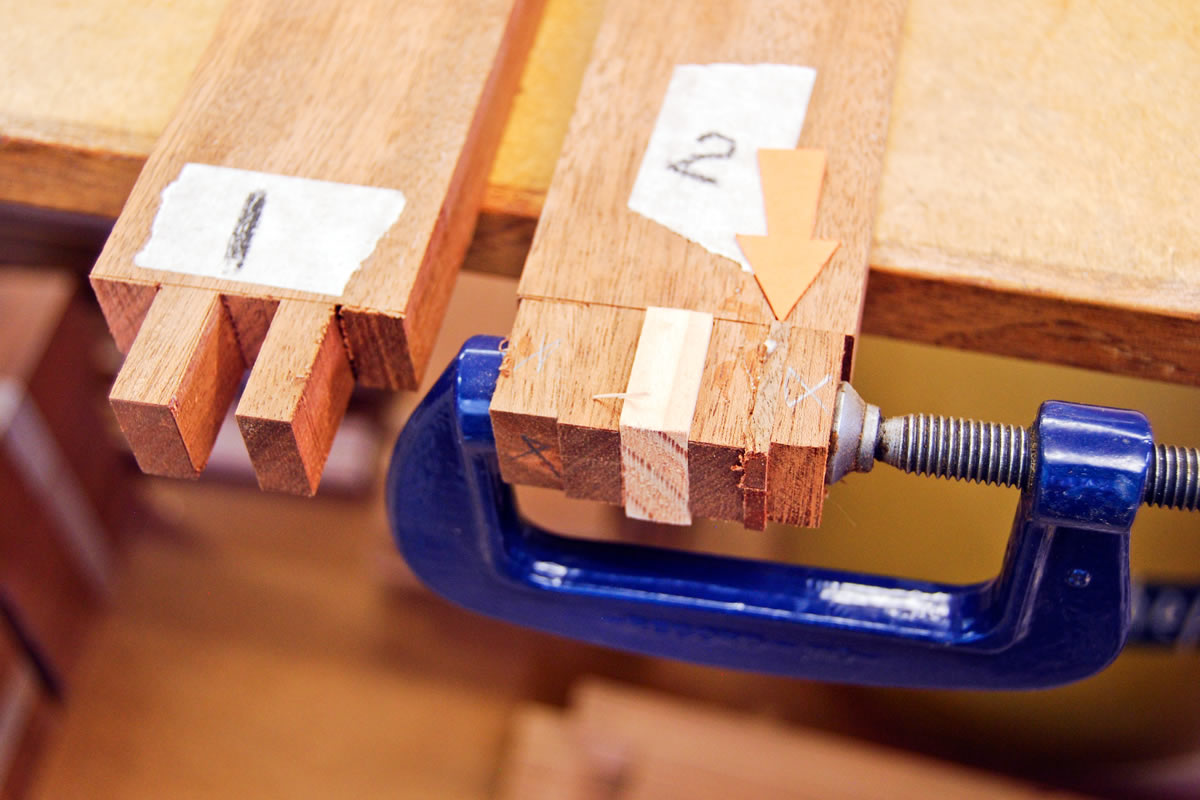
However, get the fence set-up just a teensy, weensy bit out and you’ll find that the joint, instead of being ‘righty tighty’ is a bit ‘loosey lefty’ and will need a shim glued back on (arrowed) which is afterwards pared to fit. If the shim is chosen from the same stock as the rest of the table, it’ll be completely invisible when it’s finished. I’ll know it’s there, but you’ll have to don a deerstalker and hunt for it with a magnifying glass.


Naming of knives is an interesting problem. I don't call them "V" pointed, if you don't mind me commenting Rob, because that can be confused with double or V-bevelled. I would call yours an ambidextrous knife, ie can be used right or left handed. There are many circumstances when having a single bevel knife that has bevels on both sides of the shaft is really useful regardless of whether you are left or right handed. But hard to explain unless you are actually at the bench doing the job! Nice point about the ruler too.
Agreed Mike, it'a confusing issue. I'm right handed, so the main marking out knife I use is a single bevel Japanese blade suitable for a rh user, i.e. when held in the right hand, the bevel faces to the right and down towards the bench. However, for this sort of marking out, I also needed a knife where the bevel faced upwards when I held it, which is where a 'V' shaped knife with bevels ground on one face only is essential. This means that the flat side of the blade could be placed against the inside of the rail to mark the second shoulder line. A difficult concept to understand but easy enough to actually do at the bench.
Indeed!
Good point on direct measuring out. Chris Schwarz also noted at the recent New English Workshop course that it is best to avoid using a ruler if possible. He favours regular use of dividers to take and transfer appropriate measurements direct from the work.
The Schwarz is spot on Alex. There are all sorts of devices that you can buy (Veritas do a nice set) or make to transfer or to check measurements and it's always recommended that they're transferred from the job, whereever possible. The problem with a rule, even a decent engineers one, it the thickness of the markings and where the measurement is taken from, so they do need to be used carefully.
I have an old 'two cherries' carving knife with a v-bevelled blade, where the bevels extend the full width of the blade. Makes registering either way a piece of cake. I'm mystified why nobody makes a marking knife like that.