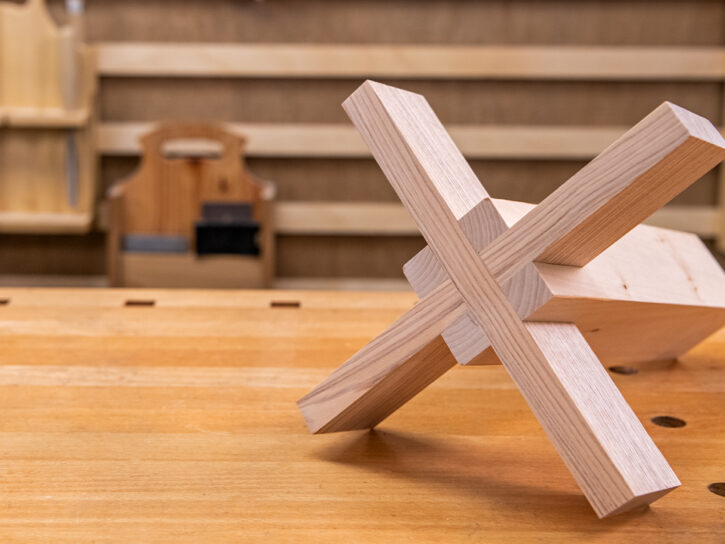
How to Make a Castle Joint
In this article we talk you through how to make a castle joint, one of the strongest and most durable joints for furniture making. Castle joints, also known as a Shiro joint, are not only...

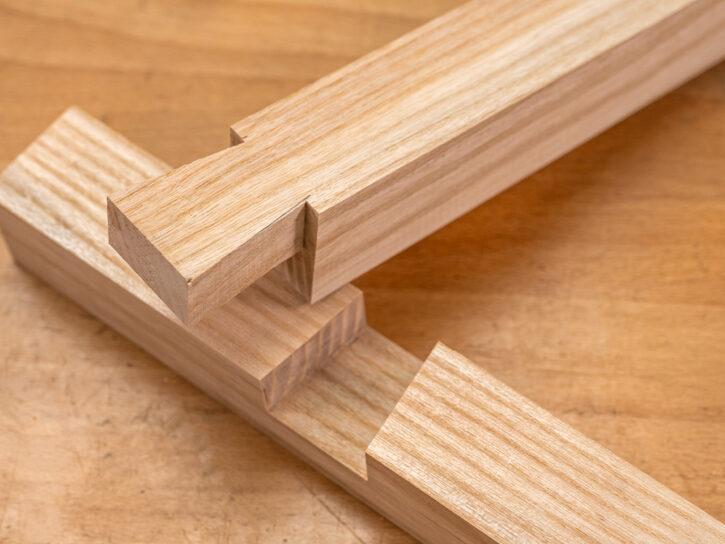
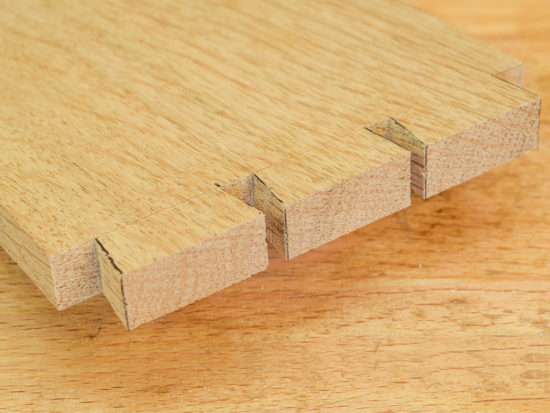
Dating back thousands of years, the mortice and tenon joint is one of the oldest ways to join two pieces of wood. It comprises a mortice hole and tenon tongue which fit exactly into one another.
It’s a versatile joint that can be used in many different types of woodworking, from fine furniture to large oak framed buildings.
Join Sean Evelegh in this Woodworking Wisdom demo, where he shows you how to cut a mortice and tenon joint by hand. Or follow this step by step guide below.
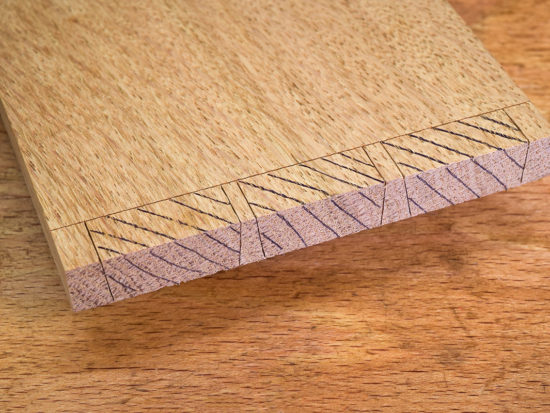
In this step by step guide we have set out the joint according to ‘Rule of Thirds’, whereby the proportions of the joint are approximately divided into thirds, thus, if the tenon rail is 20mm thick, the mortice chisel is approximately one third, so 7mm (pictured).

Set the mortice gauge pins to the width of the chisel. Make two dots (pictured), and check from each side to ensure the tenon is central.


Mark the depth of tenon, approximately two thirds the depth of the second piece of timber (pictured). This is the shoulder line, which should be heavily knifed. Holding the wood in the vice, make parallel lines all round.


Set the marking gauge to 6mm, and mark a line all the way round (arrowed). Set the marking gauge to the timber width - 6mm, and mark the width of tenon (arrowed).


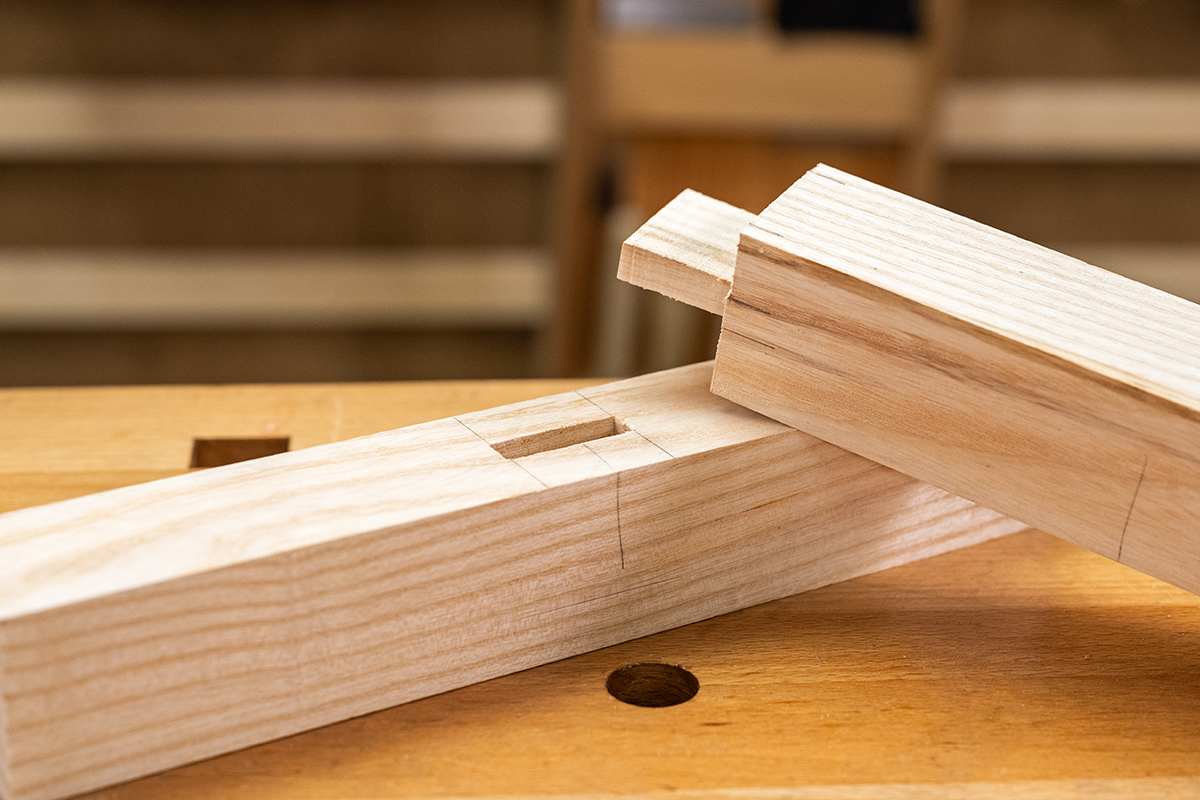
Here is the completed marking out of the tenon on the end grain. Lay the tenon piece on the mortice material and mark the position of the mortice in pencil.


Transfer the lines across the wood. Then, set the mortice gauge to mark the position of the mortice, but don’t alter the distance.


Mark the width of the mortice (arrowed) with a knife.
Clamp the mortice position over the strongest part of the bench (the leg). Stand at the end of the bench when chopping to align the chisel vertically.


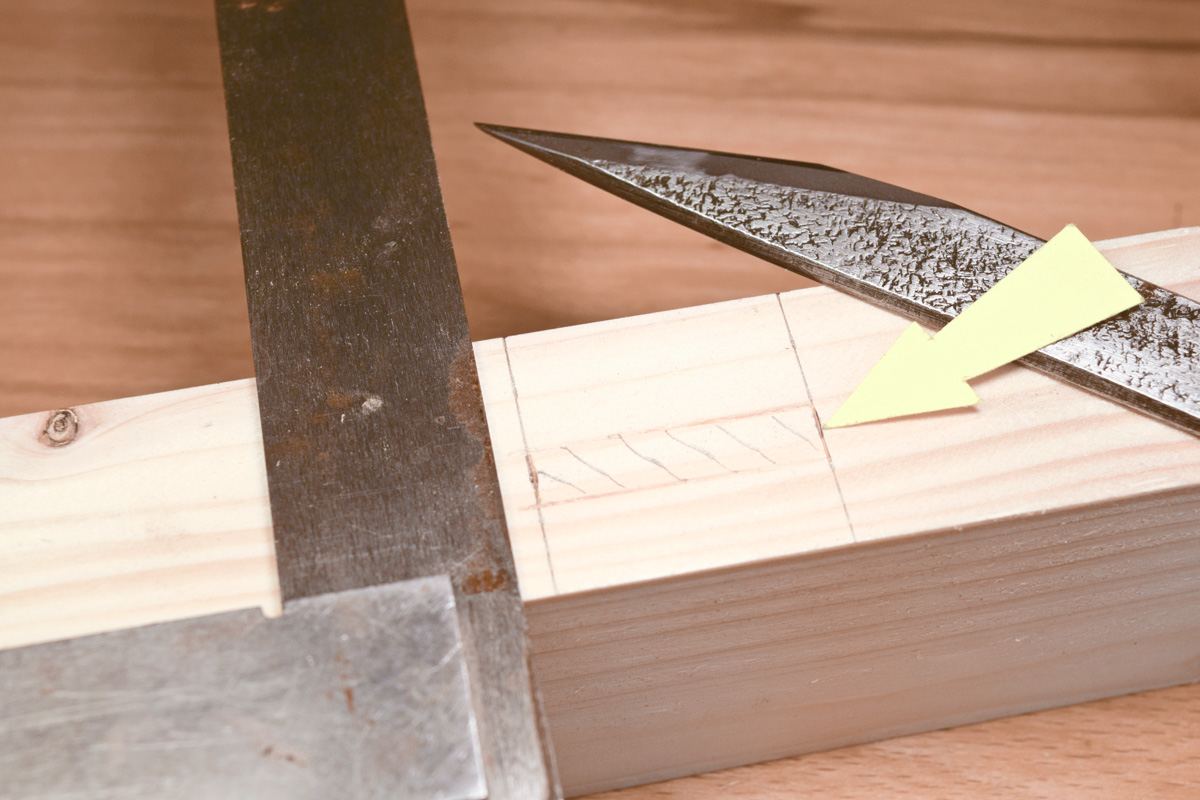
Chop out the waste, using the chisel as a lever to remove the chippings. Stop 2mm (arrowed) from the knife lines. Check for depth, which should be 3mm longer than the tenon.


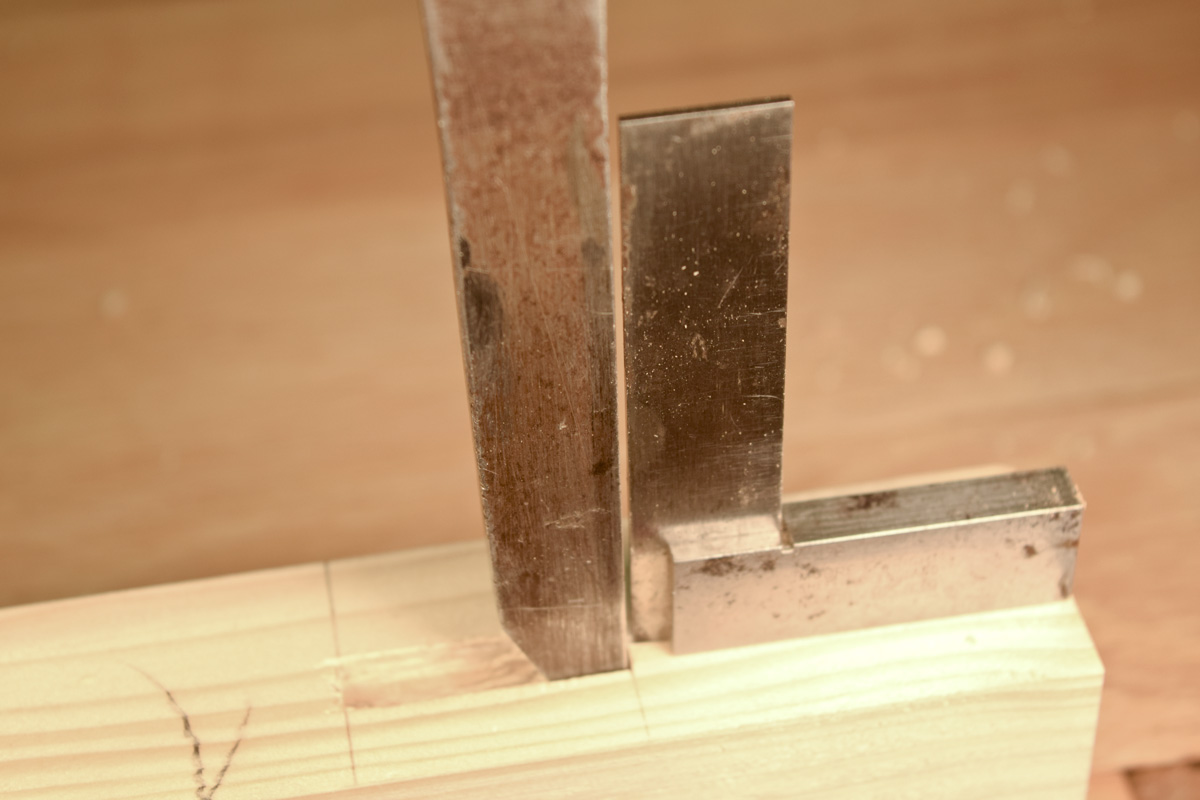
Make the two final cuts, one at each end, on the knife line. Check for square.
Cutting by hand demands more control and can be more difficult, particularly if you are just starting out. Complete the cut by sawing horizontally to the shoulder line. Make two triangular cuts, one from each side.


Make two further cuts on the broad faces. Position the tenon piece on the bench hook.


Saw off the cheeks from the tenon all around, leaving 0.5mm waste on the shoulder line (arrowed). Position a wide chisel on the knife line, sight for square and chop the shoulder line. Alternatively, use a shoulder plane.


Use block plane to chamfer the end of the tenon (arrowed), then test the fit. The joint should push together with moderate hand pressure only.


The method detailed in this article shows you how to cut a mortice and tenon by hand. You can also cut a mortice and tenon using a bandsaw or morticer. You can read our step by step guide to learn how to cut these joints using machinery.


In Step24A, I guess you mean 'sight' instead of 'site'. Otherwise, thanks for the method.
Indeed, many thanks.