Making a Telecaster - Week Three: Shaping The Body and Neck
Here we are at week 3 of our guitar making project with Basingstoke's Tom Stokes. At this workshop Tom worked again on the body of the guitar and also concentrated on the neck.
What we used:
- Axcaliber Flush Trim Cutter with Down Shear - Bottom Bearing
- Axcaliber Ovolo/Roundover Cutters
- Japanese Carver's File
- Axcaliber Flush Trim Cutters Top Bearing
- Axcaliber Flush Trim Router Cutters Top Bearing - 1/2" Shank
- 24mm UJK Technology Metric Threaded Guidebush
- Axcaliber Twin Flute Small Diameter Straight Cutter - 1/2"
- Individual Ground HSS Drill Bits
- Axminster Hex Shank bits for Hinge Centring Drills
- FISCH HSS Professional Wood Twist Drill Bits
- Garryflex Abrasive Cleaning Block
- Micro-Mesh Flexi Files
- Vallorbe Swiss Half Round Files
- Vallorbe Swiss Round Files
- Japanese Saw Rasp
- Veritas Super-Hard Milled Scrapers
- Japanese Small Dozuki Tenon Saw
- Lie-Nielsen Bevel Edge Socket Chisels
- Microplane Snap-In Rasps
Body
Step One
First of all, we routed the sycamore top flush with the ash body using the Axcaliber bottom bearing flush trim cutter with downward shear.
Step Four:
The first two cavities were made using top bearing flush trim cutters of varying sizes. For the neck pocket we used a 12.7mm diameter x 19.05mm depth cutter and for the pick-up cavities a 19.05mm x 25.4mm cutter. To create the rear control cavity we used the 24mm guide bush from the UJK set, a 16mm cutter and a 20mm cutter to make a small ledge for the control plate to sit on.
Step Five:
Once we had made all of the cavities, we marked and drilled the neck bolt holes with a 1/8" drill bit. We then dry fitted the neck and transferred the screw holes, drilling the pilot this time with an 11/64" drill bit.
Step Six:
With the neck in place, we measured the length between the nut and the 12th fret, which in this case should be 323.85mm. We then measured this distance from the 12th fret to the body. This is where the bridge would be positioned to complete the 25.5” (647.7mm) scale length. Once we had the bridge position marked, we drilled pilot holes using a 3mm twist drill.
Neck
Step One:
To begin, we taped up the fret board with masking tape leaving only the frets uncovered. This would stop us from damaging the fret board when we started levelling the frets. It would also stop the filings filling the grain in the rosewood fret board.
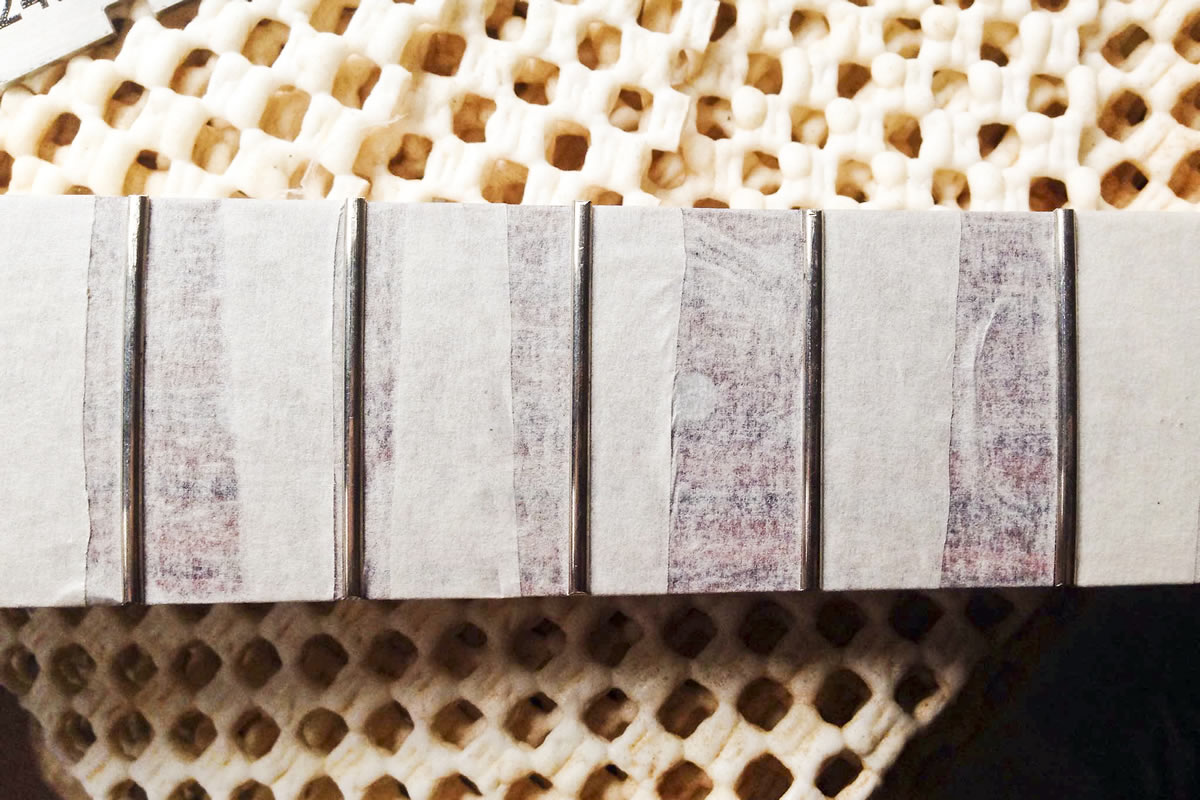
Step Two:
We then took a specialist fret levelling file and filed along the length of the neck, checking with a straight edge to ensure all the frets were level all along the neck.
Step Three:
Once the frets were level, we used a specialist fret crowning tool to profile the frets and round the corners ensuring there were no sharp edges when running your hand up the edge of the neck whilst playing.
Step Four:
We then used Garryflex abrasive blocks, starting out with fine. Applying various Micro-Mesh flexi files - 320g, 400g, 600g, 1200g, 2400g and 4000g - we polished up the frets.
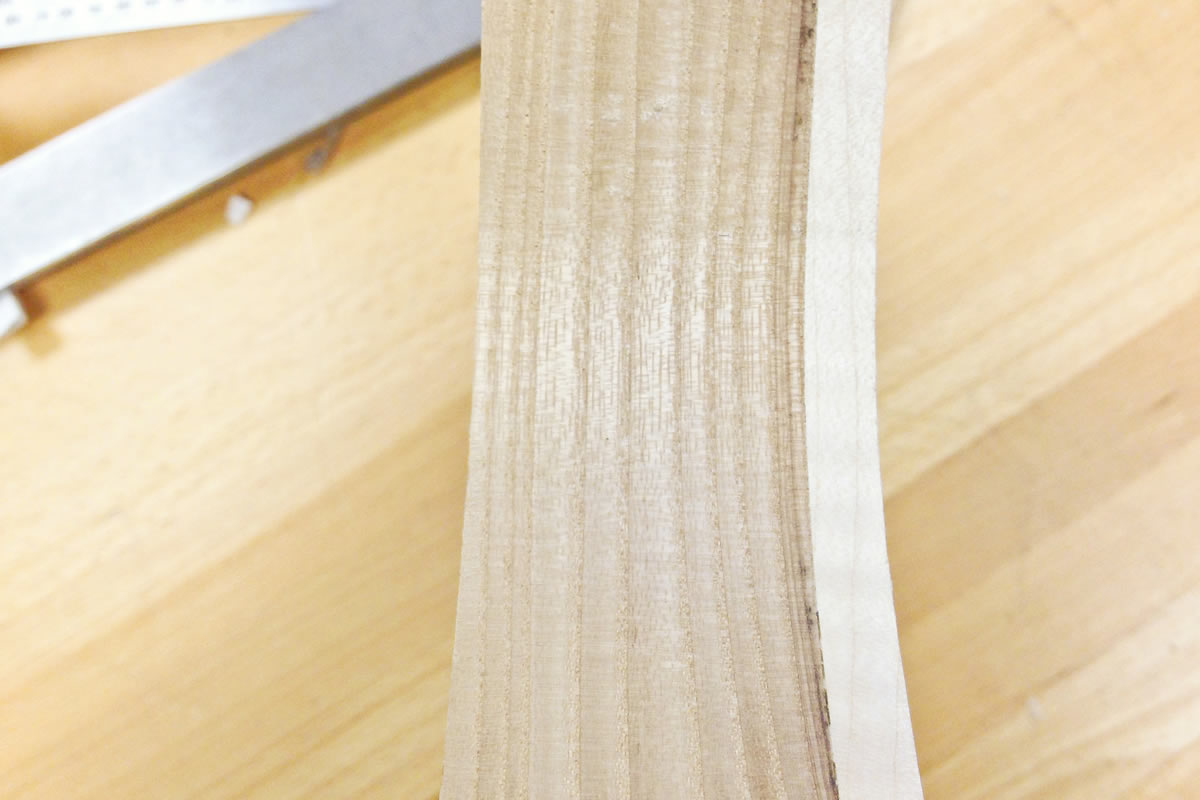
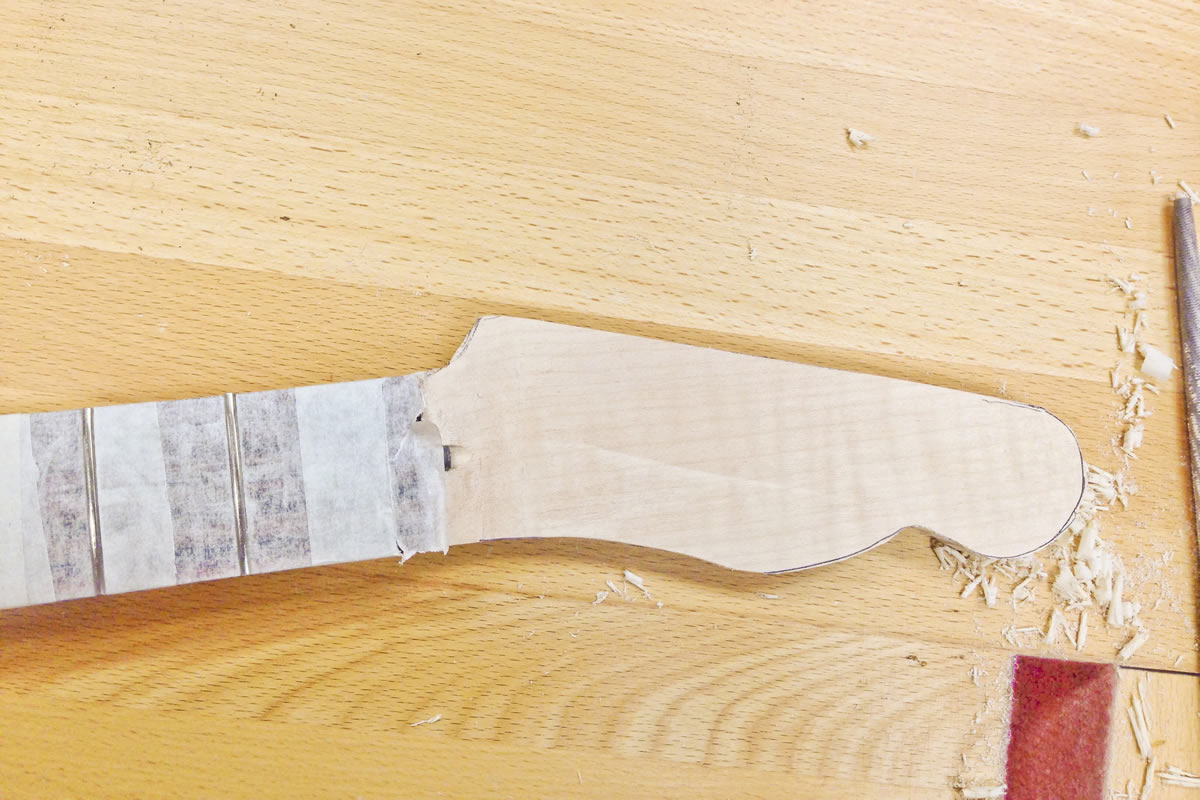
Step Five:
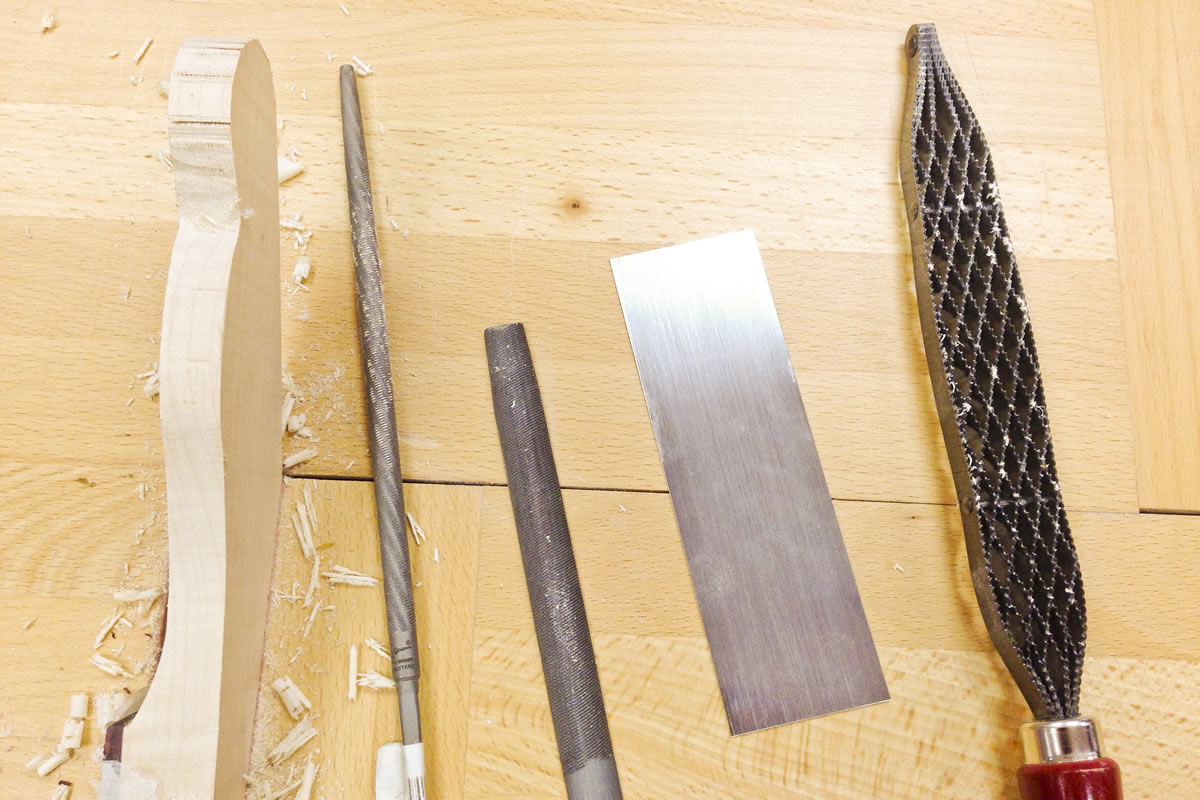
Once this was completed, we started shaping the headstock. Using a bandsaw to initially shape the headstock, we followed up with a combination of a Vallorbe Swiss half round cut file, a Vallorbe Swiss round file, Japanese saw rasp, a Veritas scraper and sandpaper to shape and smooth the headstock.
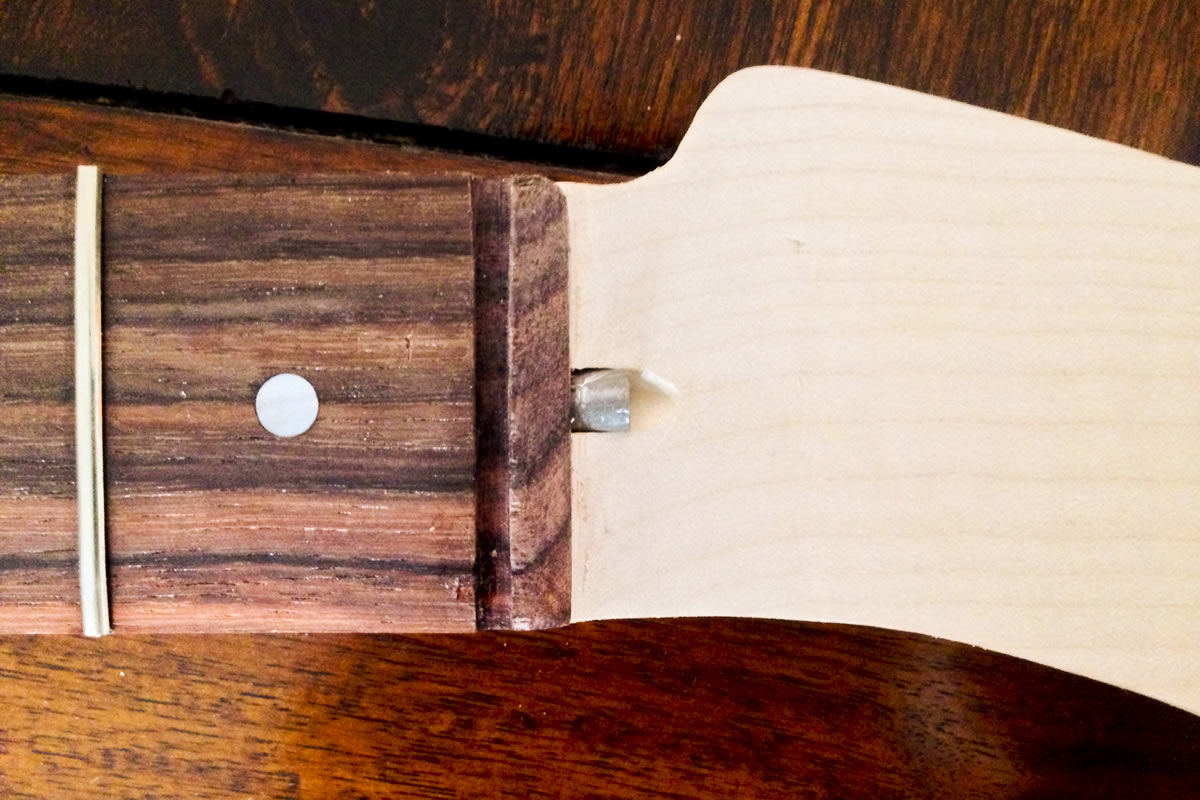
Step Six:
Once the headstock was shaped, we cut a slot to install the nut, followed by a series of lines with the Japanese Dozuki saw and finished with a Lie-Nielsen 1/8" chisel to clear the slot.
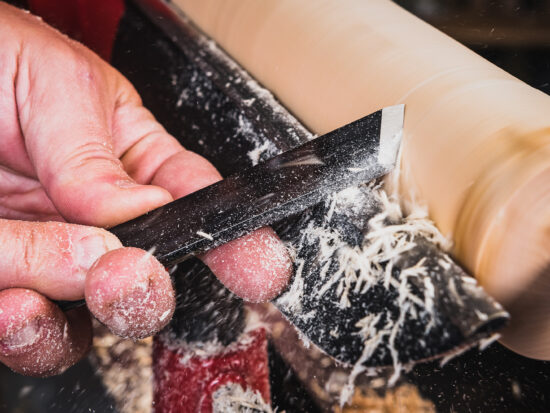
Step Seven:
Once the nut slot was cut we started shaping the neck using the Japanese saw rasp, a Microplane rasp and Japanese half round carver's file. Microplane creates shavings, and is good to remove stock and give an initial shape to the neck. The saw rasp creates dust and the fine side is brilliant to hone in and finely adjust the curve of the back of the neck. The half round carver's file creates tiny shavings and is great for blending the contours at the heel and the headstock.


Once the back of the neck had been shaped, everything was sanded smooth ready for the final stages in our workshop next week. Tasks will include fitting the nut, drilling and installing tuners, oiling the neck and staining and finishing the body.