
Making a Telecaster - Week One: Preparing The Body
The first Basingstoke 'Guitar Making Workshop' with AT&M's Tom Stokes took place Saturday 4th July. The aim now is to re-cap, consolidate and add any further explanation to that session. Look out for another three workshops in which Tom will continue building this project or better still, if you can, attend them at the Basingstoke store.
The project is to make a Telecaster guitar. A true tried and tested classic, having undergone two years of development the Telecaster appeared on the music scene in 1951. Due to its subtle features and relatively simple shape, it is the Telecaster that Tom has chosen to build from scratch. Tom takes up the story from here...
What we used:
- Trade Series CT1502 Planer Thicknesser
- 1 Piece of 885mm x 180mm x 38mm Ash
- 2 Pieces of Figured Sycamore (445mm x 180mm x 8mm)
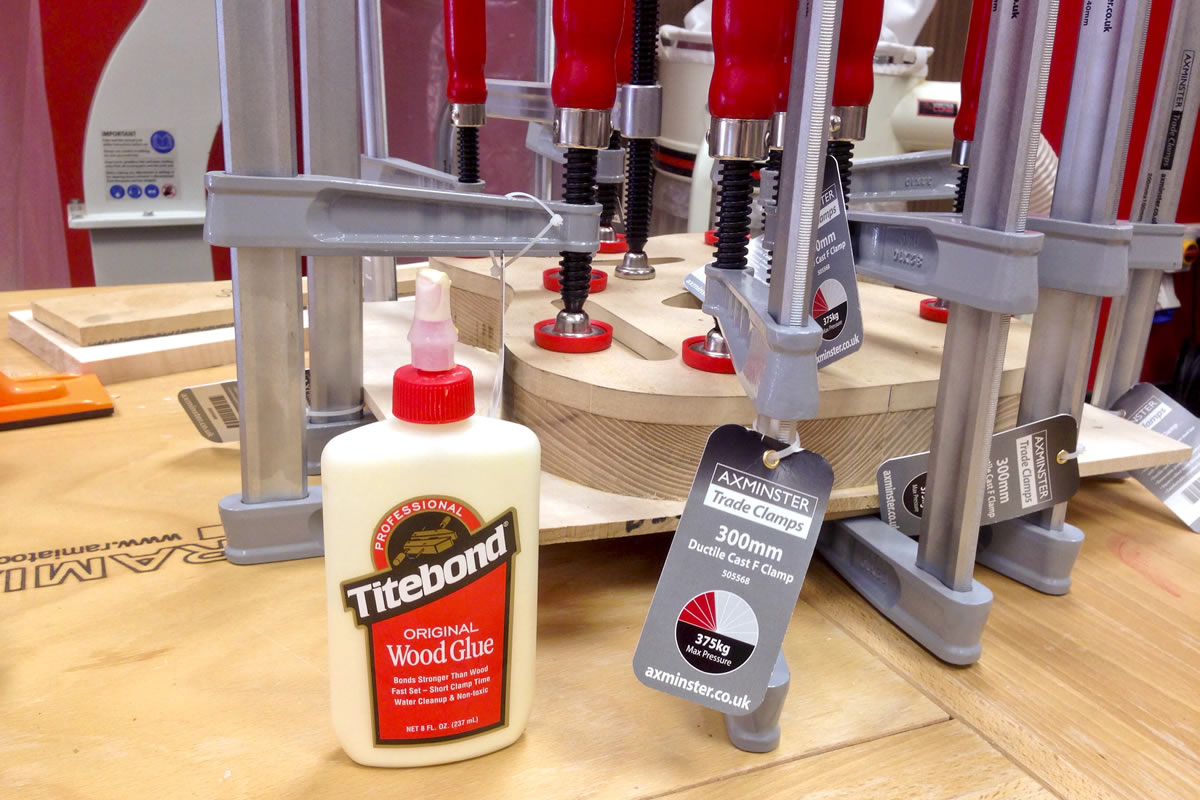
- Titebond Original Wood Glue
- Trade Series Parallel Jaw Clamps
- Axminster F-clamps
- Axminster G-clamps
- WoodSpur Wood Screws
- Axminster Hobby Series HBS310N Bandsaw
- UJK Technology router table
- Axcaliber Flush Trim Cutter with Down Shear
- Veritas Low Angle Smoothing Plane
For week one, we kept it relatively simple and started processes for preparing the body and decorative top.
Step One:
With a nice piece of rough sawn ash which we put through a planer thicknesser to give the dimensions 885mm x 180mm x 38mm. Once we had a flat, square piece of timber, we cut it into two 445mm long slabs and glued the edges together to form a 360mm wide board.
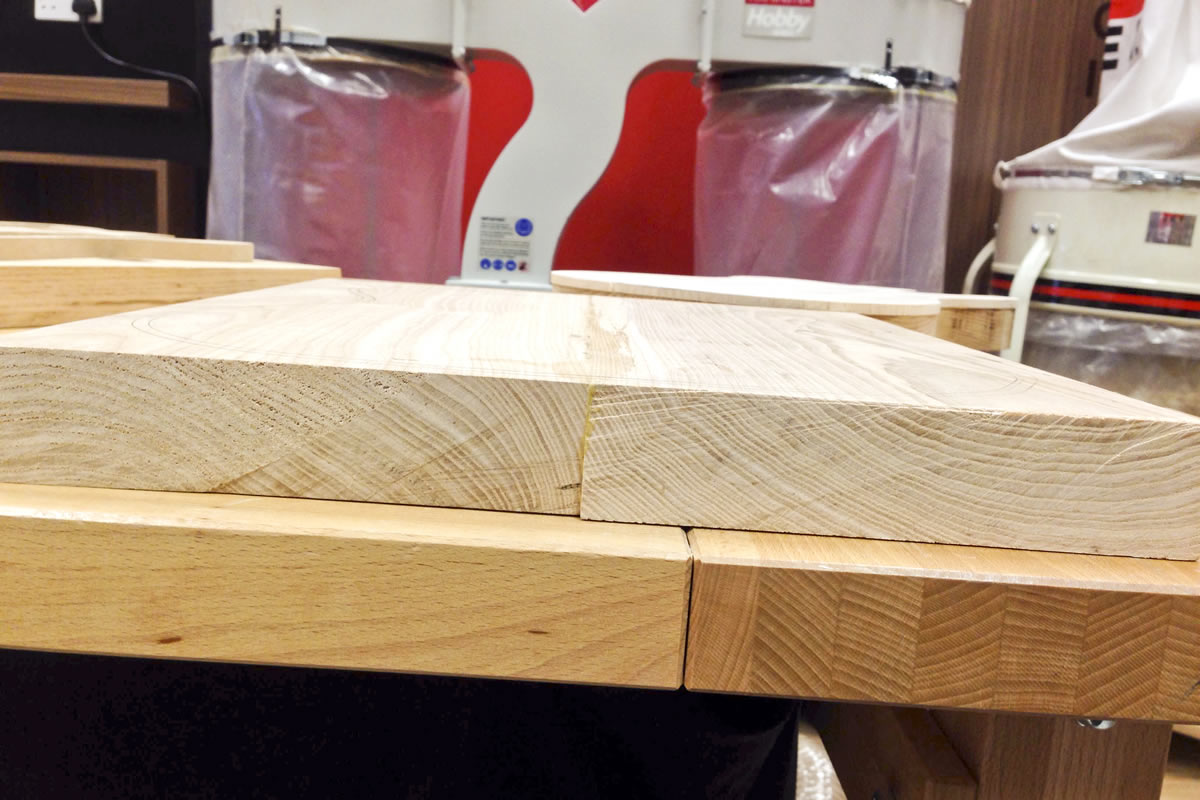
Step Two:
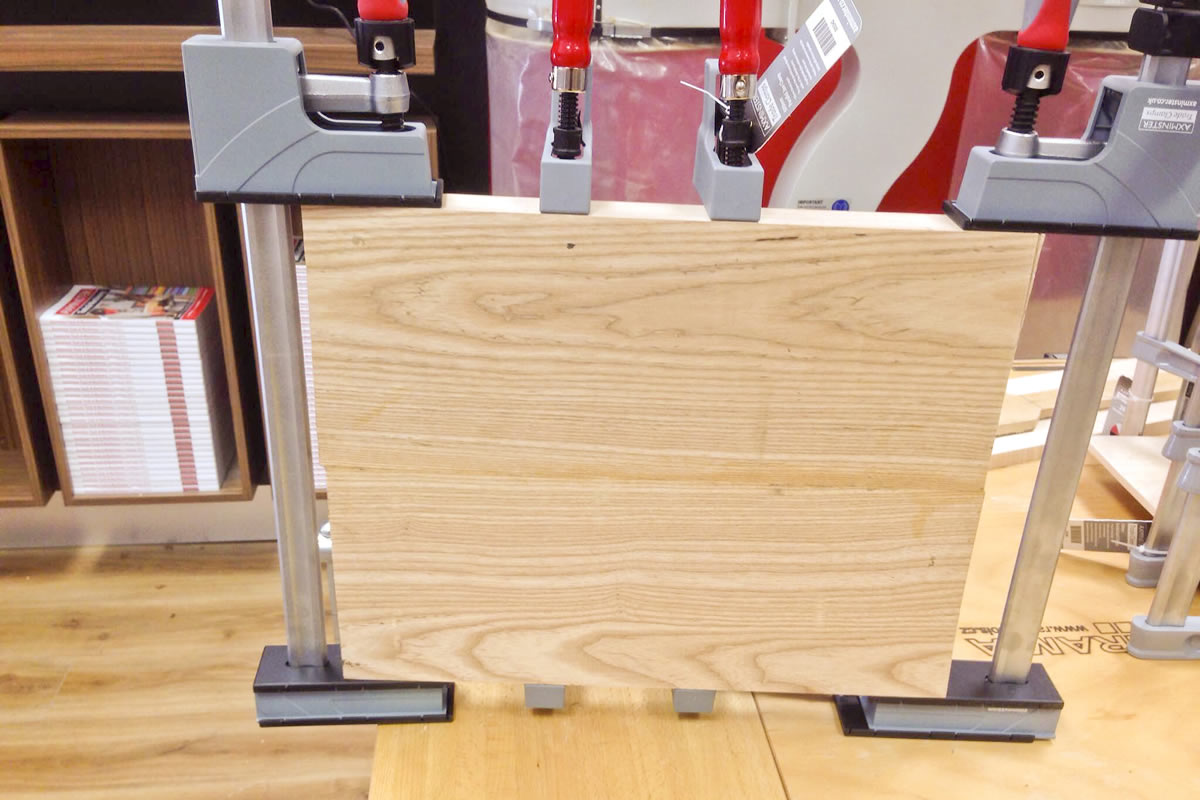
The timber was glued so that the grain of each board curved in away from the other one to minimise any warp if the timber moved once it had been glued up. To ensure a strong bond we used Titebond Original aliphatic resin. Its short open time and strong initial tack meant we could clamp up and not have to worry. To give a strong hold we used two heavy duty parallel jaw clamps, one on each end and two standard parallel jaw clamps in the middle to even out the pressure.
Step Three:
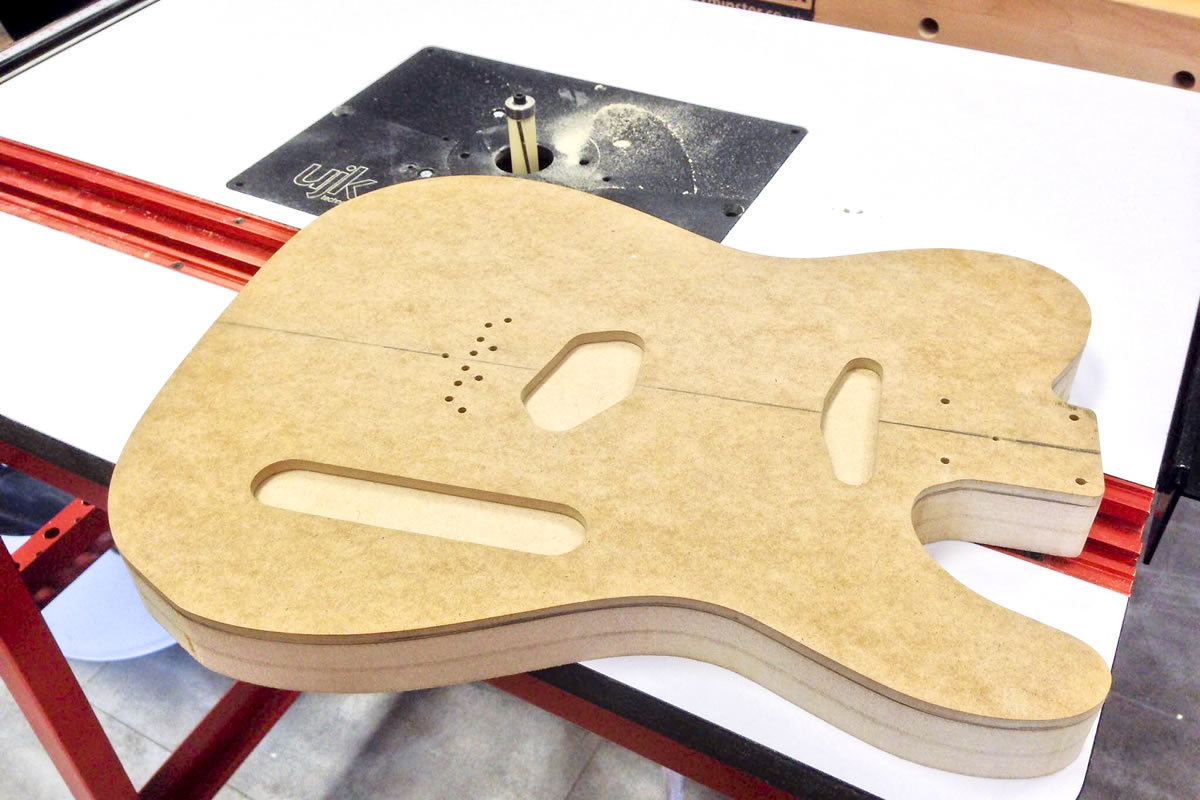
Once the glue had dried, the body blank was ready to go. We started by lining up the template with the centre line of the blank and used a mixture of WoodSpur wood screws and double sided tape to ensure a stable but temporary hold. The template would enable us to get a smooth finish when we routed the body to shape.
Step Four:
To create as clean a cut as possible, we used the HBS310N bandsaw to cut around the template, leaving only 1-2mm of waste for the router to clear. This gives a finer finish and puts less stress on the router and the cutter, prolonging the life of both.
Step Five:
We then loaded the Axcalibur flush trim cutter with downward shear and bottom bearing to our UJK Phenolic top router table. The bottom bearing means that when the cutter is placed in the inverted router, underneath the table, it will follow the template giving an accurate and clean shape. We made sure we were always moving into the cutter to prevent any kickback as we carefully routed the shape for the body.

Step Six: Now for the decorative top!
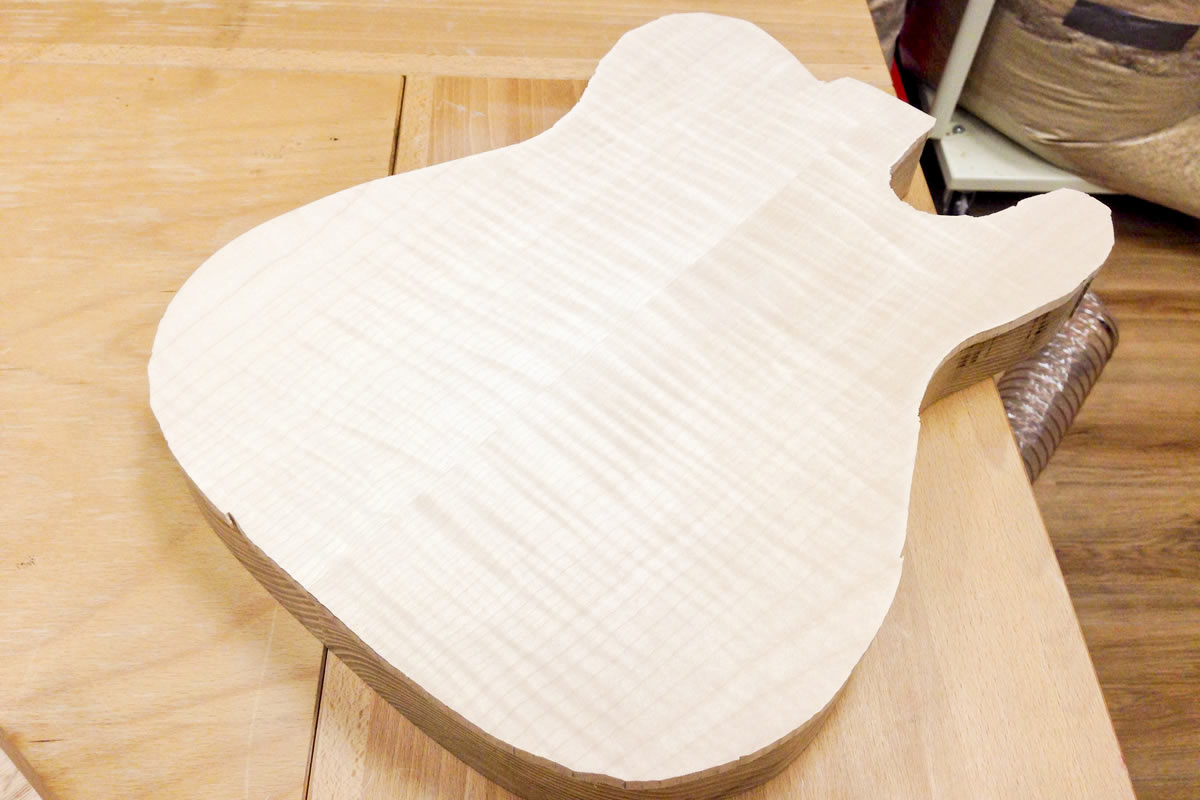
Take two beautiful pieces of figured sycamore (445mm x 180mm x 8mm) and glue them together (using Titebond Original of course!) to create a top for this guitar.
Step Seven:
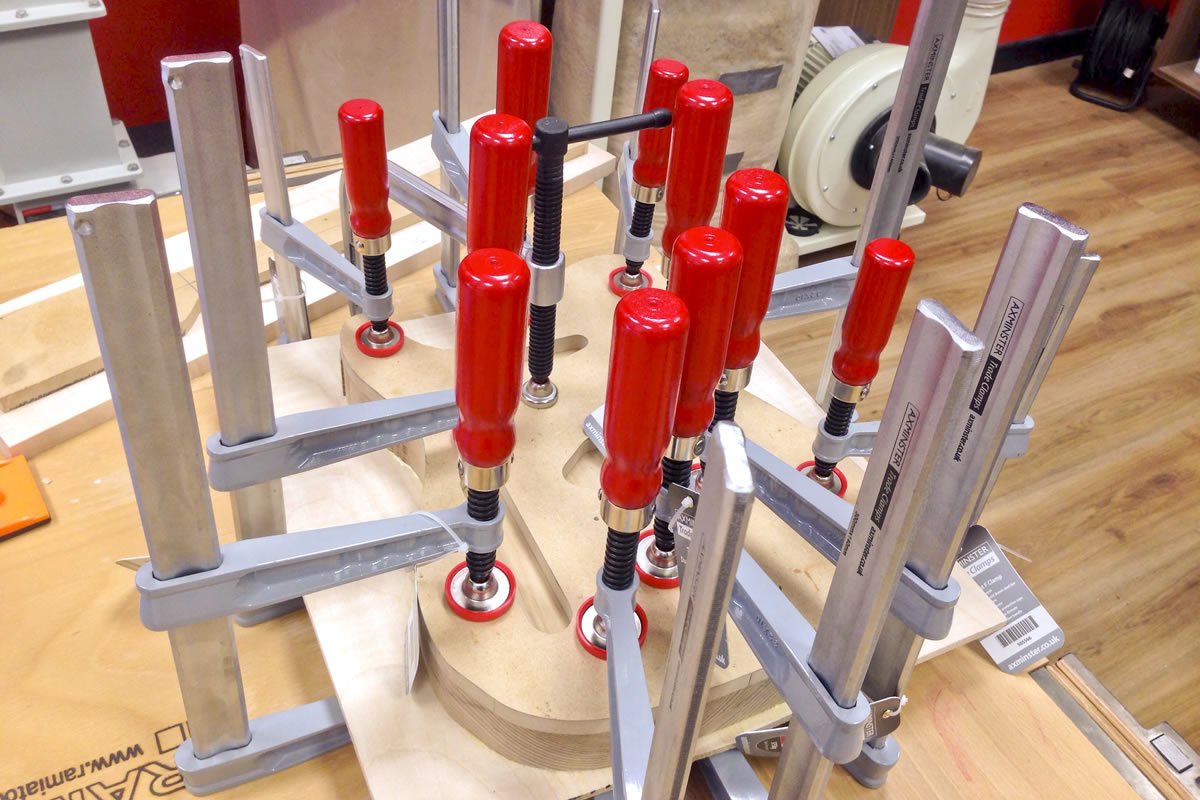
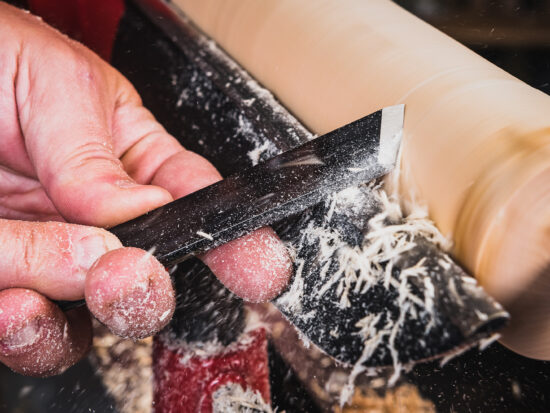
Once glued, we used a Veritas low angle smoothing plane to re-flatten the top ready to glue to the ash body. The low angle gives a better cut on the figured sycamore, minimising the tearing. After matching up the centre lines of the now shaped blank and the sycamore top, we mated the two pieces together. We applied plenty of Titebond, several F-clamps and a couple of deep throated G-clamps to get right to the middle of the body. To even out the clamping pressure and stop any clamp marks from appearing on either side of the body, we used an MDF clamping caul on both sides.
Step Eight:
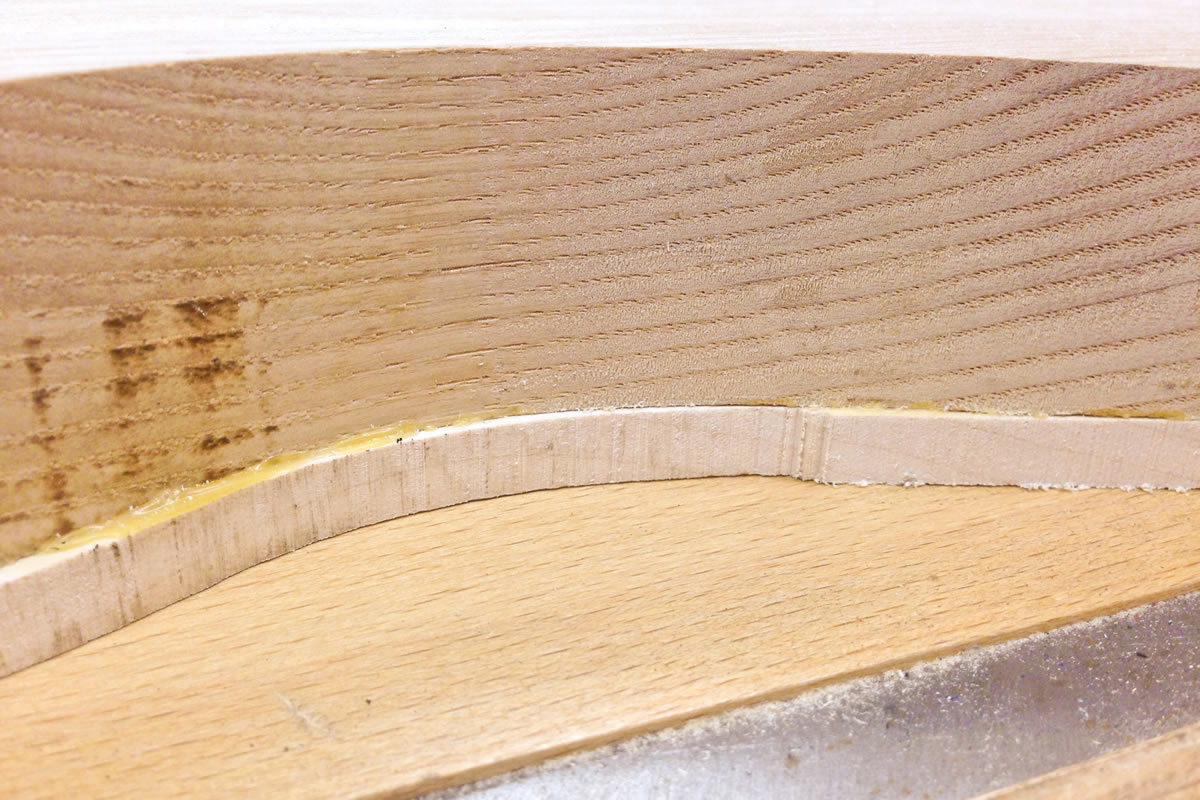
Once the glue was fully set, using a bandsaw, we were able to cut the sycamore again to within a few millimetres of the ash blank, ready for routing flush.
Next time in store (on Saturday 11th July), we will be focusing on the neck of the guitar plus routing, shaping and fretting. We will also recap on any aspect of the project so far and answer any questions you may have.


Are you planning on continuing this project at any time?
Hi Jez - The maker Tom Stokes is away at the moment so we'll come back to you on this one as soon as we've had chance to talk to him. We see you've posted your question on the week one article, but guess you've also seen articles for weeks 2-4, so it's the fully lacquered, fully assembled guitar you're wondering about?
Thanks for your reply Jacqueline, I didn't realise the other weeks had been posted as there doesn't appear to be any links on this page to get to them. I have found them now but I had to search around the site for them.
This is a great company and a great website and I love this project.
Thanks again.
J.
That's a really good point you've raised Jez. We tend to put links and references in subsequent articles but not in the ones preceding them, so we'll have to take a look at that. Hope you enjoy reading weeks 2-4.
I meant to say that if you just put 'telecaster' into the search box, all the articles will be listed.